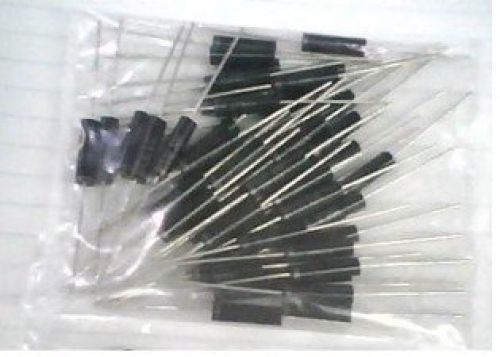
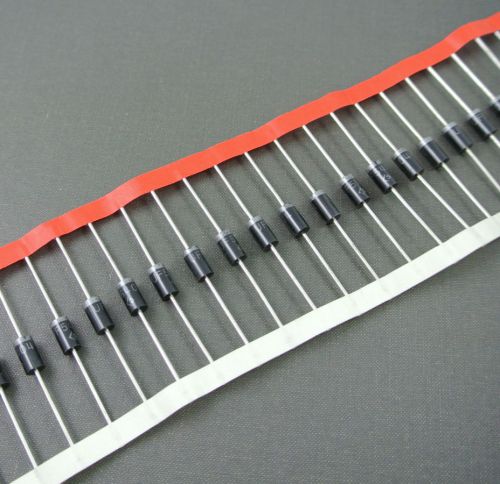
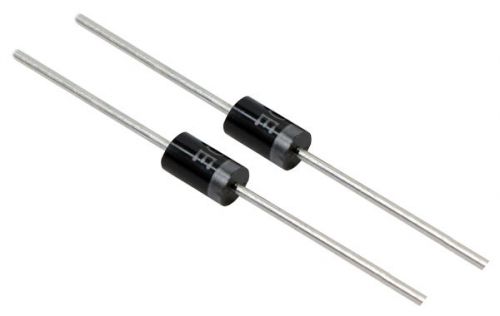
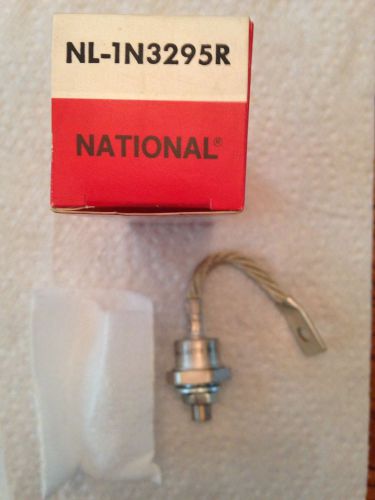
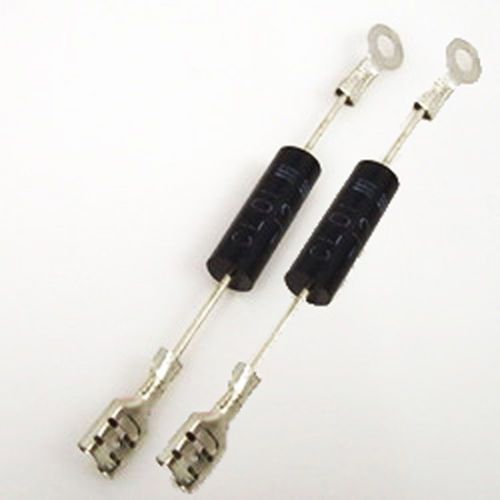
EXCELLENT QUALITY, L0NG LIFE NEW MICROWAVE DIODE Replace T4512, HVM12, 2CL106, HV500F12, 2CL4512 The high voltage rectifier diode, 12kv 450ma, is suitable for Panasonic, Sharp, LG, Samsung Samsung and many other brands of microwave ovens. Package included: Two 2CL4512 diodes. Free shipping within Australia. $6 for standard overseas shipping and handling. Local pickup welcome. Cash on pickup or Internet transfer or direct deposit to the following account and leave your ebay id for reference: ANZ bank 012 228 - 512 782 536 What is a diode A diode is an electronic component that readily passes current in one direction only and blocks the flow of current in the opposing direction. If your microwave's diode has become defective, your microwave will not heat and you will hear a buzzing noise. Test the diode to determine if this is the cause of your problem. Replace it if it is defective. Testing a diode NOTE: Before you test your diode, make sure your microwave is unplugged, and that you discharge the microwave's capacitor. Whether it is shorted or open, a defective diode will most likely show some sign of defect. Defective diodes will usually emit an electrical burning smell, signifying its defectiveness. Also, it may have split in two, or it may exhibit a burned crack, or possibly even a blistered spot. A shorted diode is indicated by a loud humming noise from the high voltage transformer, and no heat produced when a cook cycle is initiated. Whereas little or no heat produced in your microwave, with an absence of a humming noise is indicative of an open diode. In either case, the diode has to be replaced. With your microwave unplugged, and your capacitor discharged, use extreme caution to remove the lead that leads to the capacitor. You can leave the ground connection attached. The side of the diode that goes to the ground is usually marked with a dot, stripe, or arrow. Set your ohmmeter to R x 10,000 or higher. Touch the positive meter probe to the anode and the negative meter probe to the cathode to measure the resistance across the diode terminals. Remember that the cathode is on the side that goes to the ground, which is often marked by a dot, stripe, or an arrow. A normal diode, that is a non-defective diode, will read anywhere from 50,000 to 200,000 ohms. Differences in microwave make and model account for this large range in resistance readings. Reverse the meter probes and measure resistance while touching the positive probe to the cathode and the negative probe to the anode. Reversing the probes like this should result in a reading of infinity. Unless a bleeder resistor is present. The presence of a bleeder resistor would produce a reading of the value of the resistor. Replacing a high voltage diode The first thing you must do to replace your microwave's diode is unplug the unit from the wall outlet. Next you will have to discharge the high voltage capacitor. A capacitor stores large amounts of electricity even when the unit is unplugged. It is necessary to discharge the high voltage capacitor in order to avoid receiving an electrical shock. Diode replacement is relatively straightforward because most high voltage diodes have a press fit, also known as Fast-On, or they have ring lugs. If your replacement diode can be installed either way, make sure you get the right polarity. Remember that a diode will conduct an electrical current when a forward voltage is applied, but when a reverse voltage is applied, there is no conduction. Remove the diode from your microwave and replace it with the new one. Discharging a high voltage capacitor Discharging your microwave's capacitor is absolutely essential in preventing injury to your microwave, your tools, and yourself. A capacitor stores large amounts of electricity even when your microwave is unplugged, and it must be discharged before beginning any repair. A capacitor is discharged by creating a short circuit between each of the two capacitor terminals, and between each terminal and the chassis. The chassis is the metal mounting (bare metal surface) of the capacitor. Read these directions thoroughly before you proceed. With your microwave unit unplugged, touch the blade of a well insulated screwdriver to one terminal. Gently slide the screwdriver forward until it reaches the other terminal, holding it there for a few seconds. Be aware that this often results in a loud and startling 'POP'. Repeat this procedure in order to create a short circuit between each capacitor terminal and the chassis (bare metal mounting plate surface). This same method can be applied to a capacitor having three, and not two, terminals. After you purchase the diode, if you have problems to install it, please contact me for FREE advise. I will try my best to ensure your microwave working again. BUYERS PLEASE NOTE: RE FREE POSTAGE (TERMS AND CONDITIONS) In order to facilitate the low sale cost and due to the very small size and negligible weight of this item. This item is shipped using regular letter post, this method of postal delivery does not have a tracking service and as such we cannot guarantee delivery as this is up to Australia Post and your own local postal security environment. As such we will not accept any claim due to non-delivery or loss in transit. Please be aware of these conditions prior to bidding. Your purchase of and payment for this item as a buy it now sale is considered both agreement and acceptance of these Postage conditions of sale. Should you wish to have guaranteed tracked delivery an additional $7.45 charge can be applied to the purchase price at checkout – please advise if you require this service at the time of purchase otherwise this item will be shipped by regular letter post and totally at the buyers risk.
By clicking "Accept All Cookies", you agree to the storing of cookies on your device to enhance site navigation, analyze site usage, and assist in our marketing efforts.
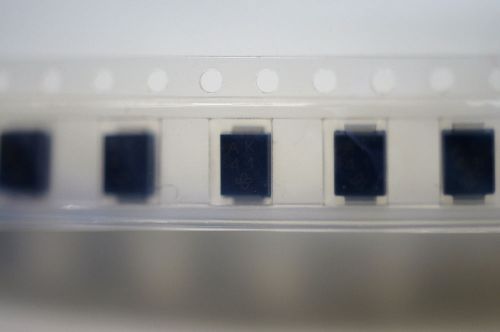

![20x ES3D • Ultrafast Diode 200V 3A [ < 20nS ] Vishay ES3D SMC](/_content/items/images/80/4597880/001.jpg)