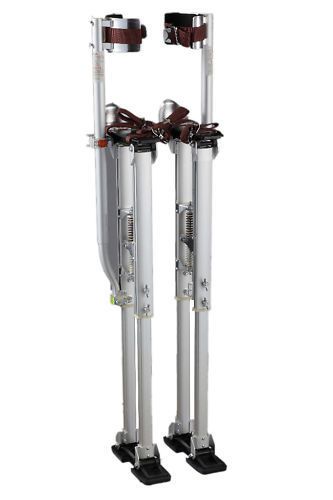
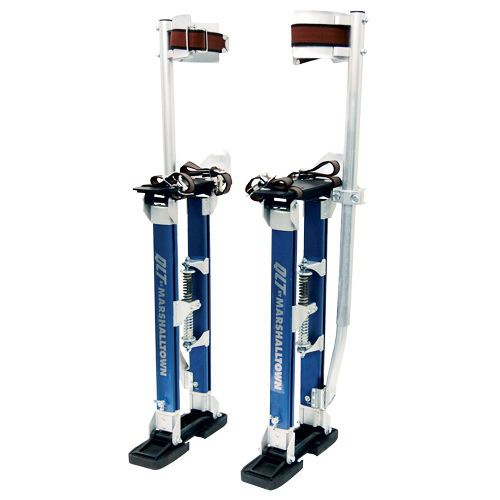
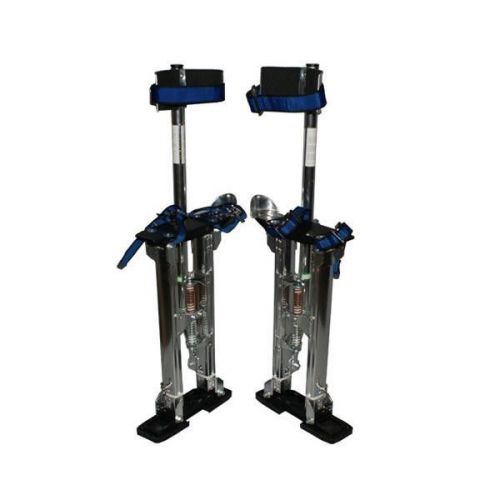
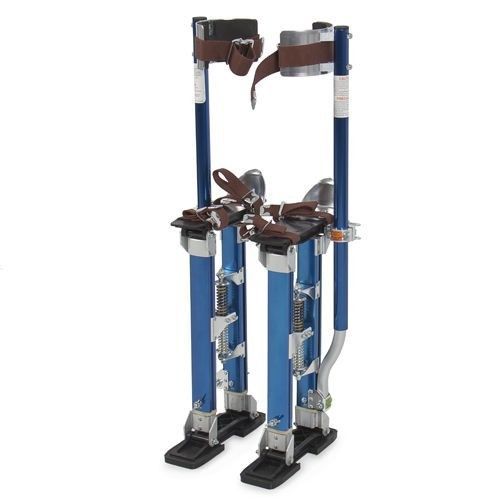
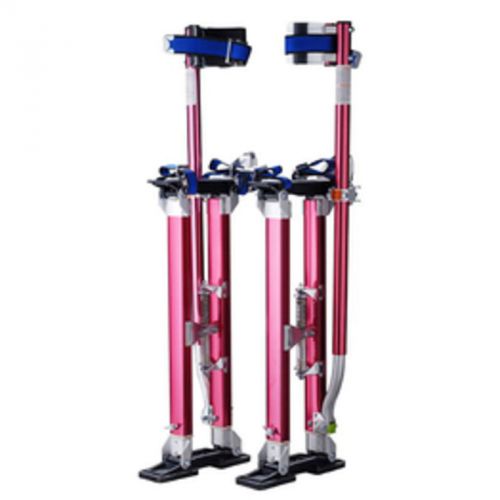
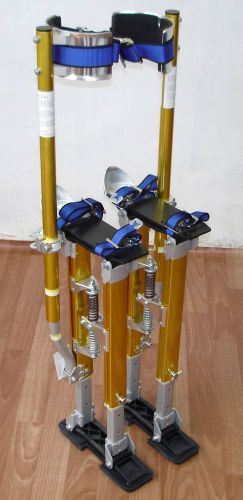
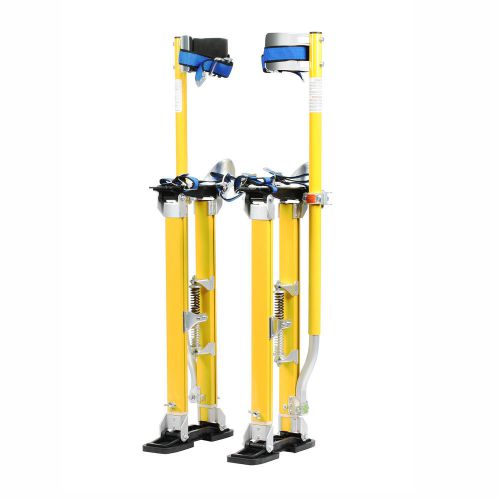
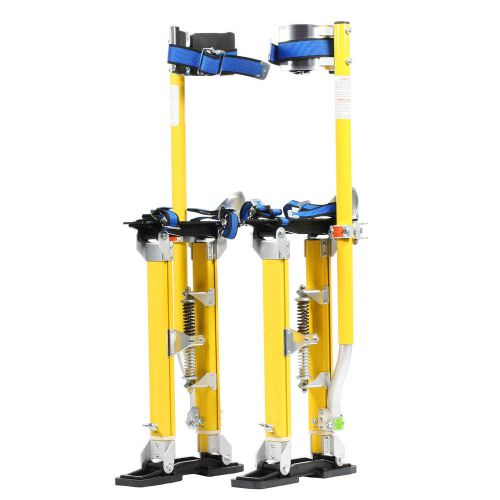
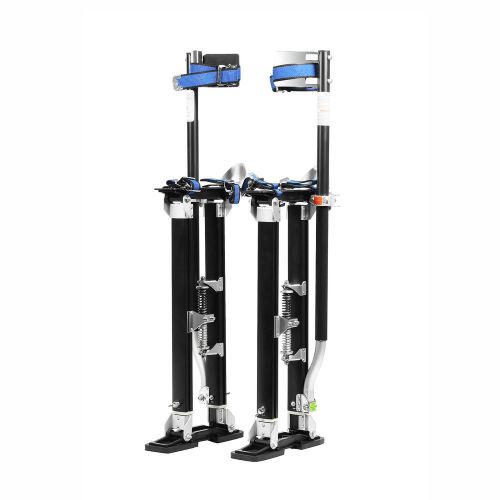
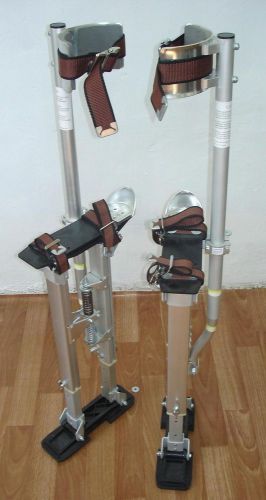
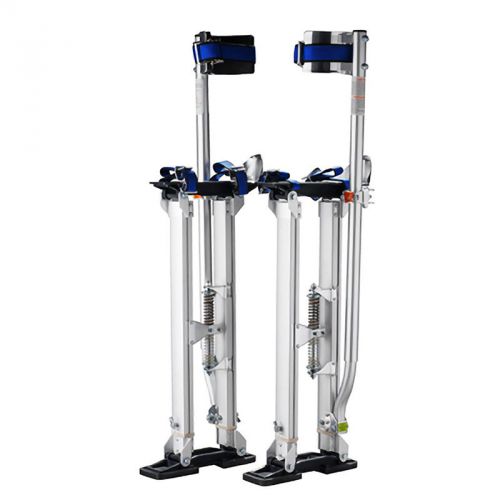
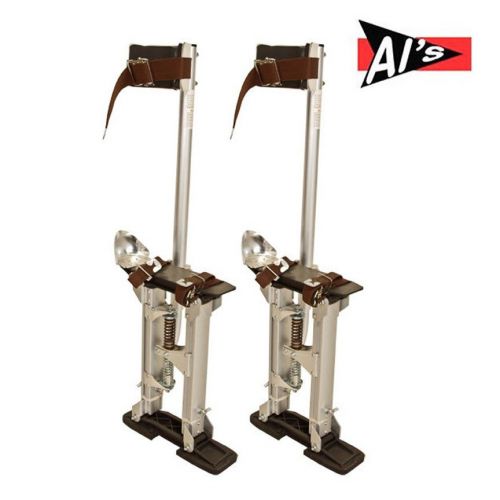
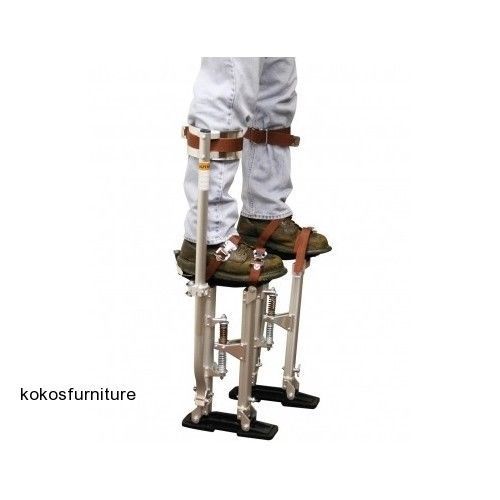
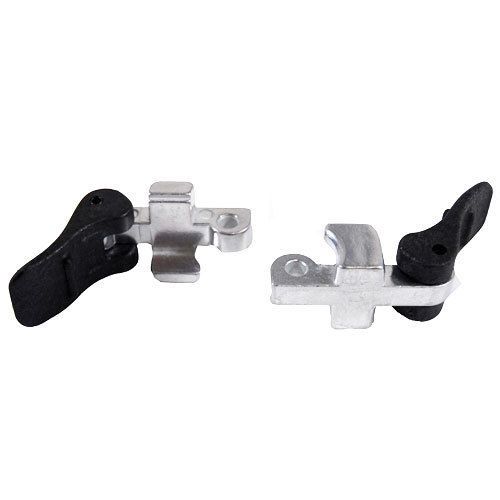
I have 36-48 inch or 48-64 inch drywall stilts available and shipped for free. These are great durable stilts and hard to get your hands on. They can be used to reach 12-14 feet work areas and used for almost anything like painting drywall taping almost anything over your head once you get used to them.You can also check out our other sizes and jumping stilts for kids and adults at http://www.allstilts.com/contact . The 48-64 drywall stilts have the allround leg braces for your stability and have double wing bolts for adjustment. PLEASE LET ME KNOW WHAT SIZE YOU WANT WHEN YOU PURCHESE YOUR STILTS AND I ALSO NEED YOUR TELEPHONE NUMBER FOR SHIPPING THANKS. 5195212571 MARK IMPORTANT GUIDELINES TO FOLLOW BEFORE ASSEMBLY OR USE DO… Inspect stilts thoroughly before use, making sure that construction is free from damage and hazards, that there is no excessive wear at the connection points, and that all bolts are tight. Special attention should be given to the entire strut tube assemblies and wing bolts in this respect. Walk only on suitable hard surface which is level. Be cautious when working around low profile furniture, fixtures, pipes, etc. Fasten the upper leg strap first when putting on stilts. Disconnect upper leg straps last when removing stilts. Replace any damaged or excessively worn stilt components before use. Remove stilts to adjust them unless assisted by another person. Remove stilts when moving up and down stairs. Cover any floor openings. Get help when retrieving objects from the floor. If no one is around remove them completely. Keep all straps tightly fastened and secured. Take short steps, making sure that the stilts are raised well clear of the floor with each step. Walk forward only, making a "U" turn to change direction. Adjust Stilts whenever necessary to ensure it is safe. Always watch where you are walking. DON’T… Wear stilts without having the proper instruction. Wear stilts that are uncomfortable or not adjusted properly. Wear stilts without having first inspected them for obvious hazards. Wear stilts that have clearly been misused damaged or modified. Walk on slippery surfaces. Work around uncovered floor openings, stairwells, etc. Work in or around loose items e.g. wires, cords, material e.t.c. Carry heavy loads while walking on stilts. The Stilts have a load limit! Run or walk fast on stilts. Pick up objects which are lower than foot level. Wear stilts that are taller than necessary. Lean over desks, files, boxes, or other objects while on stilts. Be irresponsible on stilts. Take steps so large that the action springs fall out. This can cause serious Injury. Modify this product in anyway. Wear stilts while under the influence of drugs or alcohol. Walk on secondary scaffolding, benches, planks etc. ASSEMBLY INSTRUCTIONS Strut Tubes 1. Loosen tube clamps. Insert lower strut tubes up through the bottom of the tube clamps. Leave tube clamps whilst you prepare the other parts. 2. Attach lower strut tubes to the safety-lock bracket with the attached 1/4 x 1 1/2" cap screw & nylon lock nut. Tighten when assembly is complete. 3. Slide the upper strut tubes down over the lower strut tubes and through the tube clamps. Position so the leg bands are just above the large portion of the leg calves. Note: Do not bend the leg bands. 4. Evenly tighten the tube clamps to prevent the upper strut tube from rotating when used. Over tightening the tubes could permanently deform them and require their replacement. 5. Position the tube clamps in the clamp bracket slots, according to your calf size, so the stilts will stand straight when mounted, and tighten well. 6. Attach the heel brackets to the footplates using the No. 10 x 1 /2 Phillips machine screws and nuts. Adjust the heel bracket so your outside ankle bone is directly over the rear pivot bolt and tighten well. Strap Kit 1. Position the toe (short) and arch (long) straps on the footplates with the fasteners on the same side as the strut tube. 2. Feed the ends of both straps over and through the Safety Anchor Slot System and secure the straps with the strap plate & screws provided. 3. Set spring adjusters to minimum compression. Set adjustable stilt legs to the lowest setting and tighten wing bolts. 4. Re-check all the components you have assembled. Reposition the tube clamps and leg bands until you feel totally comfortable. You should stand straight on your stilts so the stilts don’t pull in or out. Height Adjustment When adjusting the heights of the stilts remove wing bolts. Once removed evenly raise the stilt legs to the desired height. Once height is achieved re-align the wing bolt holes in legs and extension tubes replace the bolts and tighten well. Be sure not to over tighten as this can have adverse effect. Wing bolts for height adjustment. MAINTAINANCE Lubrication In order to keep your stilts operating freely, it is necessary to keep the components reasonably clean and free of dents or burrs. Pay special attention to the components which help operate the movement. Lubricate these moving components lightly with a silicone spray or white graphite powder. Do not use lubricating products which remain wet and attract grit or any type of chemical cleaner. Make certain soles are kept free of lubricants which could cause loss of traction. WARNING: Do not make modifications on parts. Always use genuine replacement parts. Contact dealer for more information. Replacement Nylon Sleeves Remove wing bolts and remove the upper foot plate (together with the extension tubes and floor plate). Pry the small sleeves from the extension tube upper ends, and remove. The large sleeves can now be removed. To reassemble, check extension tube holes for burrs, file smooth. Slide new large sleeves down over the extension tubes until the large sleeve tabs are aligned over the detents at the bottom of the extension tubes. Insert new small sleeves over the top of the extension tubes until it snaps past the upper locking tabs of the extension tubes. Carefully insert the extension tube units all the way into the stilt legs until the large sleeve tabs snap and lock into the stilt leg slots. Check stilt operation by adjusting stilts up and down. Replace wing bolts and tighten. OPERATION GUIDELINES Walking precautions IMPORTANT-Always take short, deliberate, distinct steps and walk with your stilts well apart. Large or over-extended steps can cause the action springs to bottom out and place excess stresses on the stilt components. Excess stresses could drastically reduce the life of the stilts or result in component breakage. Inspect before working Develop a habit of inspecting your stilts before each days use. Make certain the entire stilts are free of any sign of damage or excessive wear, and that all nuts and bolts are tight. Special attention should be given to the entire strut tube assemblies and wing bolts in this respect. Keep all labels legible. Strap tightening sequence Important-When mounting your stilts, always attach leg straps first before feet. When dismounting always unbuckle leg straps last, after unbuckling foot straps.Select a clear and level area away from doors, floor vents, stairwells, windows, etc. With the help of a colleague, strap on your stilts as noted above.Stand with your legs comfortably apart, collect your balance...and relax. If needed, re-adjust the strut tubes and clamps until your stilts and legs are straight and comfortable. Forward/rearward balance When standing erect, your stilts should be in a neutral and vertical position. If they have a tendency to lean forward or backward, make the following adjustments with the help of a colleague, or after removing your stilts.If stilts lean forward, loosen the tube clamps and rotate the leg bands and strut tubes toward the rear, and tighten clamps. This adjustment is to insure proper forward and backward balance. If this adjustment requires that the leg bands be rotated to where it is uncomfortable, the mounted shoes should be relocated, or the heel brackets be adjusted in the same direction as the needed rotation. Note: Do not bend or "size" leg bands. LEARNING TO WALK IMPORTANT - Read the do's and don'ts for the use of your stilts before you attempt to learn to walk on them. Remember, in order to develop safe work habits, it is very important that you observe the do's and don'ts as you learn to walk on and work with them.Select a clear and level area (preferably near a wall) but away from doors, floor vents, stairwells, windows, etc. With the help of a colleague, mount your stilts and take slow deliberate short steps while keeping your stilts well apart. Make certain that each step completely clears the floor, as you must never drag or shuffle your feet. While assisted, walk slowly back and forth numerous times making a U-turn to reverse your direction. Repeat walking back and forth until you develop a "feel" for the stilts. Practice walking until you feel secure and are able to walk unassisted. ADJUSTMENT FOR WALK If you have a tendency to lean forward or backward while walking, you should adjust the action springs. Make the following adjustments after removing your stilts. To correct for leaning forward while walking, tighten the upper spring adjuster. To correct for leaning backward while walking, tighten the lower spring adjuster. Never tighten adjusters more than 1/5 of the way down, or approximately 15 turns, as it will limit the stilt action and impose excess stresses on the components.
By clicking "Accept All Cookies", you agree to the storing of cookies on your device to enhance site navigation, analyze site usage, and assist in our marketing efforts.