US $120
Directions
Similar products from PCB boards & Kits
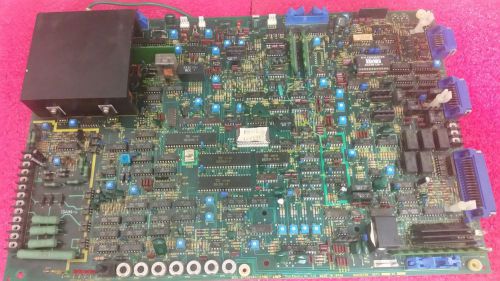
FUJI EP-2248C FRENIC 5000V2 FSD-5ar Drives-DC Servo Spindle PCB Board +warranty
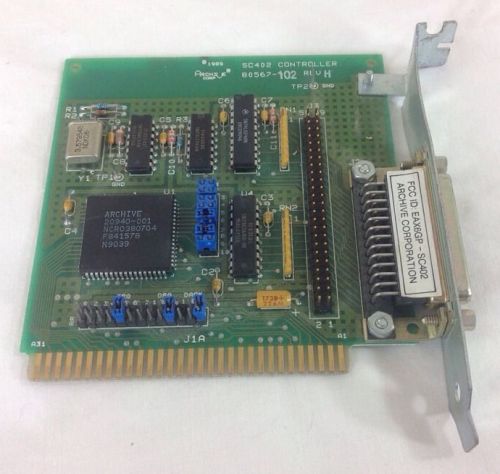
Archive 80567-102 rev.H SC402 controller board 388191 Free Shipping!
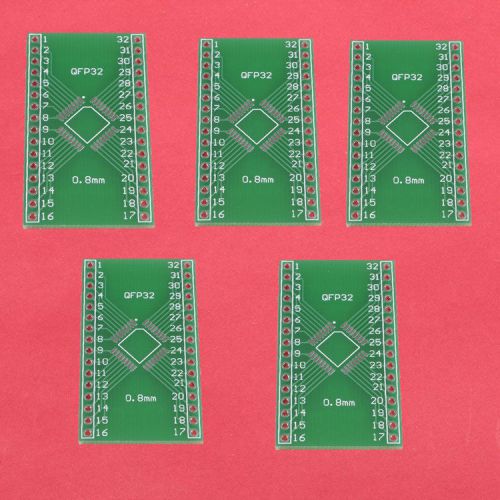
5pcs QFP32 to DIP32 Pinboard SMD Adapter to DIP 0.8mm Pin Pitch
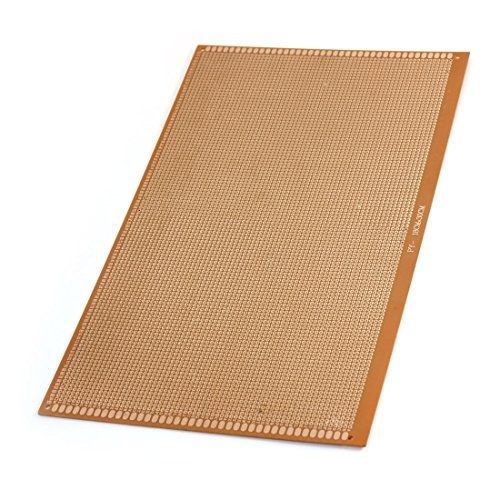
uxcell Prototyping Single Side Tinned Universal PCB Circuit Board 180 x 300mm
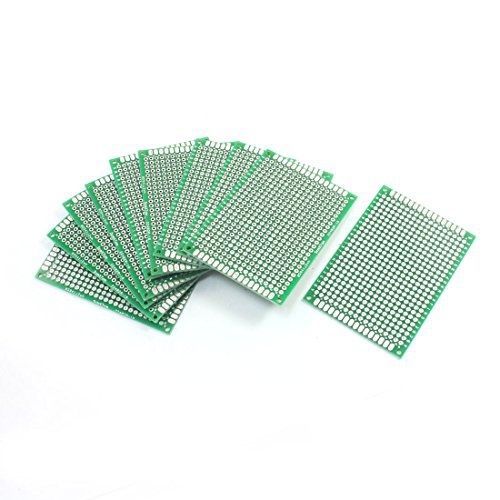
uxcell? 10Pcs Double Sided Protoboard Prototyping PCB Board 5cm x 7cm
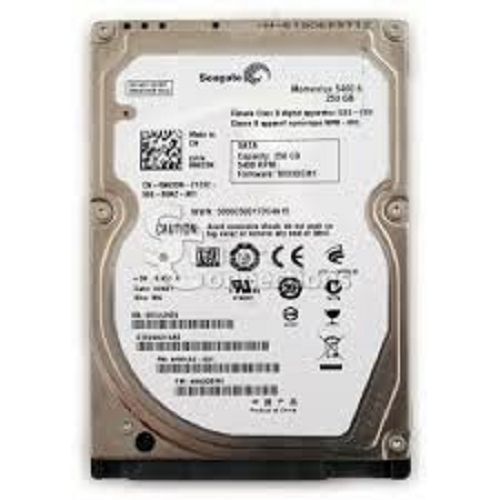
Seagate Momentus ST9250315AS 250GB 2.5" 5400 RPM SATA II Laptop Hard Drive
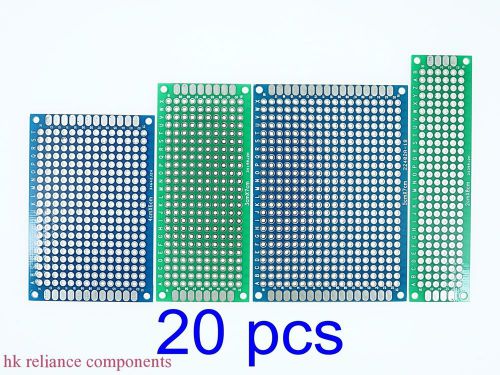
20 pcs PCB Universal Prototype Circuit Board 2x8 3x7 4x6 5x7mm Thickness 1.2mm C

2001 Electrovert Speedline 5 Zone Reflow Oven

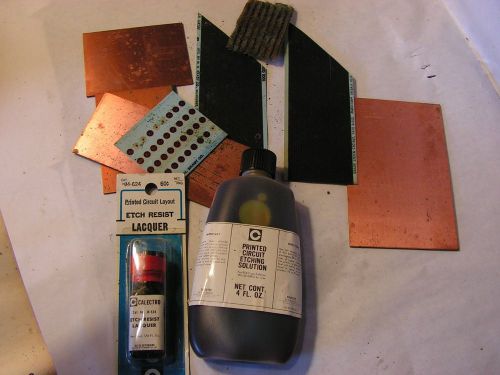
Dry Film Solder Mask - Bungard Solder Mask 6 sheets 10x16cm
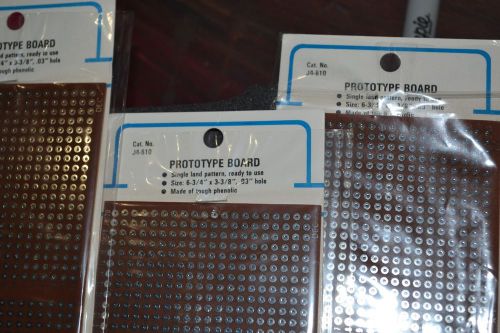
PROTOTYPE BOARD J4-610 SINGLE LAND PATTERN NOS VINTAGE
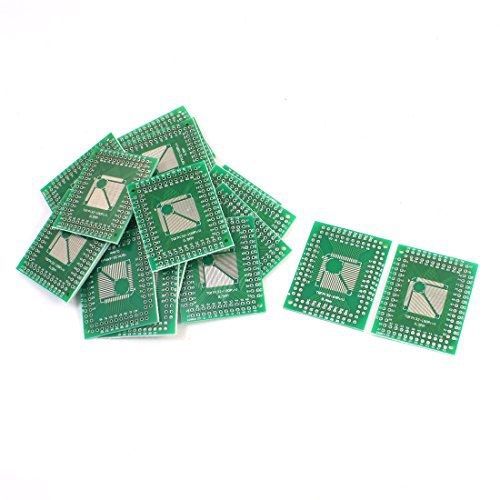
uxcell 20Pcs 0.5mm 0.8mm TQFP(32-100) to 2.54mm DIP SMD IC PCB Adapter Socket

Intermatic K42221-70 Photoelectric Sensor 1800W 8.3A 120V AC 50/60Hz

ST3250820AS, 9BJ13E-566, 3.AFE, 100436209 C, Seagate SATA 3.5 PCB
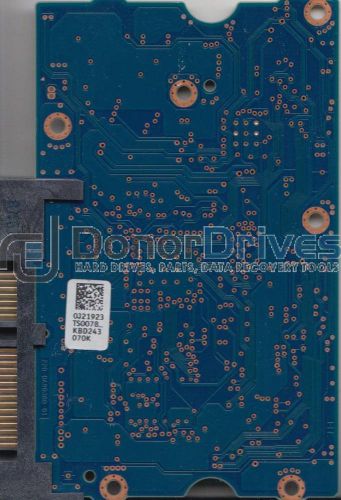
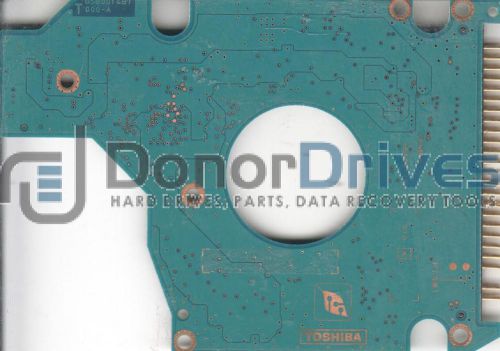
DT01ABA300, 0J21923 TS0078_, HDKPJ08A0A01 S, AA00/BB0, Toshiba SATA 3.5 PCB

ST31500341AS, 9JU138-302, CC1J, 100512585 F, Seagate SATA 3.5 PCB
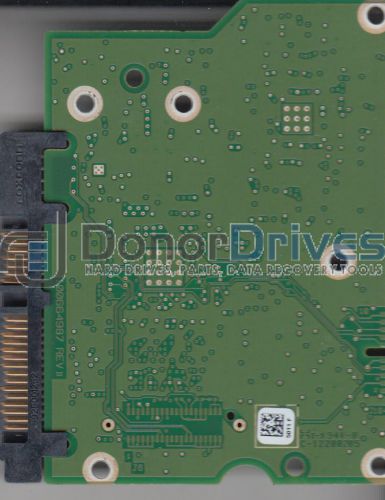
ST2000DM001, 9YN164-306, CC4H, 5011 F, Seagate SATA 3.5 PCB
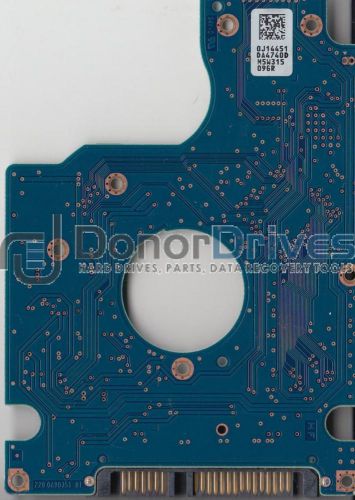
HTS541075A9E680, 0J14451 DA4740D, 0J26252, DA5112, Hitachi SATA 2.5 PCB
MK8032GAX, A0/AD001A, HDD2D15 C ZL01 T, G5B001487000-A, Toshiba IDE 2.5 PCB

HTS542580K9SA00, 0A53120 DA1684C, 0A54911, DA2153, Hitachi SATA 2.5 PCB
People who viewed this item also vieved
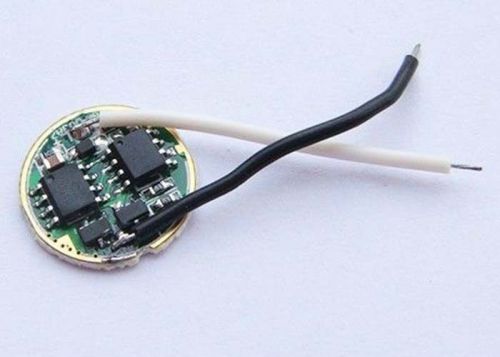
20 pcs Driver 3.7V-4.2V 350mA-3000mA for Cree XML High Power Led
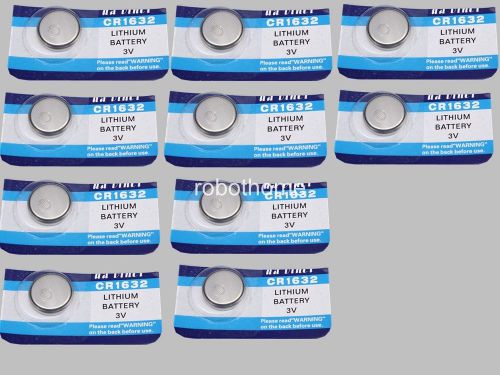
10PCS CR1632 Button batteries 3V Li Battery Cion Batteries watch Batteries
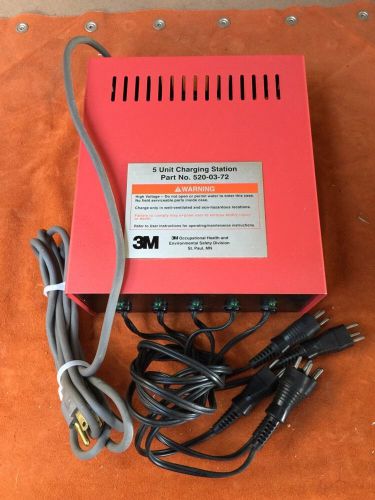
3M 520-03-72 5 UNIT CHARGING STATION 5 UNIT CHARGING STATION
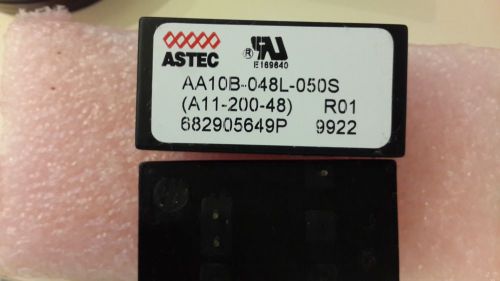
1x ASTEC AA10B-048L-050S , Module DC-DC 1-OUT 5V 2A 10W , SEE PICTURE
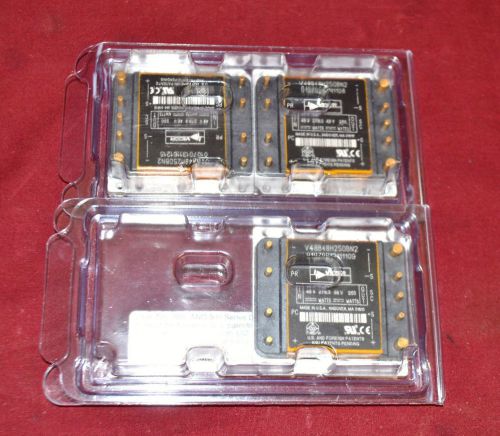
3 New Vicor DC/DC Power Converter Supply Module V48B48H250BN2 - 48v 250w &E
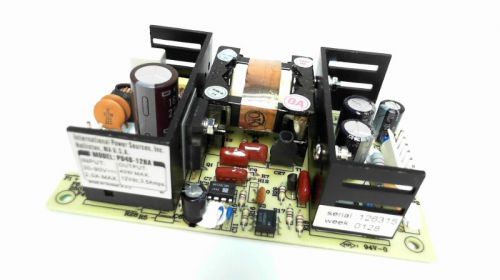
PD40-12HA, IPS power supply In: 30/90Vdc@2A Out: 12Vdc@3.5A, 40W
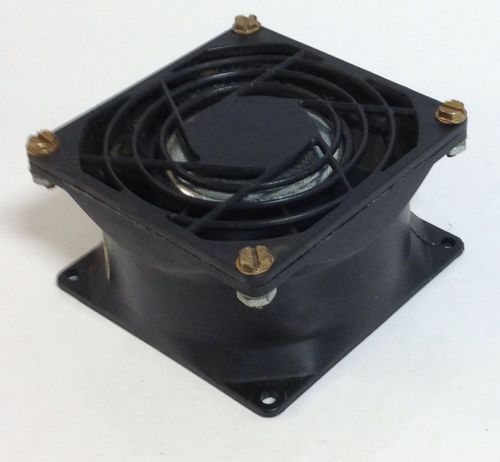
COMAIR ROTRON * 24V .12A 2.9W COOLING FAN MODEL CD24B2 * 032002
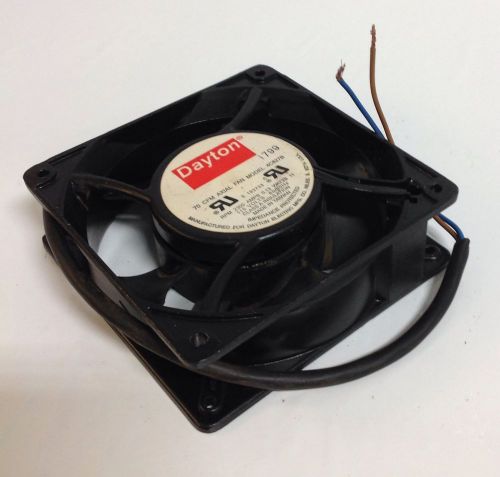
DAYTON * 115V 2300 RPM 0.13A 11W AXIAL FAN MODEL 4C827B * 70 CFM
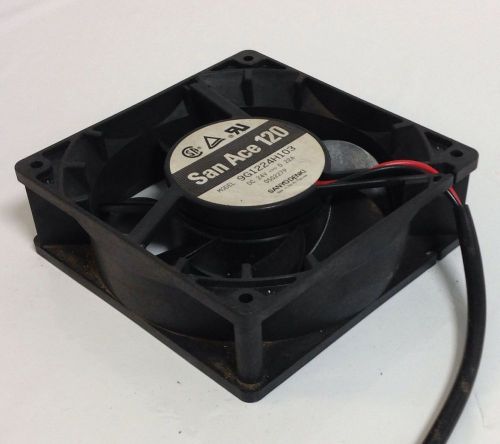
SANYO DENKI * SAN ACE 120 24V .022A MODEL 9G1224H103 * 050227P
NEW Lexmark Heat Insulation Bushing 12G1479
NEW AEMC 3160.01 DIGITAL INDICATOR 300AMP DISPLAY
Dialco Incandescent Light 6.3V, 200mA -- 507-3909 -- (Lot of 5) New
Matsushita Electronic Buzzers EAL-069A DC 6V
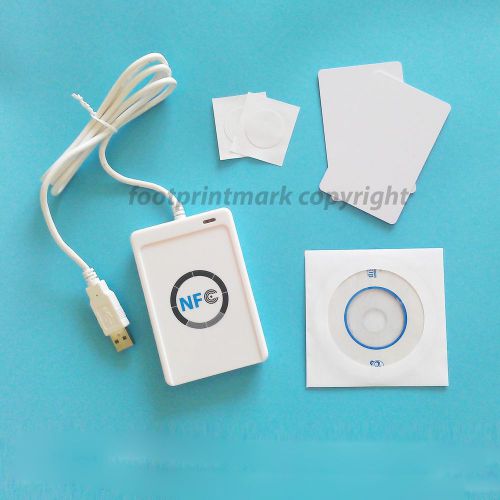
NFC ACR122U RFID Contactless smart Reader & Writer/USB + SDK + 2Mifare IC Card
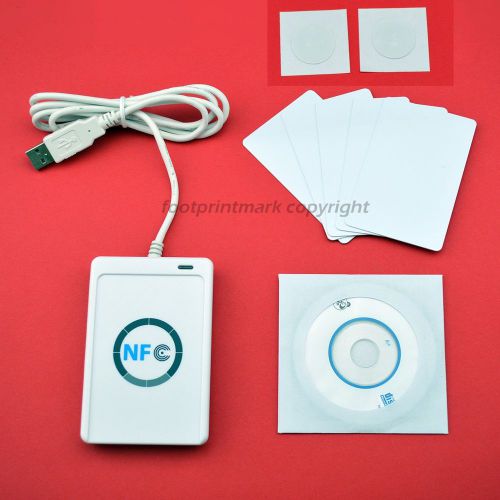
Contactless smart Reader NFC ACR122U RFID & Writer/USB + SDK + Mifare IC Card
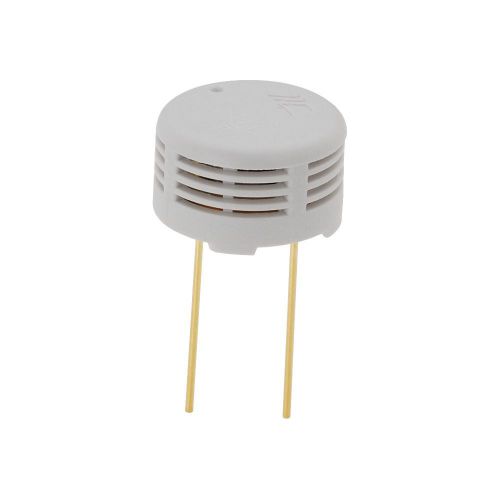
HS1101 Humirel Humidity Sensor for Arduino or Micro Controller PIC Atmel
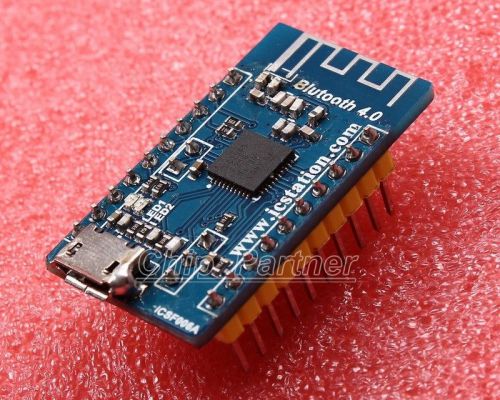
ICSF006A Transceiver Module Bluetooth Wireless Module 4.0
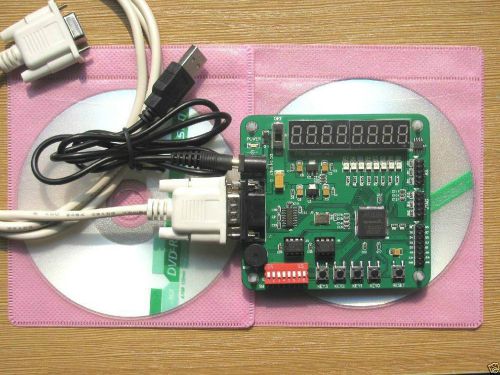
New FPGA STARTER Altera FPGA EP1C3T100 Development Learning Board with USB cable
Actel Flash Pro FPGA Programmer
Needham's EMP-10 Device Programmer
BP MICROSYSTEM CP-1128 PLD EPROM PROGRAMMER - USED
By clicking "Accept All Cookies", you agree to the storing of cookies on your device to enhance site navigation, analyze site usage, and assist in our marketing efforts.
Accept All Cookies