


US $175.00
| Condition | Used
:
An item that has been used previously. The item may have some signs of cosmetic wear, but is fully operational and functions as intended. This item may be a floor model or store return that has been used. See the seller’s listing for full details and description of any imperfections.
|
| Seller Notes | “Excellent condition - open box” |
Directions
Similar products from Stamping Machines & Embossers

USI United Silicone US VPC Hot Stamping Stamp Machine 5x8 220v 1phase
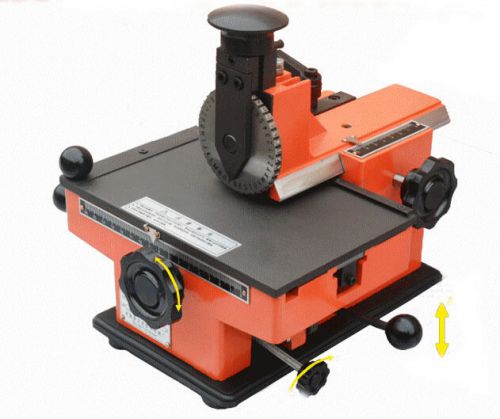
Semi-automatic Nameplate Metal Label Stamping Printer Marking Machine 4mm New
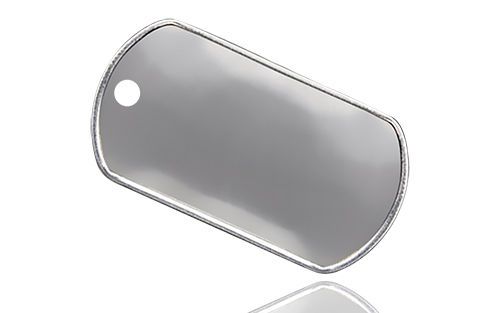
100 Stainless Steel Military Dog Tags. Authentic Rolled Edge Matte Finish
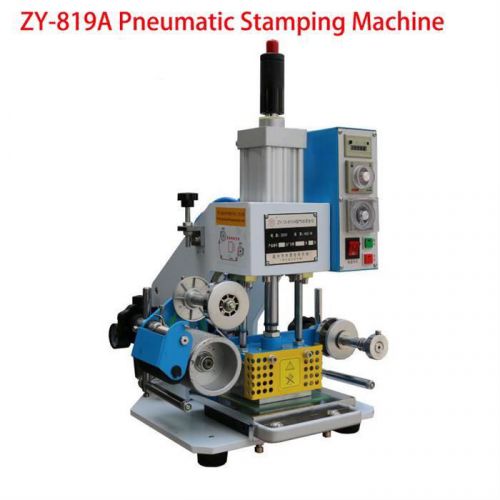
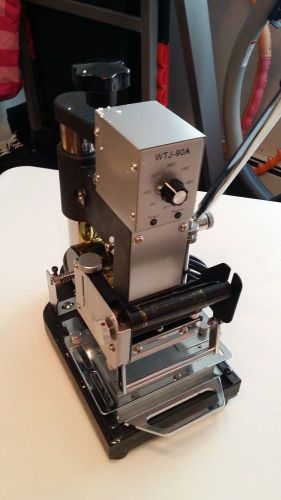
80*90mm Printable Area Pneumatic Hot Foil Stamping Machine
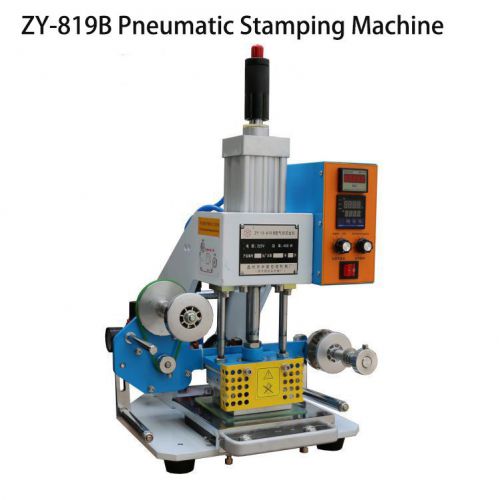
220V Pneumatic Hot Foil Stamping Machine 80*90mm Printable Area
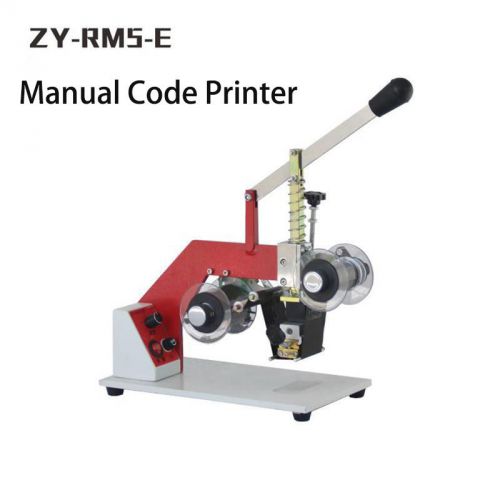
Manual Code Printer 50mm Printing Area Brass Head Code Printing Machinery
Patent 1909 Addressograph Co. Graphotype Model G1 Metal Dog Tag Stamp Machine

Harvey SterileMax Barnstead/Thermolyne ST75925 Steam Sterilizer

Kwikprint Model 86 Hot Foil Stamping Machine Press

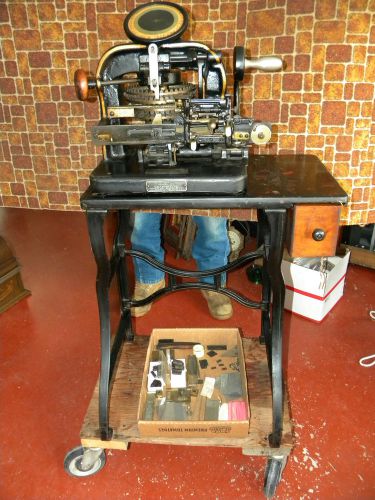
Howard Imprinting Machine Model J-100-A

Vintage S H Moss Telephone Number Stamp Machine - New York Telephone Company


Yudu personal screenprinting machine with lots of extras

Vintage Automark Marking Systems Model EMT-2PX Typewriter Indenting System

Kingsley Machine Stamping Machine Model M101-I Digital

- One incomplete Set - Franklin Manufacturing Corp. numerals 2831
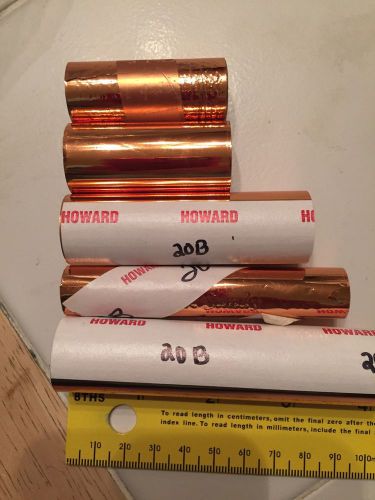
5 rolls Howard Foil for Hot Stamping machine imprint Copper 20B Kingsley lot

12 rolls Howard Foil for Hot Stamping machine imprint Green 50B Kingsley lot
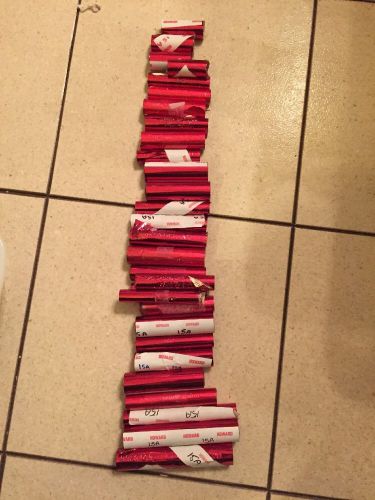
29 rolls Howard Foil for Hot Stamping machine imprint Red 15A Kingsley lot

8 rolls Howard Foil for Hot Stamping machine imprint Red 15L Kingsley lot
People who viewed this item also vieved


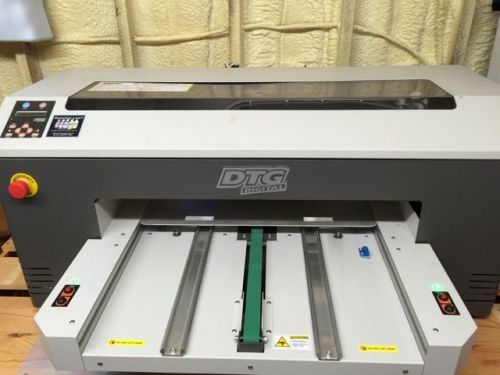
DTG M2 Direct To Garment Printer

12" x 16" 156 Mesh - Screen Printing Screens
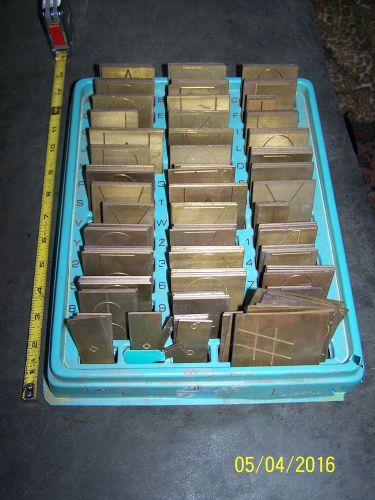
150 Large 2 3/4" Brass Engraving Plate Fonts, Complete, New Hermes
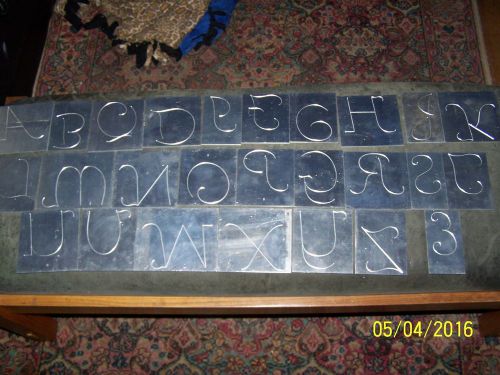
Set Large 4 1/2" Aluminum Engraving Plate Fonts, New Hermes
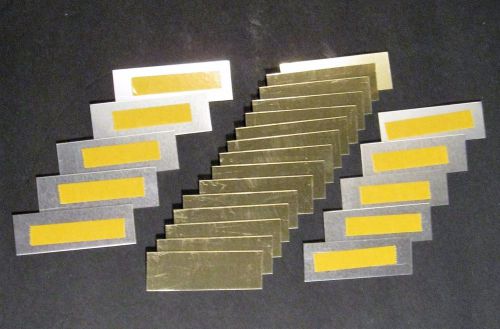
Trophy Engraving Plates 25 Pieces Bright Gold Aluminum 1" x 3" With Tape

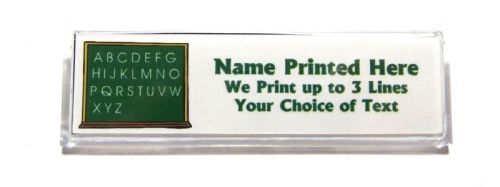
Blackboard ABC Custom Name Tag Badge ID Pin Magnet for Teacher School Tutor
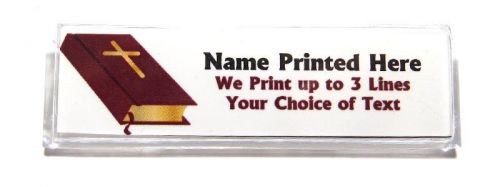
Bible Cross Custom Name Tag Badge ID Pin Magnet for Pastor Church Volunteers
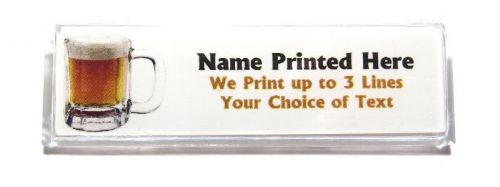
Beer Mug Custom Name Tag Badge ID Pin Magnet for Brewer Drinker Bartender Bar
Basketball Custom Name Tag Badge ID Pin Magnet for Player Team Coach Sports Fan
By clicking "Accept All Cookies", you agree to the storing of cookies on your device to enhance site navigation, analyze site usage, and assist in our marketing efforts.
Accept All Cookies