US $14.99
| Condition: |
New: A brand-new, unused, unopened, undamaged item in its original packaging (where packaging is
applicable). Packaging should be the same as what is found in a retail store, unless the item is handmade or was packaged by the manufacturer in non-retail packaging, such as an unprinted box or plastic bag. See the seller's listing for full details.
...
|
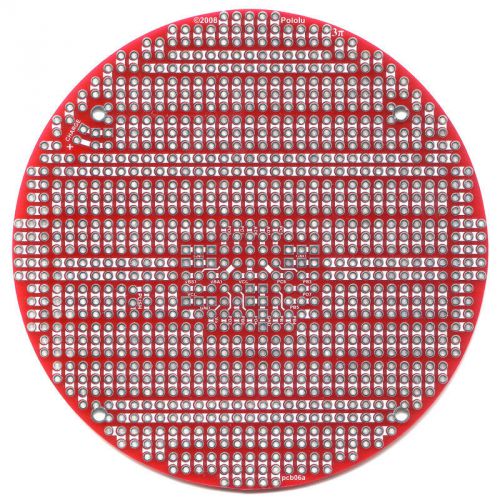
Brand | Pololu |
Directions
Similar products from Robot Kits, Robot Arms & Legs & Robotics Spare Parts
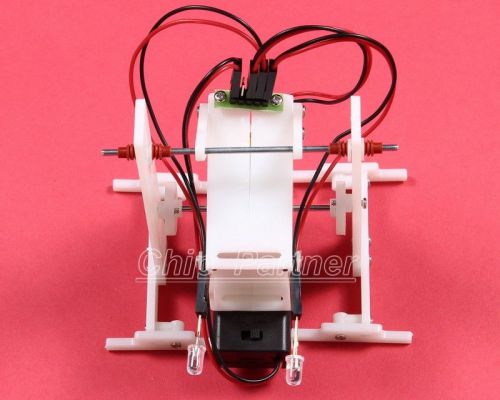
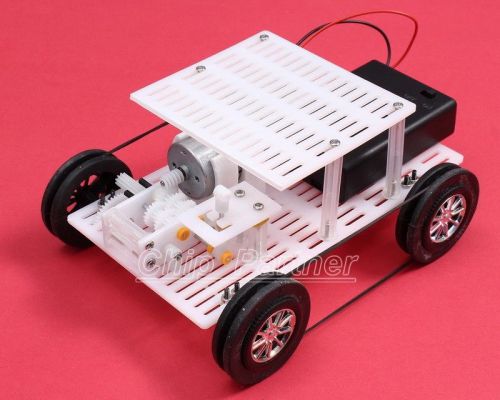
DIY Car Electric Robot Educational Hobby Robot Puzzle IQ Gadget
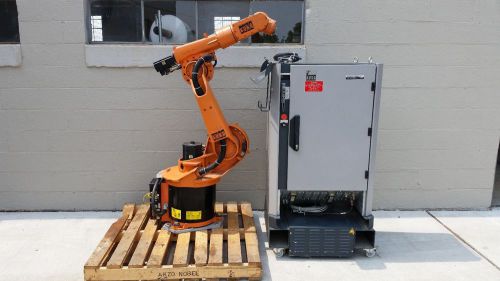
Kuka - KR15/2 Robotic System w/ KRC2 Controller
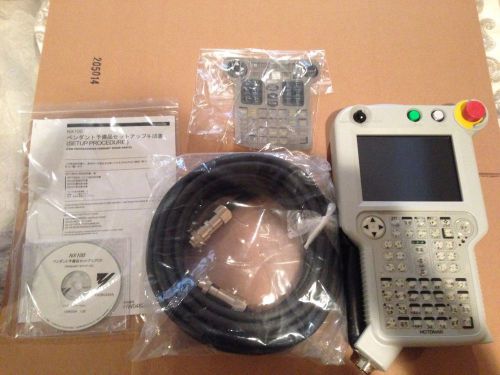
Motoman Yaskawa JZRCR-NPP01B-1 Teach Pendant W/Cable
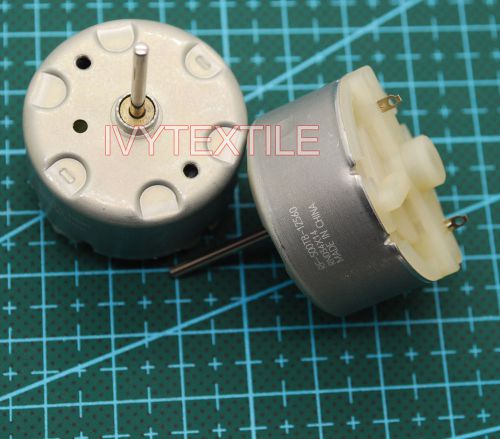
Mabuchi RF-500 Motor-DC Motor - RF-500TB-12560 12V 25MA 5600RPM
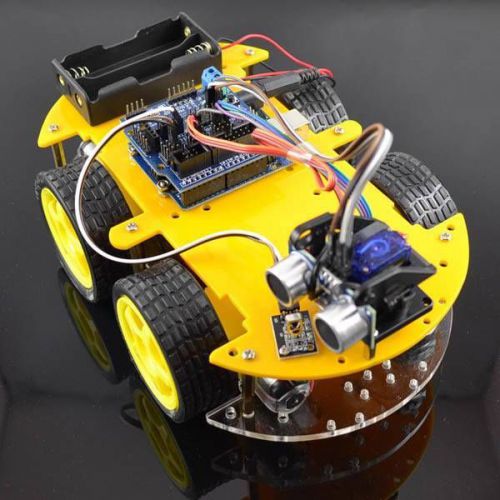
Car Smart Robot Arduino Bluetooth Controlled 4wd L298N Motor Remote Control Kit
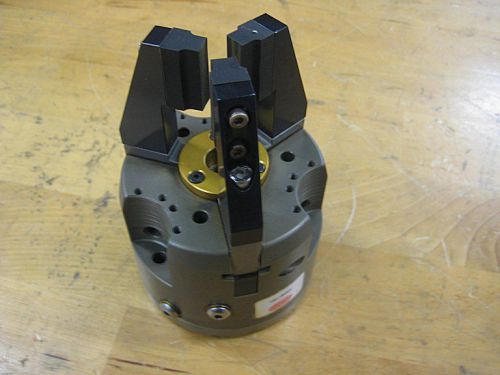
Destaco Robohand 3-Jaw Self - Centering Pneumatic Gripper PPC-12-RE-C
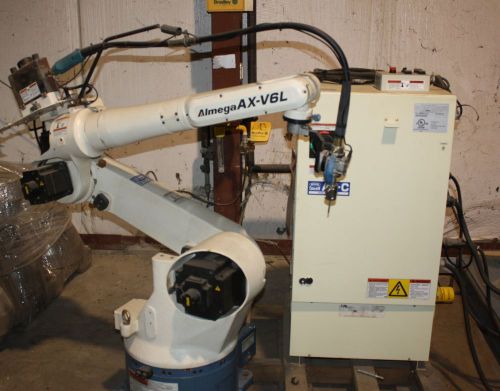
ALMEGA AXCML1-V000 ROBOT ARM WITH CONTROLS - 2005 Model used less than 2 hours

Metal Robot Chassis Track Arduino Tank Chassis Wali w/ Motor Stainless Steel
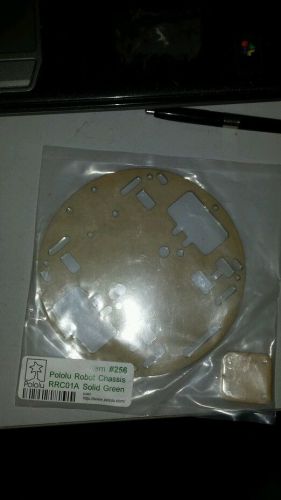
Pololu Robot Chassis RRC01A Solid Green #256
Robot Kits » 3pi Expansion Kit with Cutouts - Red

Robot Kits » 3pi Expansion Kit without Cutouts - Black

Robot Kits » 3pi Expansion Kit with Cutouts - Black
Robot Controllers » Orangutan SVP-324 Robot Controller (partial kit)
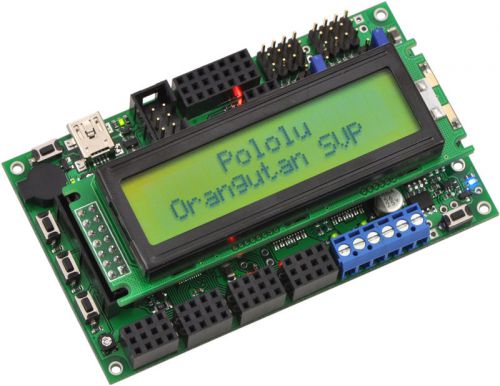
Robot Controllers » Orangutan SVP-324 Robot Controller (assembled)
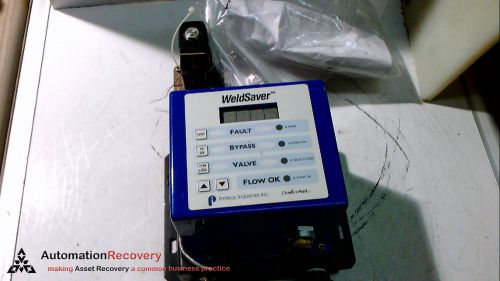
PROTEUS INDUSTRIES INC. 9WS2WRAE-355 WELDSAVER WATER SAVER FOR ROBOTIC
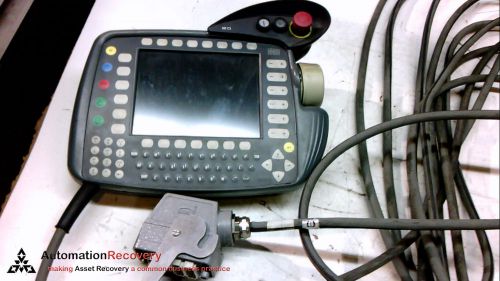
KUKA 00-106-198 50/60HZ TEACH PENDANT
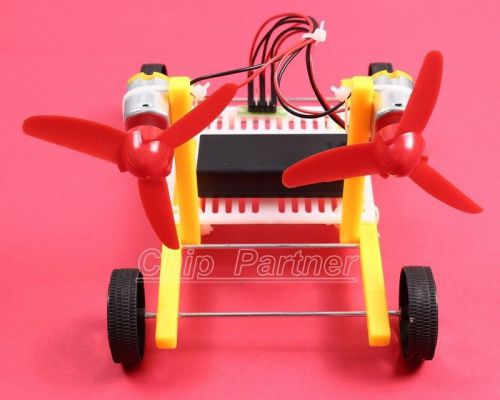
DIY Car Wind Power Car Educational Hobby Robot Puzzle IQ Gadget
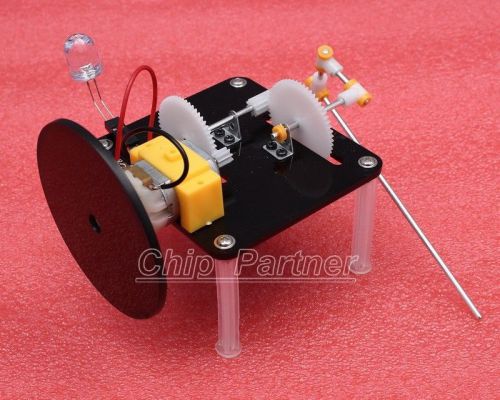
DIY Kit Hand Generator Hand DC Dynamo Hobby Robot Puzzle IQ Gadget

FANUC ROBOTICS A05B-2487-D003 R-J3IB GM WWP ARP ARM I/F UNIT - FREE SHIPPING!!
DIY Kit Gear Shift Toy Car 3 Gears Variable Speed Hobby Robot Puzzle IQ Gadget
People who viewed this item also vieved
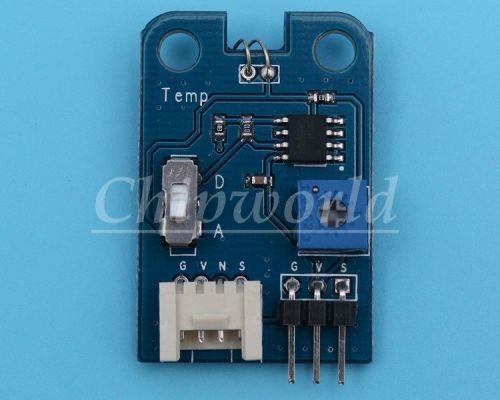
1pcs Electronic Brick Temperature Sensor Temperature detector 3.3V/5V DC new
NEW MONITOR KAX ROTARY PADDLE BIN MONITOR 115V-AC LEVEL SENSOR D501178

SICK S10B-9011BA Standard Safety Zone Laser Scanner Module 1042266
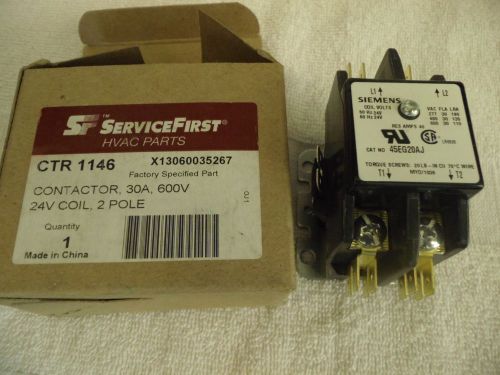
Service First Contactor 2P, 30A, 24VAC, CTR 1146
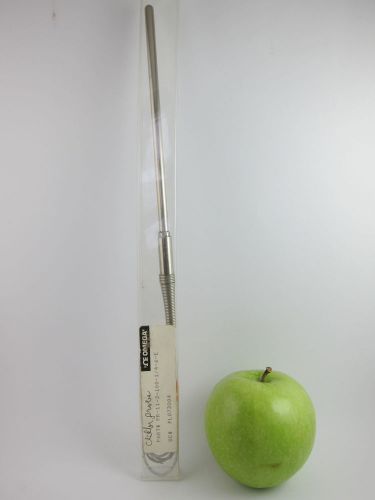
OMEGA PR-11-2-100-1/4-6-E, RTD Sensor 100 Ohms, RESISTANCE THERMOMETER
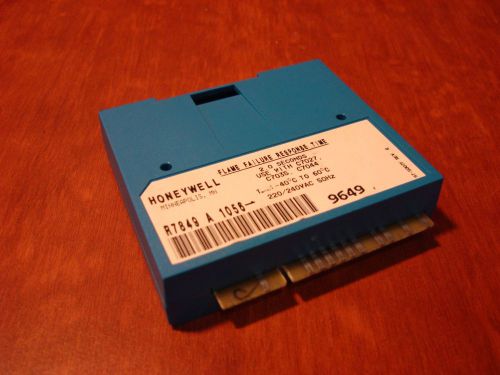
Honeywell ultraviolet flame amplifier R7849A1056
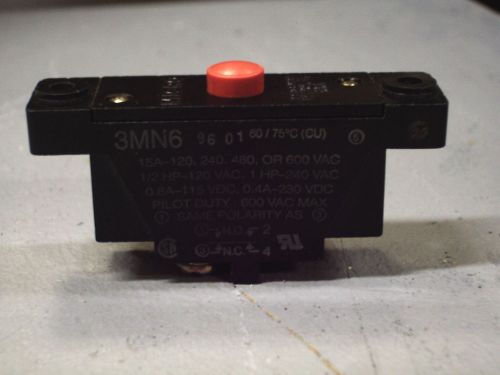
MICROSWITCH 3MN6 SNAP ACTION SWITCH
ABB EH-260 TESTED! 120VAC COIL 600V 300A-1000V 180KW-600V 250HP SIZE 5 CONTACTOR
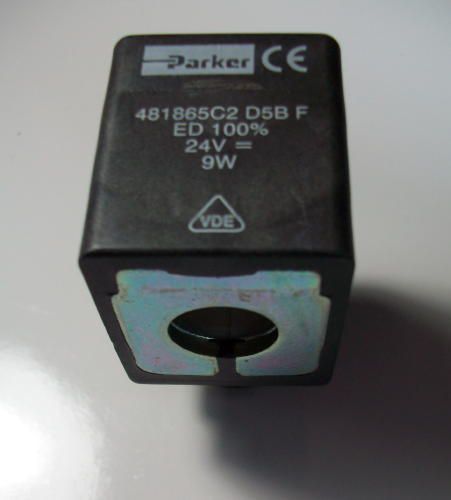
Parker LUCIFER High Frequency Solenoid Valve Coil, 481865C2 D5B, *NEW*
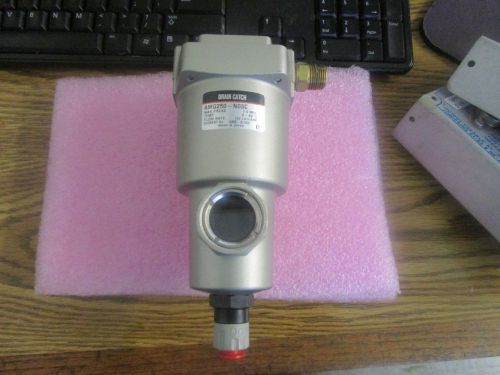
SMC Model: AMG250-N03C Drain Catch <
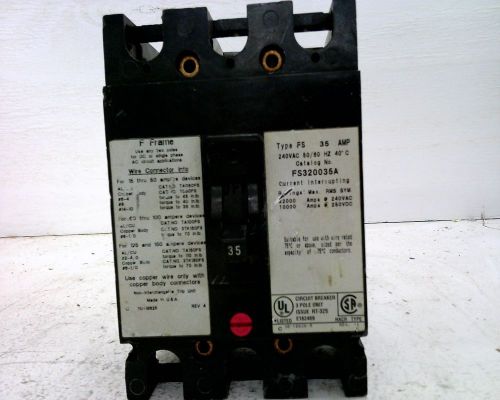
EATON CORPORATION CIRCUIT BREAKER 35A 3P 240VAC W/LUGS FS320035A
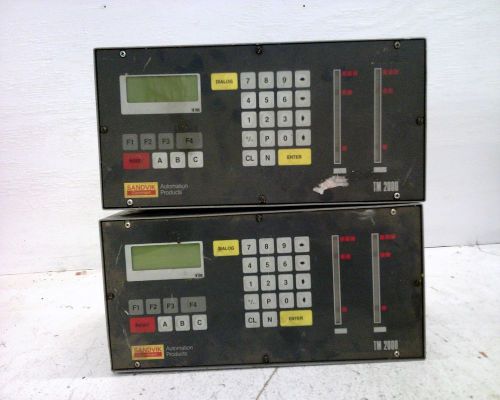
LOT OF 2 SANDVIK PROCESS CONTROLLER TM20000122
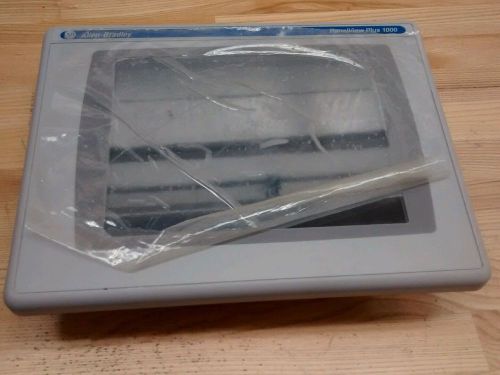
Allen Bradley Panel View Plus 1000 HMI (Human Machine Interface)
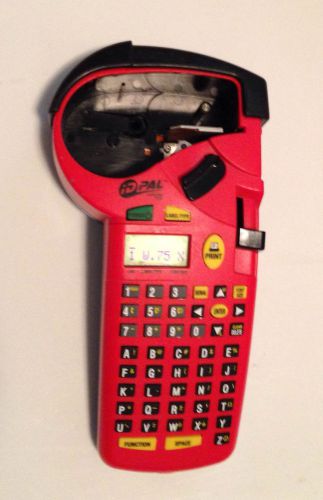
BRADY ID PAL LABEL PRINTER - FORTUNE 500 SURPLUS ITEM - NO CARTRIDGE

THOMAS & BETTS MD 1210F-1 UNINSULATED FEMALE DISC (BOX OF 8) *60 DAY WARRANTY*TR
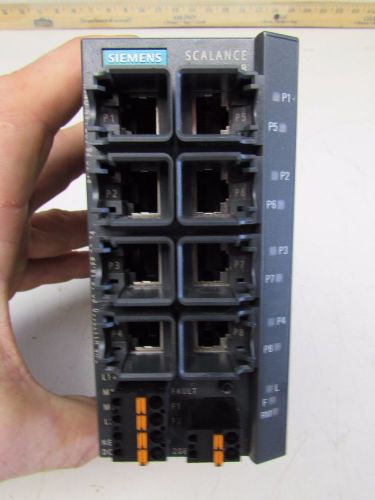
SIEMENS SIMATIC NET SCALANCE X208 6GK5208-0BA10-2AA3 8-PORT ETHERNET SWITCH
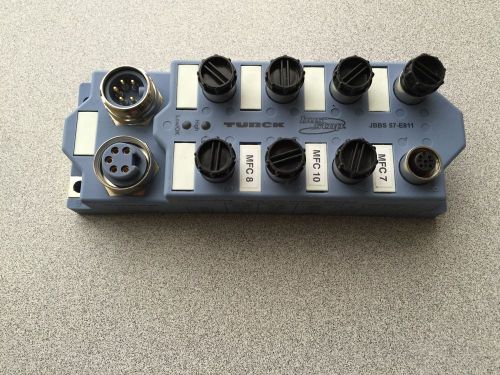
TURCK JBBS-57-E811 Bus Stop DeviceNet Hub with Voltage Monitor
By clicking "Accept All Cookies", you agree to the storing of cookies on your device to enhance site navigation, analyze site usage, and assist in our marketing efforts.
Accept All Cookies