
GBP 85.00
| Condition | Used
:
An item that has been used previously. The item may have some signs of cosmetic wear, but is fully operational and functions as intended. This item may be a floor model or store return that has been used. See the seller’s listing for full details and description of any imperfections.
|
| Seller Notes | “working in good condition” |
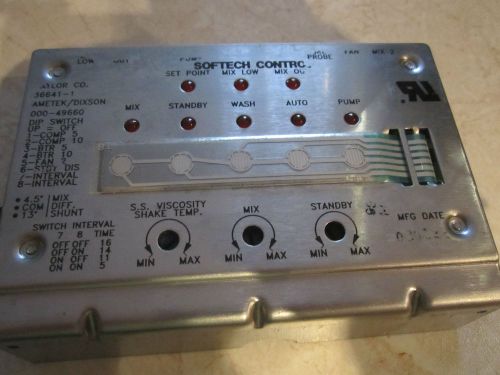
Directions
Similar products from Ice Cream Makers

Taylor Ice Cream machine or yogurt BLOWER 754, 794,339,336,774,an more tested

Taylor Ice Cream machine Horizon motor-reducer used tested par t# 051874-27

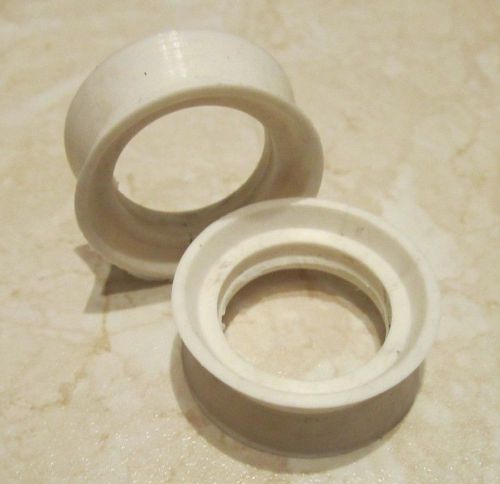
Taylor Ice cream machine Beater fits C712, C706,C708,8754,8756 With Blades

Taylor Ice Cream machine freezer door hand screws set of 4 fits 754, 339 most

2 BEATER SEALS for CARPIGIANI Super/Tre/BP 30mm ID
2 Centre Pistons 'H' Ring for CARPIGIANI
Air Regulating Pipe 21cm Long for CARPIGIANI - LOT.
2 BEATER SEALS for CARPIGIANI 24mm ID

Zerolon Gelato Spade Zeroll Teflon Finish TubMate Spade ) New in box

2 Non Return Valves for CARPIGIANI

Taylor Ice Cream Machine 3 head

Taylor Soft Serve Twist Ice Cream Yogurt Machine 339-27 AIR COOLED - 1 PHASE

Rotary Switch Knob for CARPIGIANI - a single necessary part .

3 BEATER BLADE for CARPIGIANI super uno or 281.


2 Alpine Frozen yogurt machines
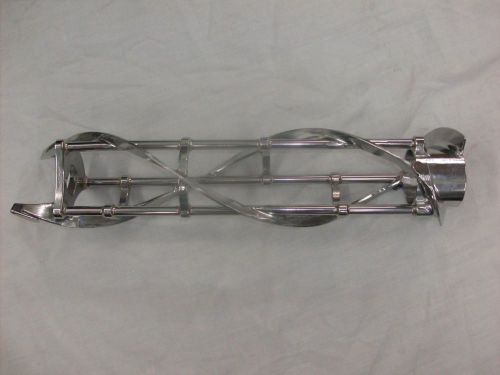
Taylor Ice cream or Yogurt machine Beater fits C713, C707,C709,754,and most 700
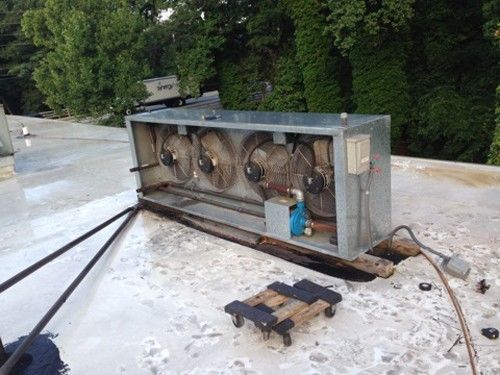
Airdyne GP-6 Glycol Unit Glycol-Pak Water Cooled Ice Cream Soft Serve Machines
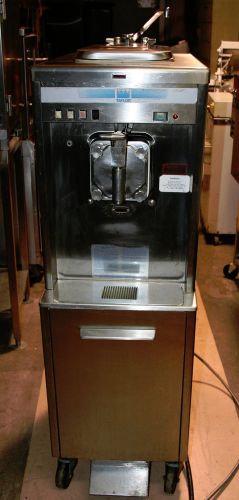
Taylor 452-27 ShakeMaster Shake Freezer --3-Flavors + Vanilla - Floor Model
People who viewed this item also vieved

USED MasterBilt BMG-27 Refrigerator Merchandiser 25.0 cu.ft. 30"W

Used Federal RSSSC-2B Open Merchandiser Grab and Go Display Case

Used 2 Door Glass True Freezer - Model GDM-49F
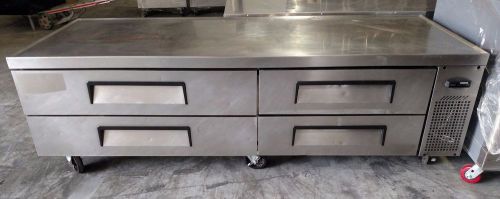
USED TURBO AIR 19 CHEF BASE REFRIGERATOR-EXTENDED TOP W/ (4) DRAWERS - TCBE-82SD

Used True 2 Door Glass Cooler Model GDM-49- NEW COMPRESSOR

UGUR COMMERCIAL 50" GLASS CURVE SLIDING TOP ICE CREAM FREEZER CHEST

TRUE DOUBLE SOLID DOOR REACH-IN FREEZER 35 CUBIC FEET T-35F "9 Months Old"


Beverage Air Double Door Stainless Steel Freezer Great Working Condition

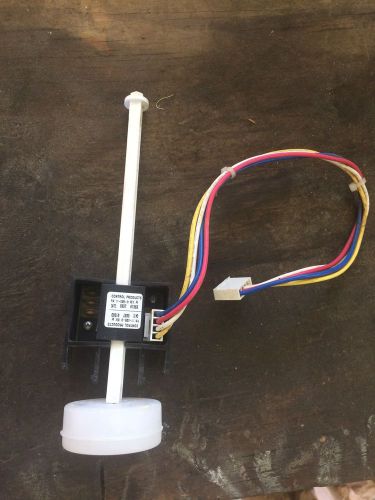
True Freezer Used Rocker Door Fan Switch
Scotsman Float Assembly 11-0539-01
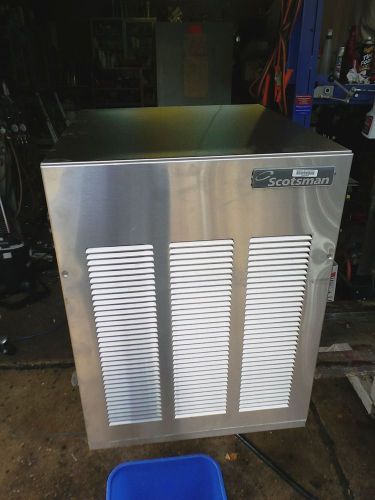
Scotsman Ice Flaker fully tested 800 lbs in 24 hrs head unit 115 vac aircooled
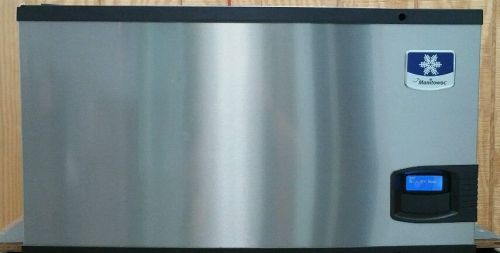
MANITOWOC INDIGIO Y-0304A-161 30" MOD 310LB HALF-DICE CUBE ICE MACHINE HEAD 115V

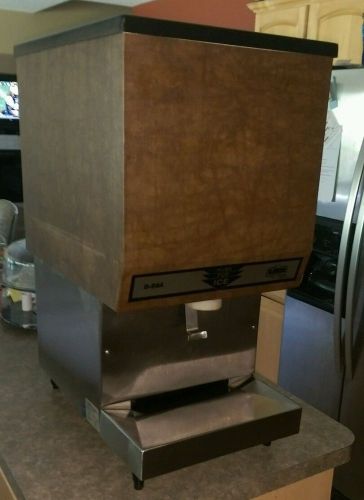
Leer D-59A Countertop Restaurant Bar Concession Stand Buffet Ice Dispenser

NEW 74" Blue Coil Temperature Sensor Replaces TRAULSEN 337-60406-02 334-60406-02


RANCO Temperature Control For Juice Machines Genuine Part# C12-1800-036

ORION Cooling Fan DC 12V 4-1/8" HC X 1-1/4" Width, Genuine Part# OD1232-12HB

Mars Air Doors STD242-1UA-OB 42" Length 3 Speed Commercial Air Curtain
By clicking "Accept All Cookies", you agree to the storing of cookies on your device to enhance site navigation, analyze site usage, and assist in our marketing efforts.
Accept All Cookies