US $199.00
| Condition: |
New: A brand-new, unused, unopened, undamaged item in its original packaging (where packaging is
applicable). Packaging should be the same as what is found in a retail store, unless the item is handmade or was packaged by the manufacturer in non-retail packaging, such as an unprinted box or plastic bag. See the seller's listing for full details.
...
|
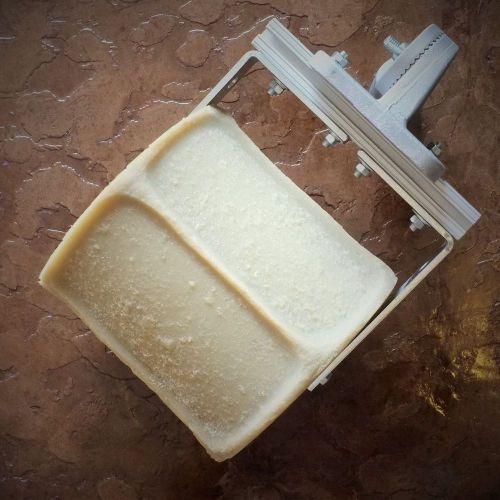
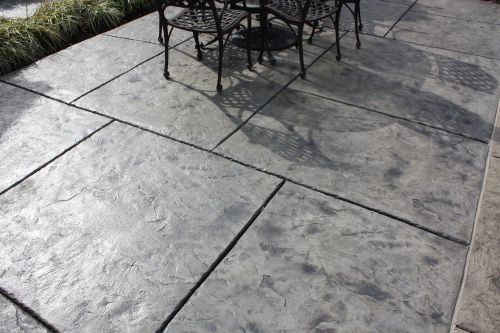
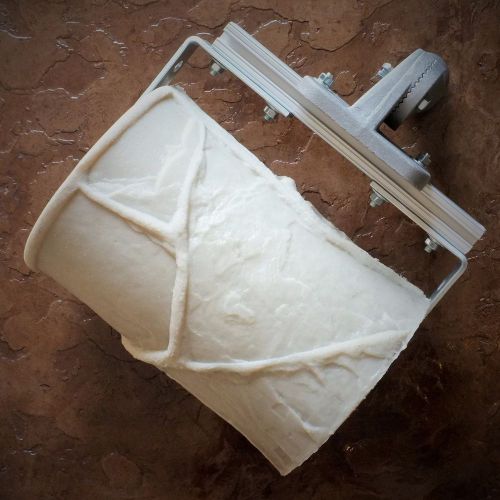
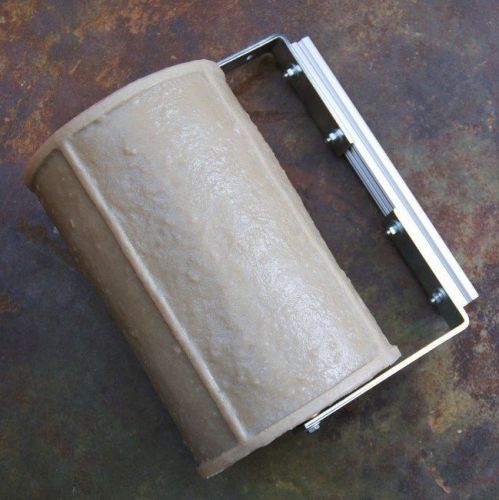
Brand | Tru Impressions |
| Country of Manufacture | United States |
Directions
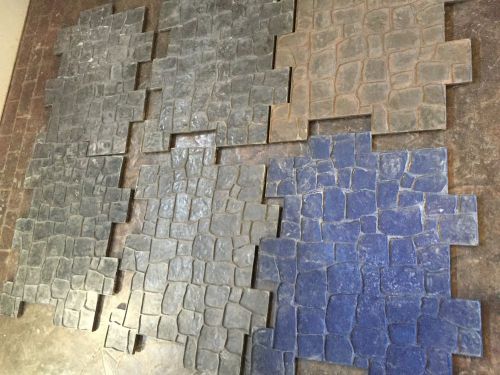
Similar products from Concrete Stamps, Forms & Mats
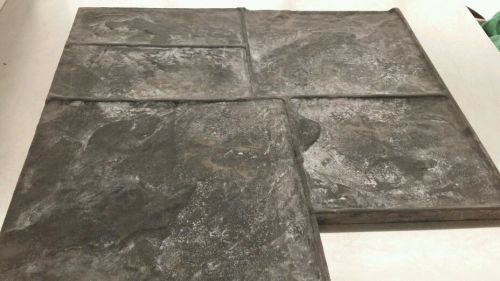

Presidential Slate Seamless skin Concrete stamp set - 4pc
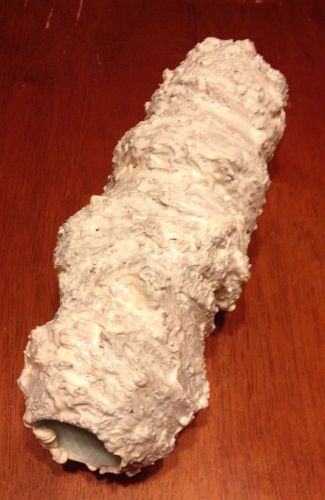
Concrete Extreme Tree Bark Texture Roller
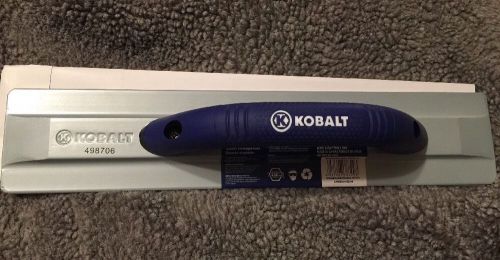
Kobalt 16" Magnesium Concrete Float #0498706 Lifetime Guarantee
Medium Gray Concrete Stamp accent release

Copper Earth Concrete Stamp accent release


Concrete Texture Flagstone Smooth Soft Rock Roller

3" Concrete Light Tree Bark Texture Soft Roller
Canyon Stone border roller for concrete stamping
Decorative concrete curbing equipment

8" Slate Concrete Border stamping roller set
California Brick Concrete Border stamping roller set
SCOFIELD Sculptured Granite Pattern set of 6 concrete stamps
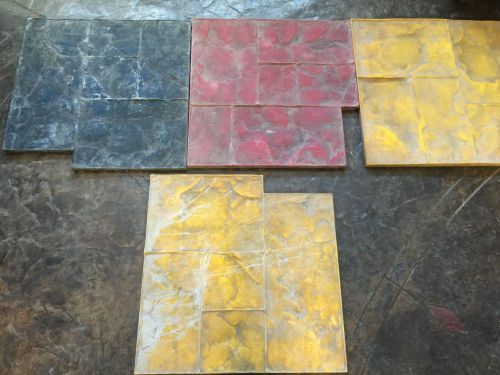
SMALL ASHLAR SLATE CONCRETE STAMP SET 3 PLUS ONE

SMALL ASHLAR SLATE CONCRETE STAMP SET THREE PLUS ONE
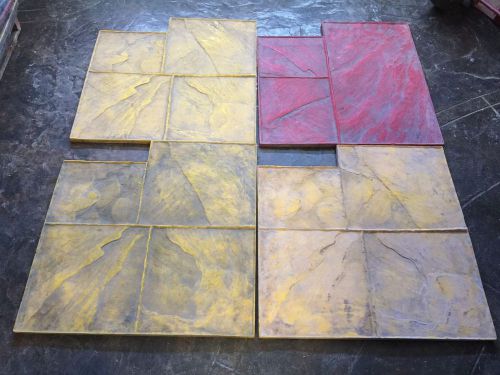
4 LARGE ASHLAR SLATE CONCRETE STAMPS 28" x 28"
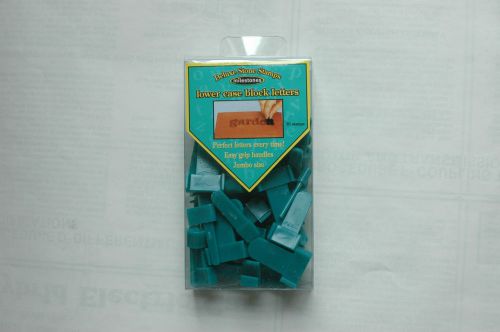
CONCRETE STEPPING STONE STAMP SET, 30 LOWER CASE BLOCK LETTERS, USED BUT CLEAN
People who viewed this item also vieved
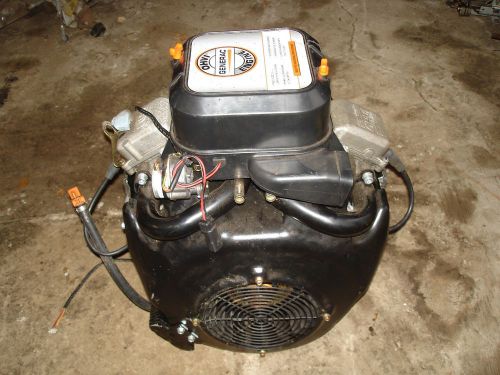
GENERAC AUTOMATIC STANDBY GENERATOR ENGINE MOTOR 999CC LP OR NATURAL GAS #OH4653
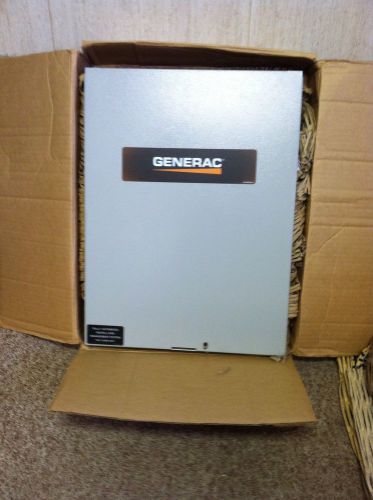
GENERAC Transfer Switch Panel Cover 0K01130AL14

DUMORE DUO - FLEX MODEL 2-161 MOTOR
![PH250 SEALEY POWER HOIST 230V/1PH 250KG CAPACITY [Hoists Lifting Tackle] NEW!](/_content/items/images/83/3496383/001.jpg)
PH250 SEALEY POWER HOIST 230V/1PH 250KG CAPACITY [Hoists Lifting Tackle] NEW!

PLETTAC SL 70 ca. 167 m2 GERUST - BauGerust, FassadenGerust
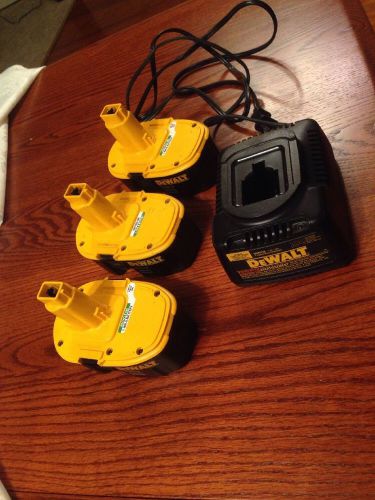
Look! Dewalt 3 Xrp 18V Batteries And Charger Dw9116 Dc9096 For Cordless Drills
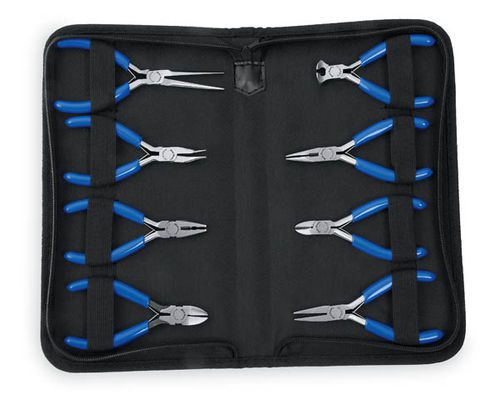
BLUE POINT/ SNAP ON 8PC PLIER SET
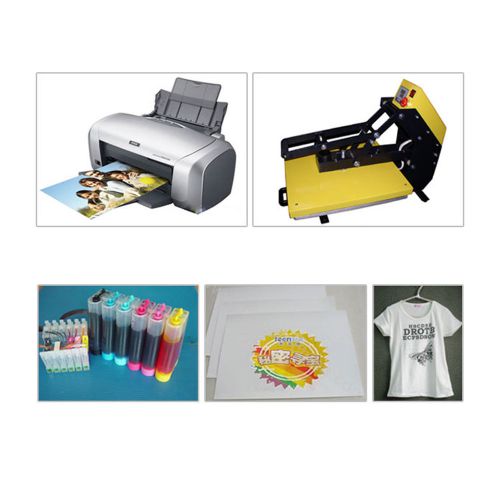
New T-shirt Heat Press Epson Printer Sublimation Kit, Transfer Paper Package

Aircraft Electrical Connector Repair Maintenance Daniels Kit DMC1567
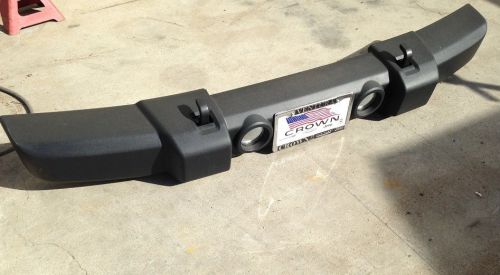
Jeep 2011-15 Wrangler JK Front Bumper Tow Hooks Fog Lights Complete Like New
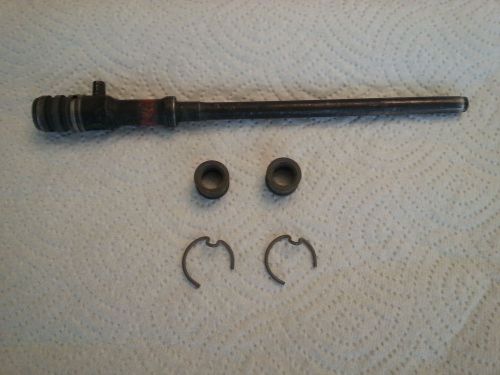
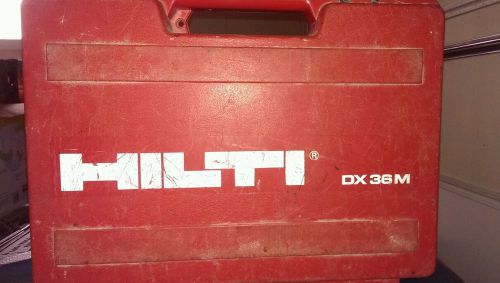
HILTI DX 36M Long PISTON 2 Stop Rings and 2 Clips FOR HILTI DX 36M Magazine
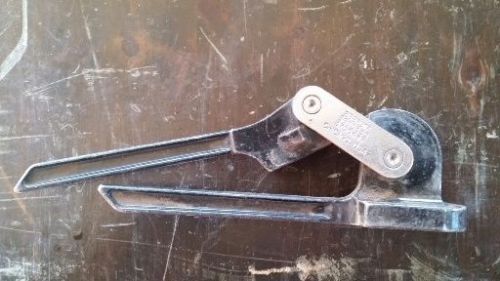
Imperial Eastman #368-FH Tube Tubing Pipe Bender 1/4" - 5/16" - 3/8" Made in USA
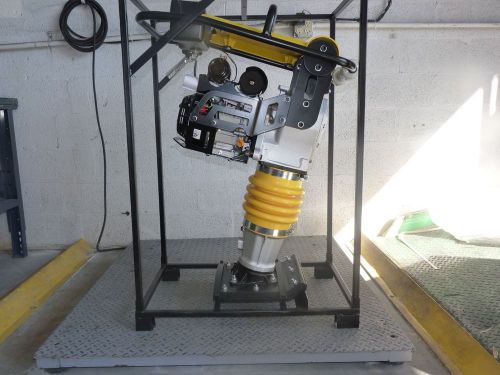
Reversable Tamping Walk Behind Jumping Jack Packer Impact Rammer
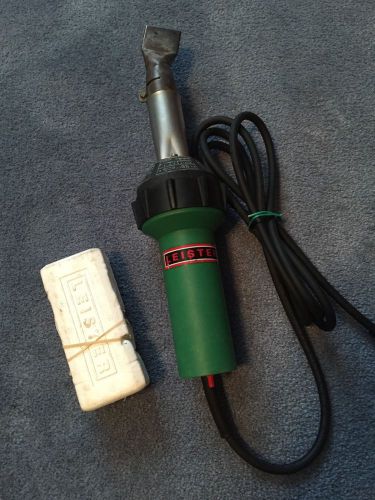
Leister Gun Includes Extra NOS Element
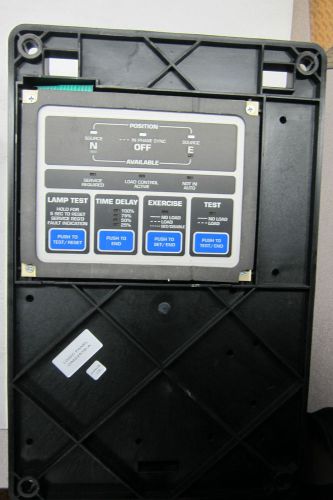
KOHLER KCT-AMTC Transfer Switch Controller
Botsch Service Kit For 11203 & 11202
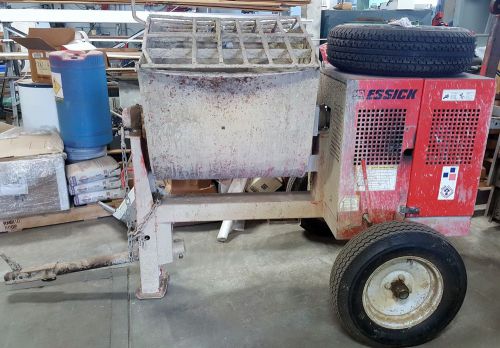
Multiquip EM-70 Essick 12CF Honda Concrete Mortar Mixer
By clicking "Accept All Cookies", you agree to the storing of cookies on your device to enhance site navigation, analyze site usage, and assist in our marketing efforts.
Accept All Cookies