AU $36.99
| Condition: | New | Brand | wisstore |
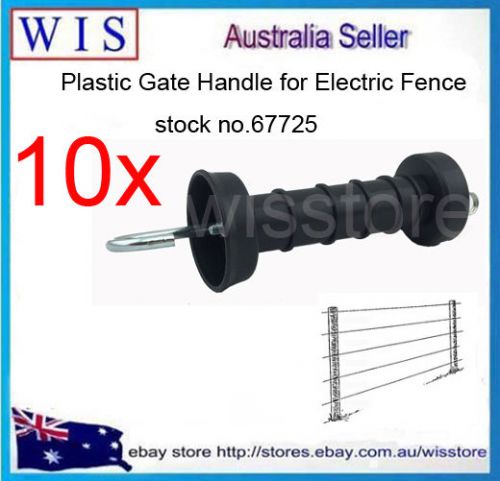
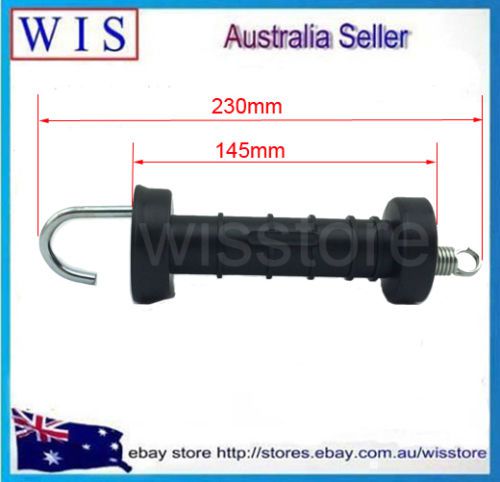
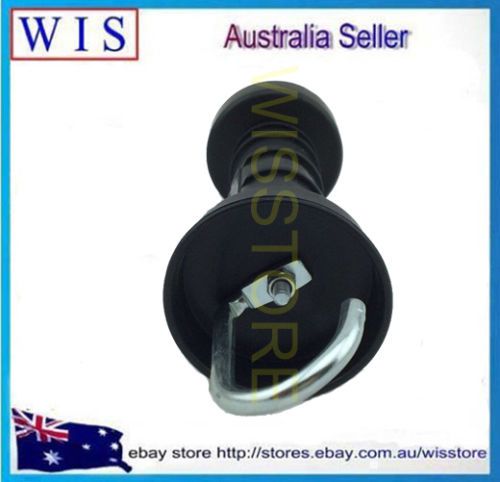
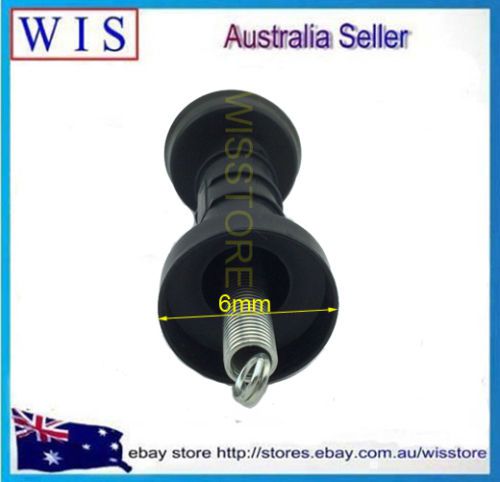
| MPN | 67725 |
Directions
Similar products from Fencing
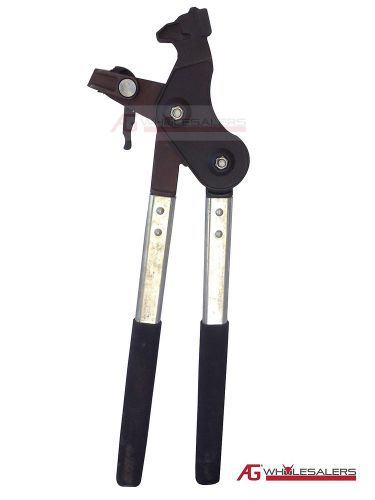
LOT OF 6 SETS....Kwikee One Hand Gate Latch..Dog, Horse, Pony, Donkey & Animals
Fencemate® Wire Joiner Tensioning Tool accepts Fastlink & Gripple fence strainer
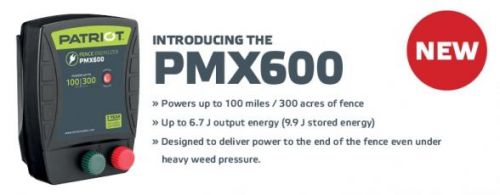
?PATRIOT PMX600 ELECTRIC FENCE CHARGER ENERGIZER ?6.7 JOULE 100MILE/300ACRE 110V

POLY WIRE 500M VERY LOW RESISTANCE HI-VIS ELECTRIC FENCE POLYWIRE HOT FENCING
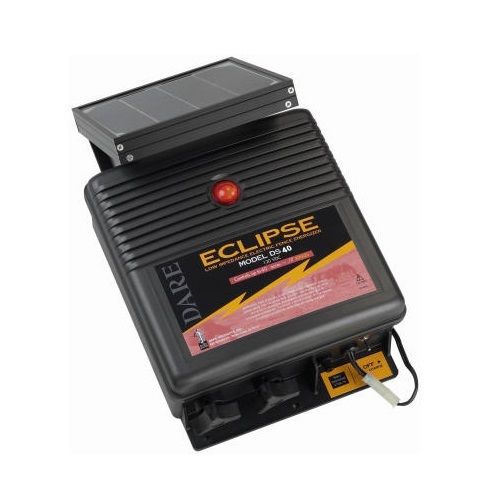
Eclipse Series Electric Fence Energizer, 40-Acre, Solar Power, 12-Volt Battery
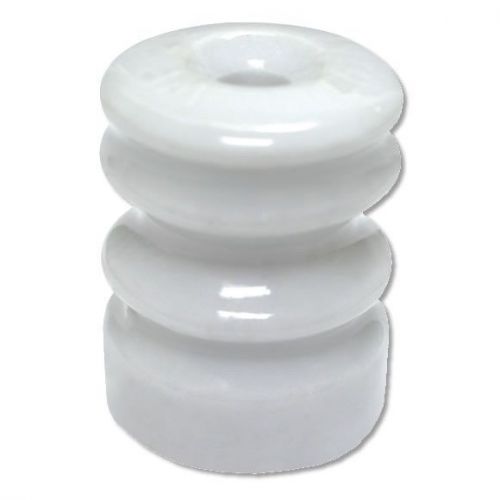
Zareba 25 Wood Post Ceramic Insulators Double-headed WP22E
Electric Fence 200m poly tape + Wind up reel - preloaded ThunderReel. Farm
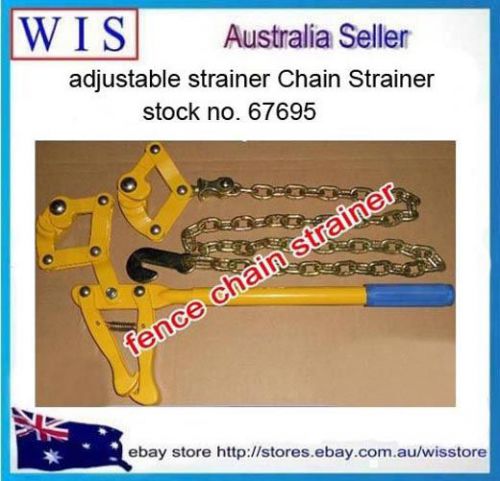
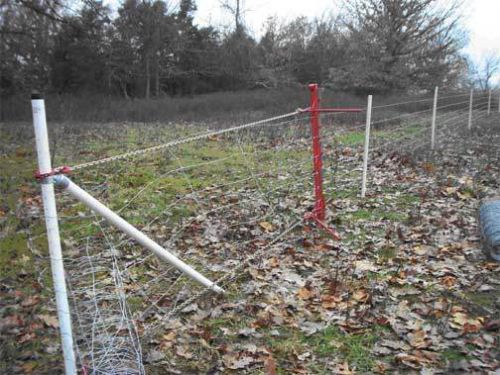
Wire Fence Strainer for Plain & Barb Wire Chain Type,Center & End Post Pull67695

iron jaw easy wire puller for fencing wires,wire strainer tool for fencing-67700
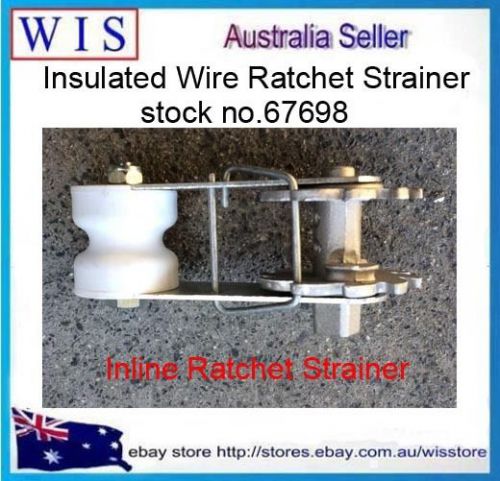
New 10 xInsulated Wire Ratched Strainer,Electric Fence Wire Tensioner-67698
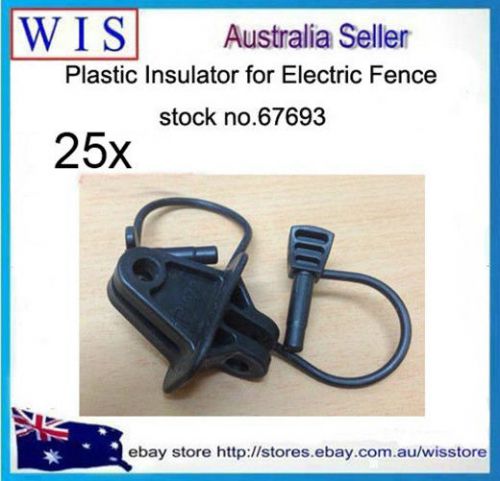
25xPinlock Insulator for Steel Post,Plastic Insulator,Electric Fence-67693

10pcs/PK Yellow Farm Electric Fence Spring Gate Handle Suit Electric Fence-67723
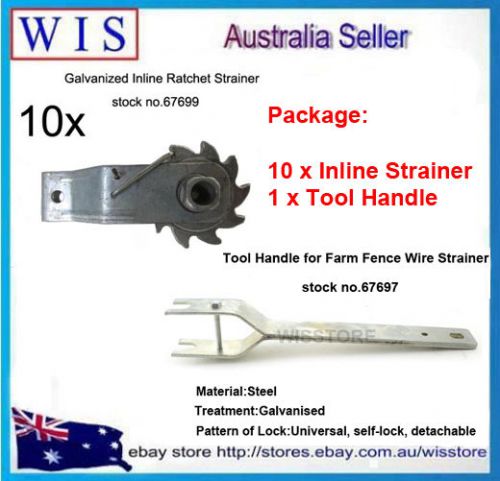
2 in 1 Tool set 10xinline ratchet strainer for fence wire tension w Tool Handle
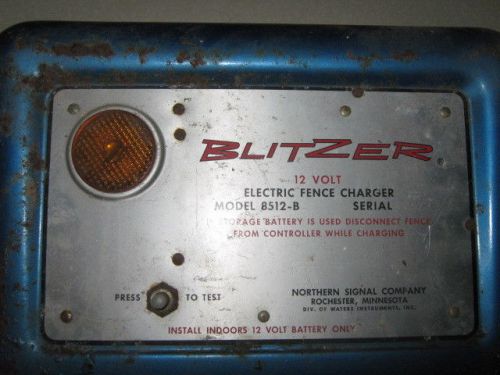
Blitzer 12 volt electric fencer
White Top Studded T 133 Fence Post Double Grip Fasteners 1000 Wire Fencing Clips
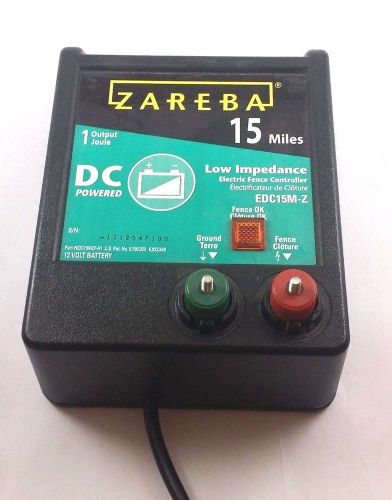
Zareba 15 Mile DC Powered Low Impedance Electric Fence Controller
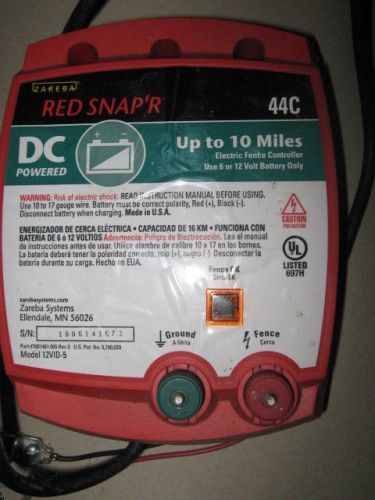
Red Snapper 6-12 volt electric fencer 44C 10 mile portable fencer
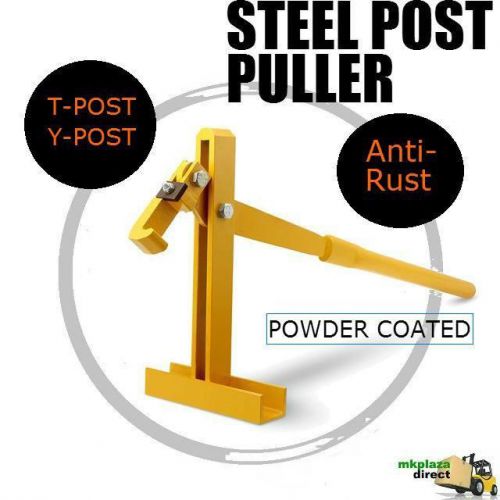
Steel Post Lifter Pickets Remover Fencing Puller Star Picket Post Remover Tool
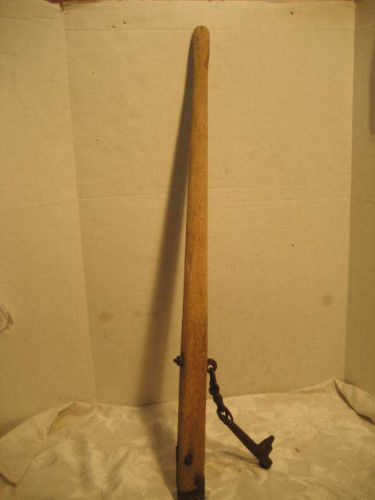
F.J. TOWNSEND WIRE FENCE STRETCHER - PAINTED POST, N.Y. - ALL ORIGINAL
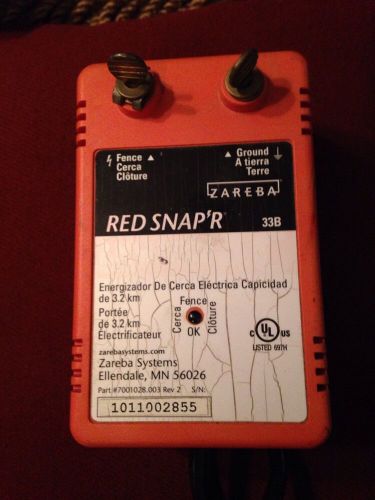
ZAREBA Red Snap'r 2 Miles Electric Fence Controller Energizer33B
People who viewed this item also vieved
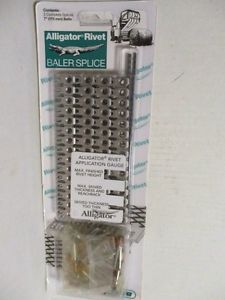
Round Hay Baler Belt repair rivet 7" lace Splice Flexco Alligator ARJ7/175
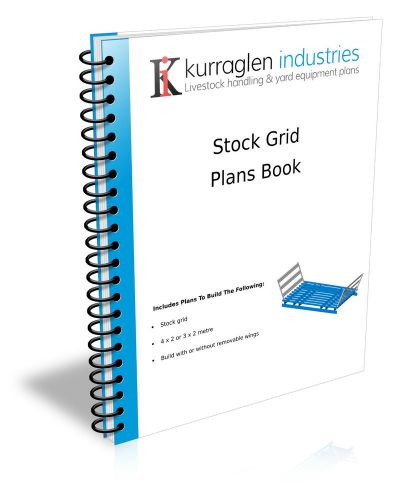
Cattle Grid Stock Grid Plans Book
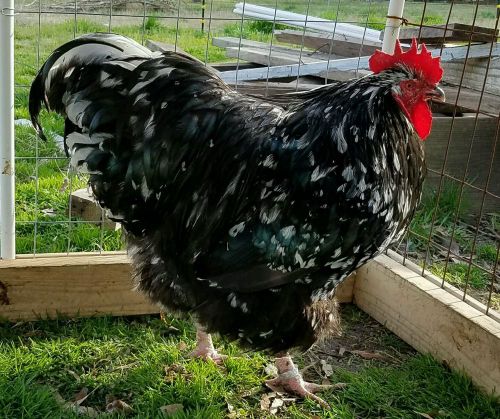
NPIP 8+ Autumn Farms/Ewe Crazy English Mottled Spangled Orpington Fertile Eggs
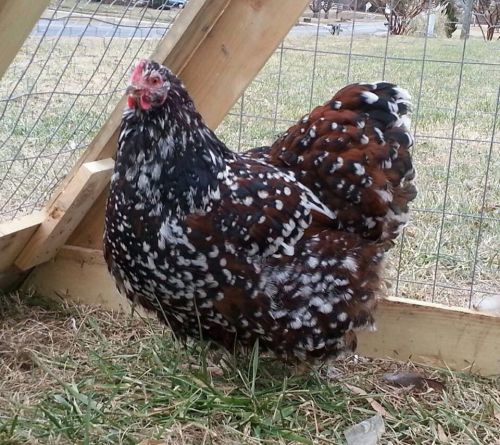
NPIP 9+ Greenfire/Sacre English Orpington Jubilee Fertile Hatching Eggs
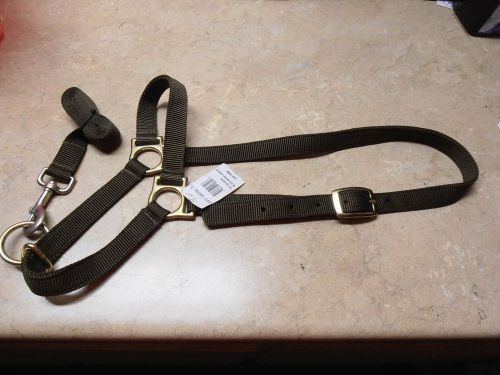
Ozark Leather HEIFER COW SIZE Livestock Brown Nylon with Lead 600-800 Pounds
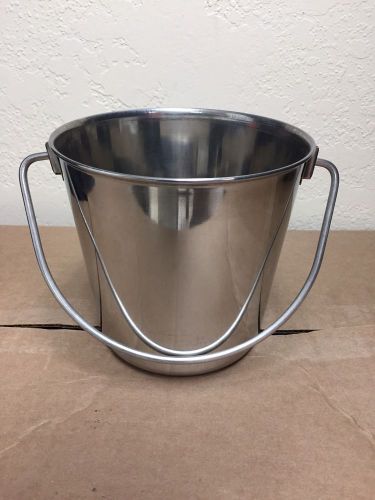
NEW Stainless Steel Pail Bucket 2 Qt Water Food Dog Kennel Milk Ice Heavy Duty
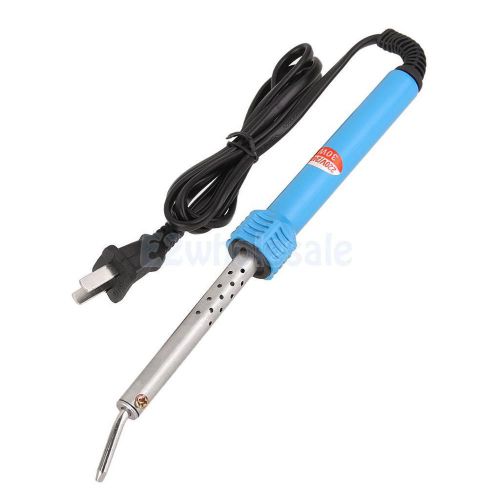
Electric Soldering Iron Bee Hive Spur Wire Embed Tool Beekeeping US Plug
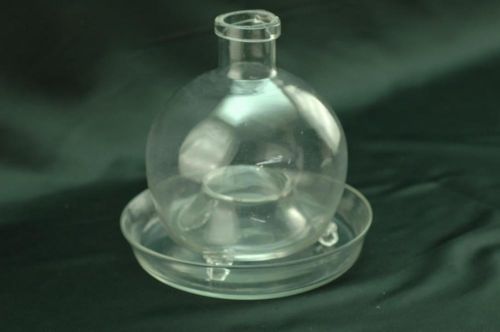
Vintage Clear Glass Insect Wasp Fly Bee Trap Catcher w/ Three Feet and Tray 9"
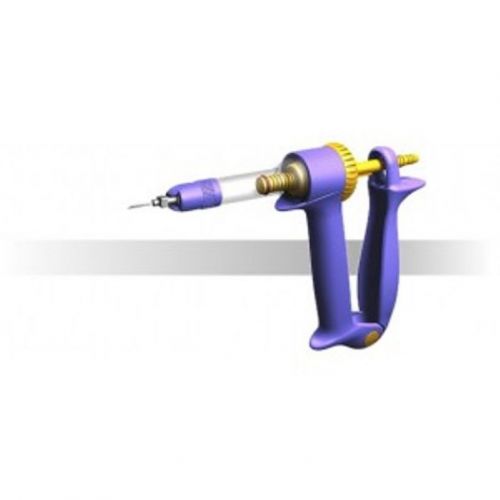
Ytex Simcro 12 ml Drencher Applicator Hi Viscosity Auto Syringe Cattle Sheep
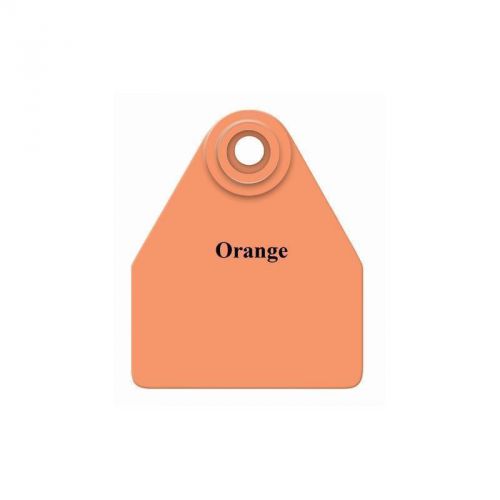
Allflex Global Medium Cattle Blank Ear Tags 25 Ct Orange
Allflex Global Medium Cattle Blank Ear Tags 25 Ct White
Sunbeam Stewart Shearmast EW311A Llama Clippers
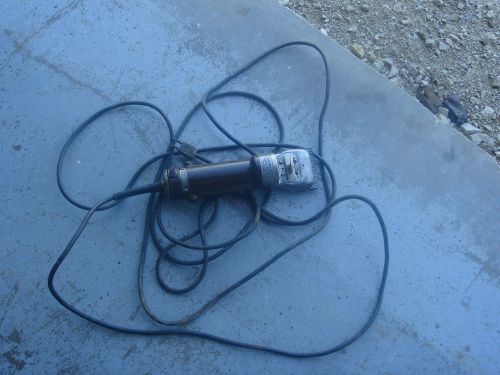
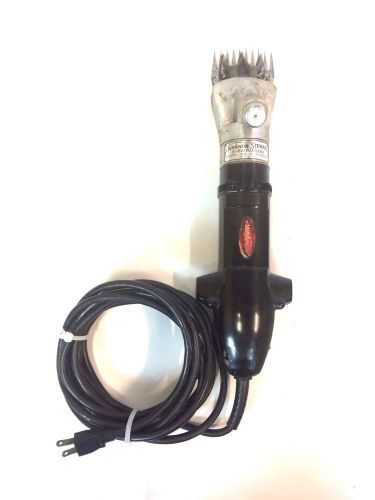
Stewart Clipmaster Model 51-2 Large Animal Livestock Farm Clippers Sheep Goat
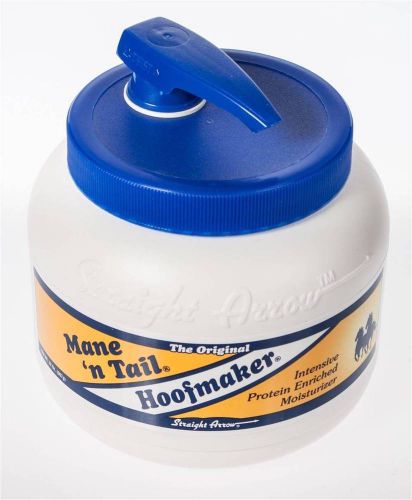
Mane 'n Tail Hoofmaker, 32 oz (sc-361429)
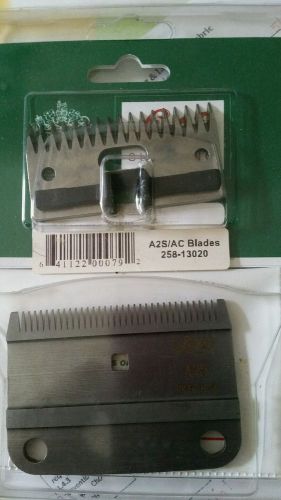
Lister Shearing A2S/AC comb and cutter set Blades 258-13020 NEVER OPENED
By clicking "Accept All Cookies", you agree to the storing of cookies on your device to enhance site navigation, analyze site usage, and assist in our marketing efforts.
Accept All Cookies