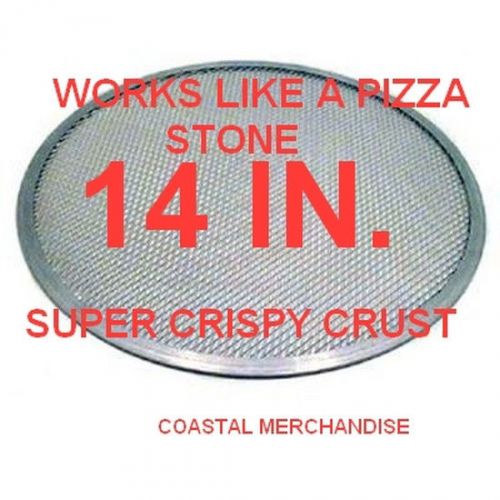
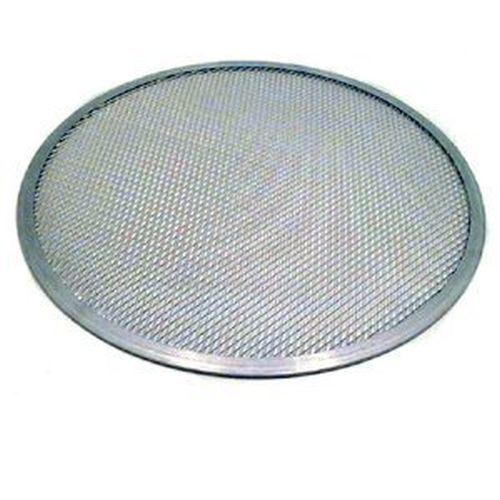
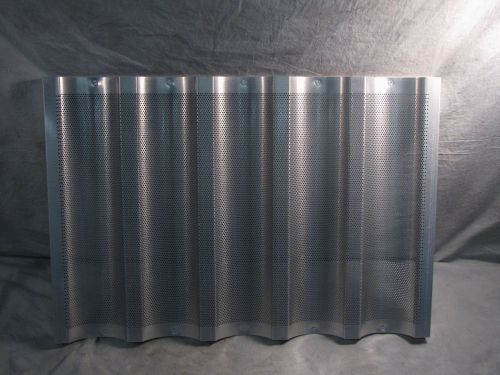
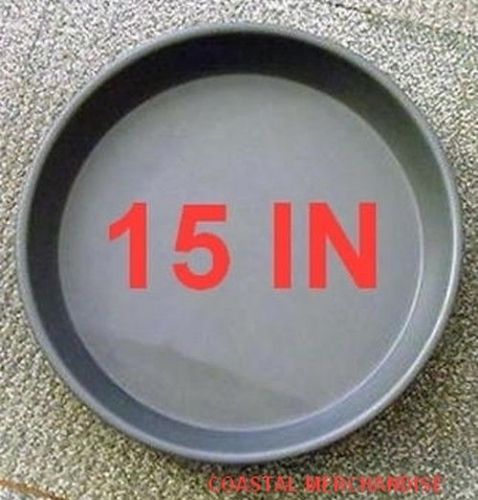
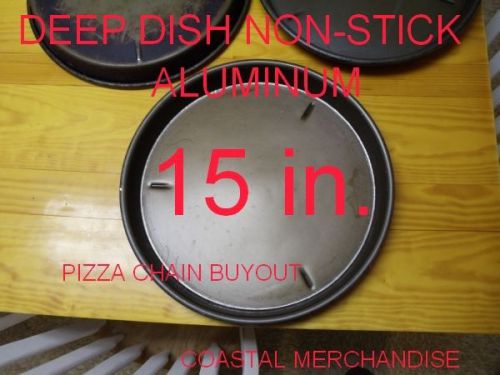
SOLD BY COASTAL MERCHANDISE YOU ARE BUYING A NEW 14 INCH ROUND PIZZA PAN SCREEN. MADE OF ALUMINUM THESE ARE NEW IN PLASTIC WRAPPER FROM MANUFACTURER. PART OF PURCHASE FROM A BANKRUPTCY SALE AT WELL KNOWN PIZZA CHAIN. READY TO USE. THERE IS A REASON WHY THE BIG PIZZA CHAINS USE THESE RATHER THAN STONES FOR BETTER CRUSTS. IF YOU'VE NEVER USED ONE OF THESE THEY ARE QUITE BETTER THAN A PIZZA STONE FOR EVEN BAKING USING BOTH CONVECTION AND RADIATION. SCREENS ARE MUCH LESS EXPENSIVE THAN STONES AS WELL. PLUS YOU CAN PLACE THE DOUGH ON THE SCREEN PRIOR TO BAKING FOR ADDING TOPPINGS. THESE WORK VERY WELL AND WERE USED DAILY BY A MAJOR PIZZA CHAIN FRANCHISE WE COMBINE SHIPPING ON THESE WITH A VERY LOW SHIPPING COST FOR 2ND & UP ITEM. BUY ONE OR MORE. (3 FOR THE RECIPE BELOW). EACH MEASURES 14 INCHES ACROSS. THESE ARE BEING OFFERED HERE AT A FRACTION OF THE ORIGINAL COST WHICH MEANS YOU SAVE BIG. YOU SAVE = YOU CLEAN UP AND USE. WE SHIP SAME DAY M-F BUSINESS DAYS WITHIN 24 HOURS SO YOU GET IT QUICKER. PLEASE ALLOW TRANSIT TIME AS OUTLINED ON AUCTION DESCRIPTION. BUY ONE OR MORE - WE COMBINE SHIPPING. TRY THIS HAND-TOSSED PIZZA DOUGH RECIPE: This recipe will make enough dough for 2 large pizzas, 1 large pizza and two small pizzas, or 3 (14 inch) medium pizzas. 1 1/2 Cups - Warm Water (not hot!) 2 Tbsp. - Sugar 1 Envelope - Active Dry Yeast (not the quick kind) 2 Tsp. - Salt 4 Tbsp. - Olive Oil 4 Cups - Flour (whole wheat or all-purpose for thinner dough; bread flour for thicker, chewier dough) Combine the water, sugar, and yeast packet in a large (large!) bowl. Allow the yeast to "proof" (show that it is alive) by letting it sit for 10 minutes. If you see a tan-colored foam form at the top, you're in business. If not, go back to the store and buy some fresh yeast... there is no point in continuing. Now, add the salt and the olive oil. Next, add one cup of flour at a time, using a whisk, large fork, or hard spatula to thoroughly combine the mixture. After you have added all 4 cups of flour, the kneading begins. To knead, use your hands to fold the dough ball in half over and over. Use your palm to smash the ball together, then fold it in half and smash it together again. If the ball becomes sticky, add a little more flour. The ball should not stick to the side of the bowl, but it should not be dry and cracking, either. Once you have kneaded the dough for about 5 minutes, drizzle a little oil over it and place it in a new, clean bowl. Spread the oil over it by using your hands. Cover this bowl with plastic wrap or a wet towel, and place it in a warm place (such as an unlit oven or sunny countertop). The dough will now rise as the yeast produces carbon dioxide; this and the alcohols produced by the yeast will improve the texture, flavor, and elasticity of the dough. You will need to leave the dough in this place until it nearly doubles in size, which should be about 40 minutes to an hour. Prepare toppings while the dough rises At this point, you should use the rising / chilling time to slice, dice, and pre-cook any ingredients that you may be putting on the pizza. It is important that you pre-cook any meats that would not be safe to eat raw before you put them on a pizza. These meats include (but are not limited to) beef, sausage, chicken, and pork. This is also a good time to cook any tough vegetables, such as asparagus, broccoli, cauliflower, or eggplant. Basically, get everything ready to go so that when you have the crust shaped out, you can just slap it on and throw it in the oven. Punch down and chill the dough After your dough ball has doubled in size, punch it down (my favorite part) and take it out of the bowl. Pick up the ball and fold the edges underneath several times with your hands. Afterwards, cut the ball precisely in three equal parts, enough for your three pizza screens. At this point, my advice is to cover the three balls with plastic wrap or a damp towel and chill them for at least an hour. You'll find that cold dough is much easier to work with. On the other hand, it is not necessary to chill the dough, and if time is of the essence (or if you are really hungry), go ahead to the next step without chilling it. Shape dough into pizza This is the part that requires the most practice; on the other hand, this step is hard to screw up. The process can be broken down into a few steps, though they are not quite linear, unforutnately. Still, you should try them in the order below, and go to a previous or later step if required. The basic goal here is to form the dough into a flat circle (or square) that is about the same size as your screen. Dust your working surface with a thin layer of flour or corn meal (corn meal is best). You may need to dust again if your dough sticks to the surface in the following steps. Grab a chilled dough ball and smash it out evenly with your palms (I use one on top of another, with my body weight behind them) to make the ball about twice the diameter it was. Pick up the dough and hold it between the palm and fingers of your preferred hand, letting the rest of the dough dangle and stretch down. Now smash the edge of the dough with that hand while you gently pull the dough counter-clockwise with the other. Rotate the dough clockwise and repeat. One step of this process should take you about a second. Once you have rotated the entire ball in your hands twice or three times, the ball should look like a small flying saucer - flat on the edges, and a little more spherical towards the middle. Place the dough on your surface and smash it down with your palms (one on top of the other) until you have a more uniform shape. At this point, you need to stretch out the dough evenly into a larger size. You may need to add more flour or corn meal to your surface, because it is important that the dough moves without any friction. Place your palms a few inches apart on the top half of the dough about halfway between the center and the edge. Start rotating the dough on your surface, pulling with your palms in opposite directions. Make sure you pull gently; however, if you pull a hole in the dough, don't panic - just grab one side of the tear and pull it on top of the other, then smash it to "glue" the pieces together. After you make one pull, rotate the dough clockwise about 1/8 turn and repeat. Make sure that you don't concentrate on one area too much - stretch both the middle and edge out evenly; however, only work on the top half of the dough. You can continue to shape the dough into the right size through the method immediately above, or you can be adventurous and try to toss the dough. Tossing the dough is a quick way to stretch out the dough, using the inertial force of the spinning dough (sometimes referred to as centrifugal force) to stretch itself while it spins above you. Tossing is a bit tricky, though, and can end in disaster in two ways: Huge hole forms in the dough because you spin it too hard or you puncture it when catching it (not so bad) You don't catch the dough, and it lands somewhere gross, like the floor (BAD) Needless to say, tossing takes practice. This is not to say that you won't pick it up on the first try - some people just have a knack for this. I've attempted to describe how I do it below. Please remember, though, that the basic idea is to spin the dough up in the air, and that you may find a better way to do it yourself. Hold the dough with the tips of the fingers of your left hand and the palm and fingertips of your right hand (or vice-versa if left-handed), in such a way that most of the dough spills over between you and your hands. You will spin the dough counter-clockwise if you are right handed; clockwise if you are left-handed. Before you toss, reverse spin about 1/4 turn - then gently but quickly spin the dough and toss it up in the air simultaneously. Catch the dough with as much "hand real estate" as possible - I go to the length of using my forearm - to avoid puncturing it. Repeat as necessary until the dough has stretched to the desired diameter. Top it and cook it Before you top your pizza, make sure that you have placed the dough on top of the screen. You'll never get it on if you put toppings on first! Now is a great time to preheat the oven - I usually crank it up to the highest temperature before "broil", which on my oven is 500F. I've found that it takes about 20 minutes for the oven to preheat to that temperature. This step is, by far, the one most rife with pizza pitfalls. We are cooking fast, and we are cooking at a high temperature - this means that there are two things to worry about: uneven cooking and burning. Avoid uneven cooking Spread your toppings evenly over the surface of the pizza, avoiding any "mountains." Avoid piling up toppings in the center - pizza rookies tend to make this mistake, with disasterously undercooked results! Don't be afraid to push the toppings as close to the edge of the crust as possible. As mentioned before, pre-cook any ingredients that may not be cooked thoroughly in 10 or so minutes of 500F heat. This includes, but is not limited to, raw sausage, chicken, thick cuts of certain vegetables (such as eggplant), and beef. Some people also prefer to pre-cook onions that have been cut in thick chunks. Every 3 to 4 minutes, check on your pizza. If one side of the edge of the crust is browning, and another is not, this is a sure sign of uneven heat in your oven. Twist the dough 1/4 turn and do so every 2-3 minutes until your pizza is cooked. Those (lucky few) of you with a convection oven will not have to worry about this. Don't put too many toppings on your pizza. If the height of your pizza reaches more than an inch or so, you've probably got too much stuff on it, and the toppings buried way down on the bottom (not to mention the cheese) may not heat up. Avoid burning There are certain ingredients that must be underneath cheese or other ingredients if you don't like them black and crispy: Spinach (GROSS when burned!) Fresh basil leaves (also gross if burned) Ham, Canadian bacon, prosciutto Pepperoni, salami (though some like them burned or crispy) Minced or chopped garlic Use a cheese or blend of cheeses with low moisture. Avoid cheeses with a low melting point (such as cheddar, American, and Monterrey Jack) and absolutely do not touch your pizza with Velveeta. Mozzarella and provolone are always good on pizza. After you add your toppings, slide the pizza into your oven, and enjoy the wonderful smell that will emanate from your kitchen. When your pizza appears to be done (for me, this usually means that the cheese on top has browned and the crust is nearly burned), take it out of the oven, screen and all, and place it somewhere safe, like a stove burner, to cool down. Let it cool down at least a few minutes before you cut it. All in all, a pizza should cook in about 10 minutes. Again, use your judgement and taste to decide when it is done; however, if it takes considerably longer than 10 minutes, you probably need to turn up the temperature on the oven. Feedback tools provided by AuctionPixie.co.uk
By clicking "Accept All Cookies", you agree to the storing of cookies on your device to enhance site navigation, analyze site usage, and assist in our marketing efforts.