


US $128.56
| Condition: |
New: A brand-new, unused, unopened, undamaged item in its original packaging (where packaging is
applicable). Packaging should be the same as what is found in a retail store, unless the item is handmade or was packaged by the manufacturer in non-retail packaging, such as an unprinted box or plastic bag. See the seller's listing for full details.
...
|
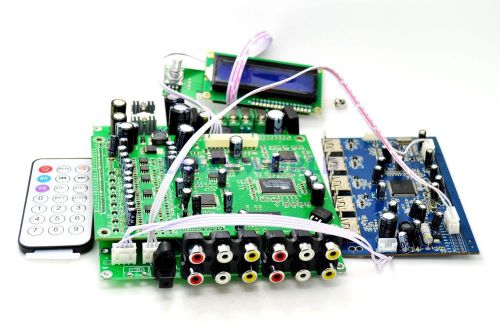
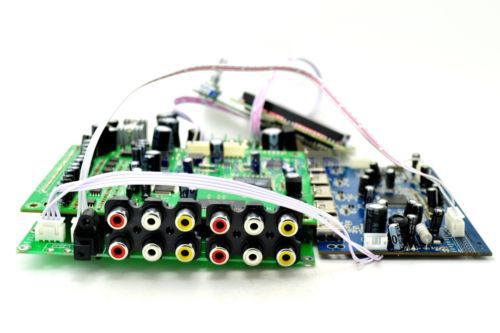
Brand | laserworld |
| Country/Region of Manufacture | China | ||
| Model | AC3 3D |
Directions
Similar products from Electrical breadboards
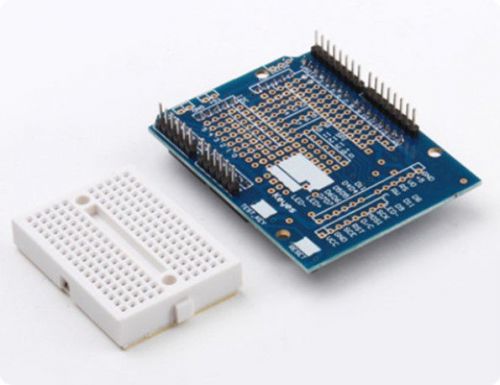
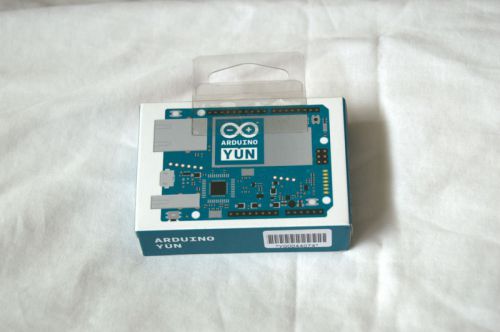
Arduino Prototyping Prototype Shield ProtoShield With Mini Breadboard
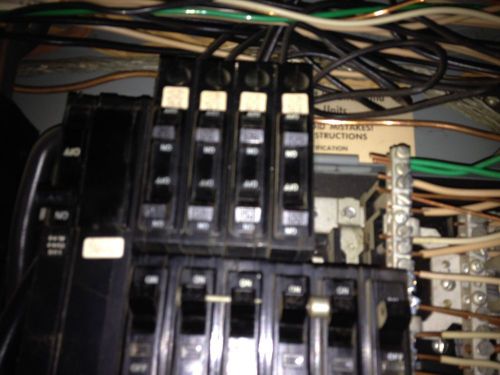
square d 100 amp sub panel with 20amp and 30 amp breakers included q0a16l100s
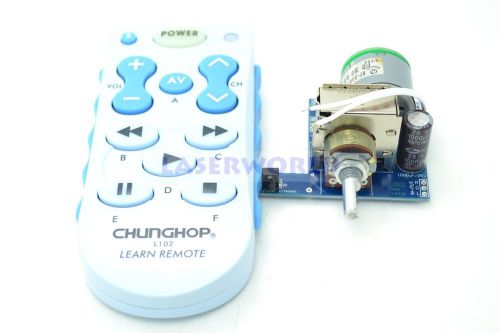
Infrared Remote Control Volume Control Board

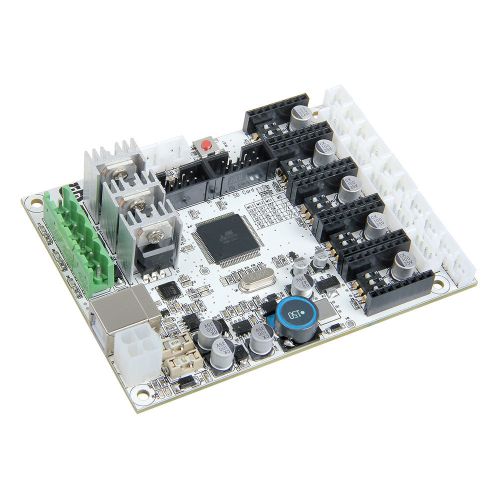
GT2560 Controller Board For 3D Printer Powerful Than mega2560+Ultimaker Prusa
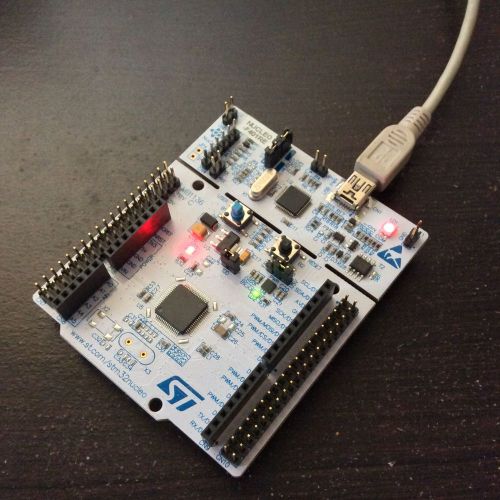
Nucleo STM32F4 DISCOVERY STM32F401 STM32 ARM Cortex-M4 Development Board Arduino
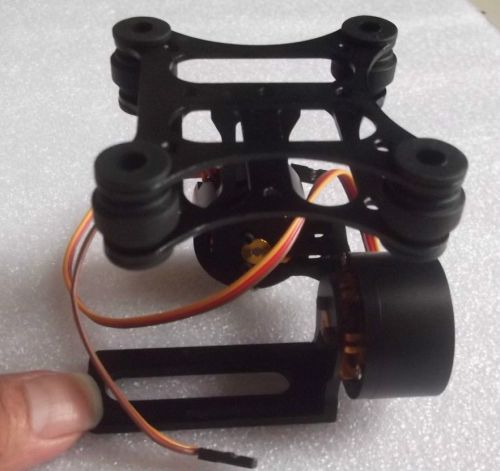
CNC Black DJI Phantom Brushless Gimbal Camera Mount w Motor For Gopro 2 3 FPV
Geeetech GT2560 controller board ATmega2560 Ultimaker for Reprap Prusa
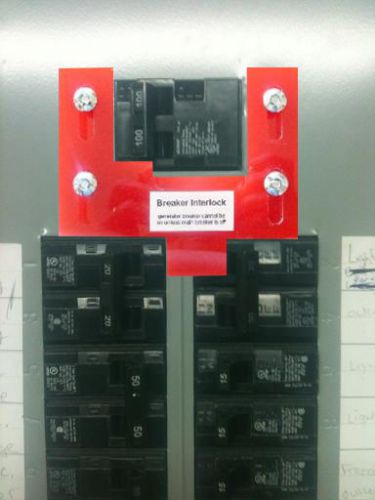
M-9 Generator Interlock Kit for Murray Electrical Panel
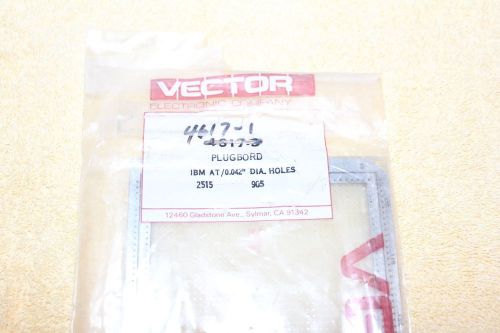
VECTOR VECTORBORD PLUGBORD PUNCH BOARD 4617-1 ISA PC BOARD IBM AT/ISA VOLTG/GND

NIB SQUARE D QO QO342MQ200 3 PHASE 200 AMP 42CKT MAIN BREAKER PANEL WITH COVER

TA2022 dual channel digital Audio power amp board 5532 protection 90W*2
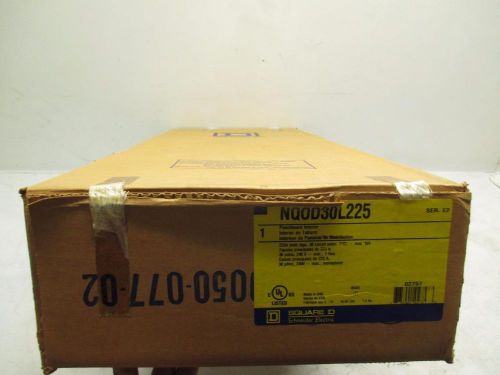
NEW Square D NQOD30L225 Industrial 30 Pole Circuit Panel Main Breaker 240V 225A
SQUARE D 200 AMP HOME ELECTRIC PANEL WITH BREAKERS
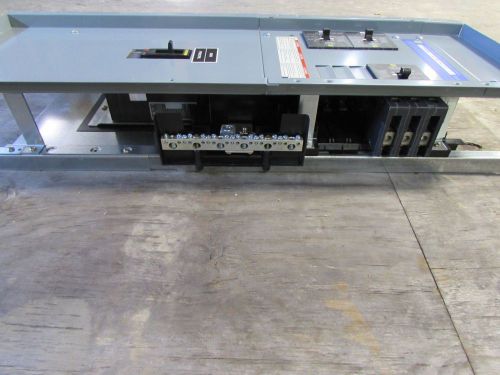
SQUARE D PANEL BOARD w/ 100 AMP MAIN POWERPACT HD150 & 3- EDB34050 NEW
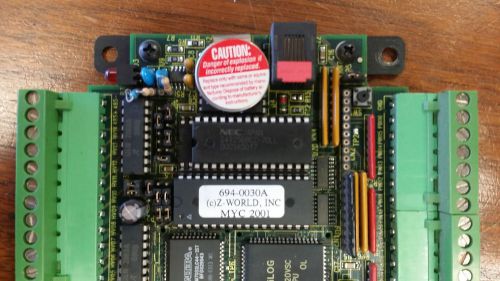
GE Fanuc 694-0030A Board Z-World, Inc
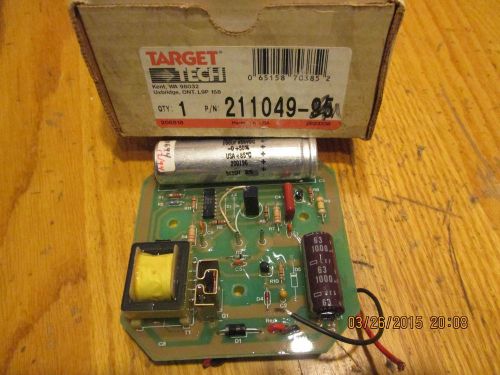
211049 CIRCUIT BOARD TARGET 3/24/15/1
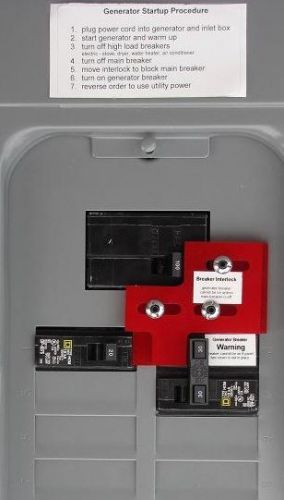
SD-3 Generator Interlock Kit for Square D panel
SQUARE D PANEL BOARD NF 12203405050010001, 400A, 480/277 VAC, 3PH, 42 SLOT

TWO 3/4"x3-3/8" PC462903 95mm x 86mm x 1.6mm single sided small sized PC boards
People who viewed this item also vieved
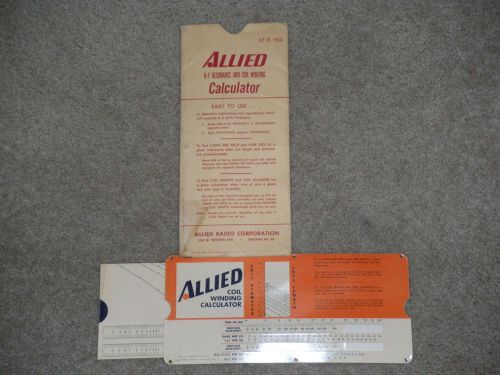
Allied coil winding calculator 1960

1980's Public Utilities Overhead Construction Standards Manual. Linemans Guide

10 Linaire Engineering Service Manuals
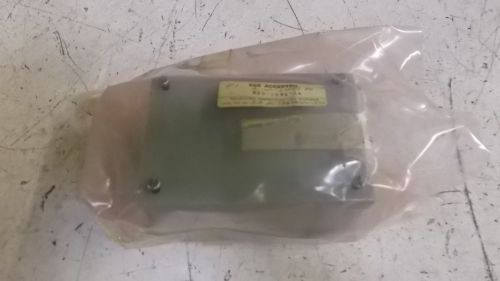
SCE ACCEPTED RS0-1096-84 ENCLOSURE *NEW OUT OF BOX*
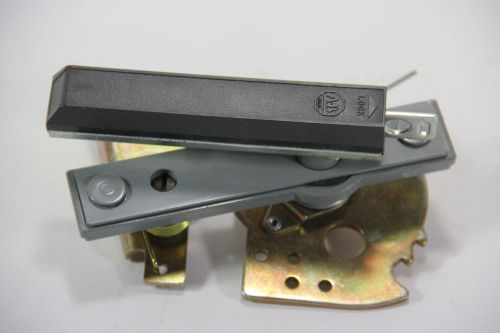
Allen Bradley 1494F-L1 Door Hardware Kit, for Type 12 Enclosure
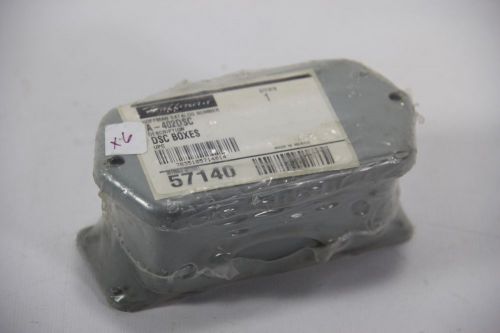
Hoffman A-402DSC Enclosure Box, Screw Cover
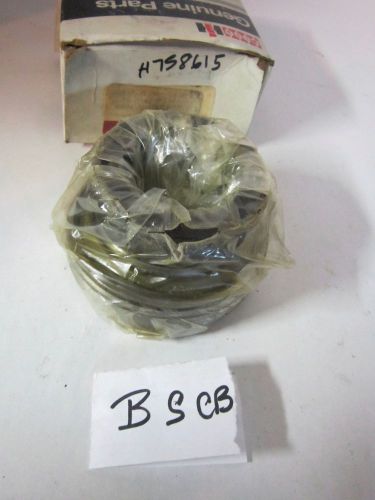
Case IH Genuine Parts Bearing H758615 - New in the box

Case IH Genuine Parts Disc 1341170C1 - New in the box
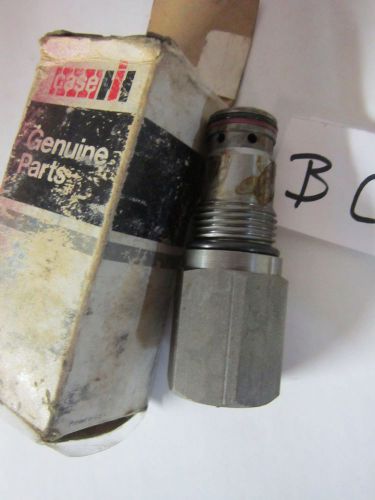
Case IH Genuine Parts Relief Kit G109448 - New in the box
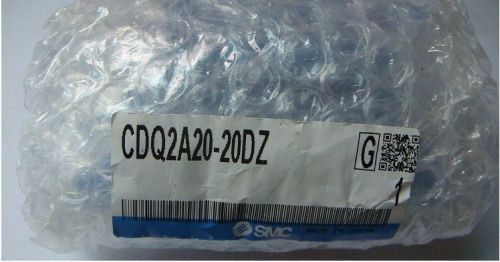
1PCS NEW SMC compact cylinder CDQ2A20-20DZ
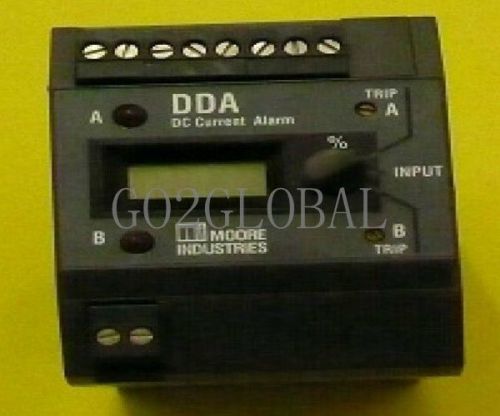
MOORE New DDA/4-20MA/DH1L1/24DC INDUSTRIES 60 days warranty
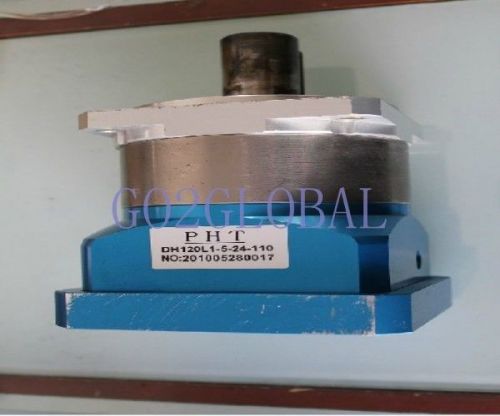
New DH120L1-5-24-110 PHT 60 days warranty
MGE APC Galaxy PW 150 KVA KW UPS - 2 batt cabinets & 3 Breaker MBS - 4 years old
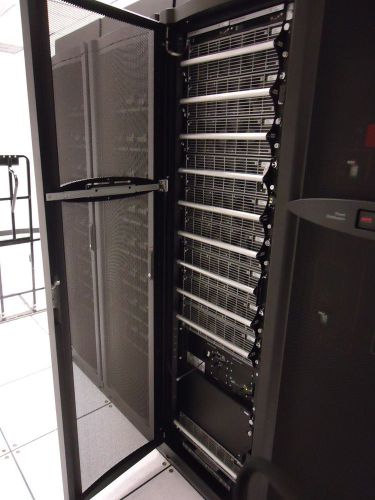
APC 80KW KVA SY80K80F - Full 80KW N+1 with MBS, Distribution & 2 Battery Cab.
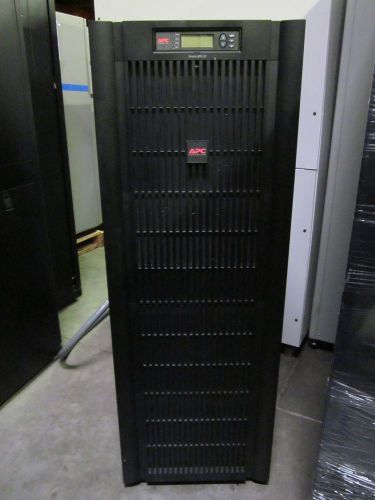
APC 20 KW SUVT 20 KVA - New surplus unit. used in APC demo center
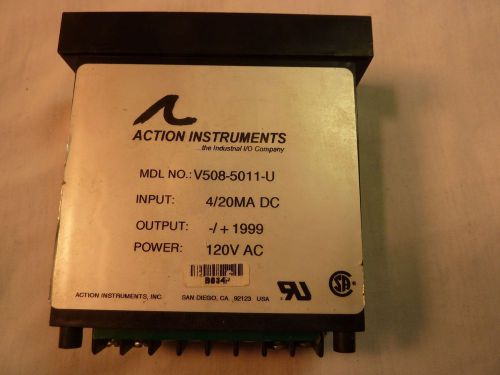
ACTION INSTRUMENTS V508-5011-U VISIPAK DIGITAL PANEL METER DISPLAY

Volt Meter Actron 60v +/- Voltmeter Illuminated
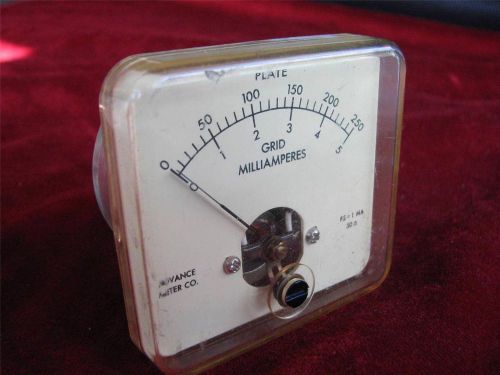
Milliamp Meter Plate Grig Milliamperes Advance
By clicking "Accept All Cookies", you agree to the storing of cookies on your device to enhance site navigation, analyze site usage, and assist in our marketing efforts.
Accept All Cookies