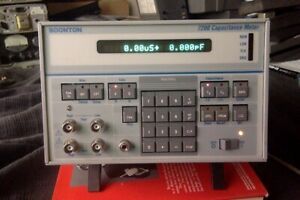
US $2,700.00
| Condition: |
Used: An item that has been used previously. The item may have some signs of cosmetic wear, but is fully
operational and functions as intended. This item may be a floor model or store return that has been used. See the seller’s listing for full details and description of any imperfections.
...
|
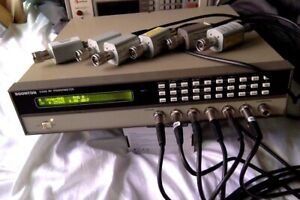
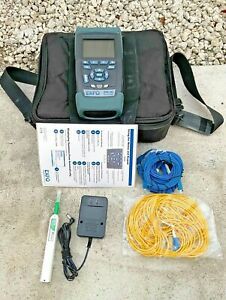
Model | 4300 |
| Non-Domestic Product | No | ||
| Modified Item | No | ||
| MPN | 4300 | ||
| Custom Bundle | No | ||
| Brand | boonton |
Directions
Similar products from Cable Fault Locators, Stress Test Sets & Power Sensors
Hewlett Packard / Agilent E6003A Single Mode OTDR Module
GN NetTest CMA4000i 4791 NI Optical Spectrum Analyzer Tester CMA 4000 OSA
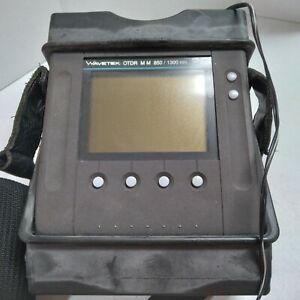
Wavetek OTDR M M 850 / 1300 NM Flash
RISER BOND 1205TX-OSP Metallic TDR Cable Fault Locator
EXFO AXS-100 Access SM Fiber OTDR AXS-100-023B-EI-PM2X-VFL AXS 100

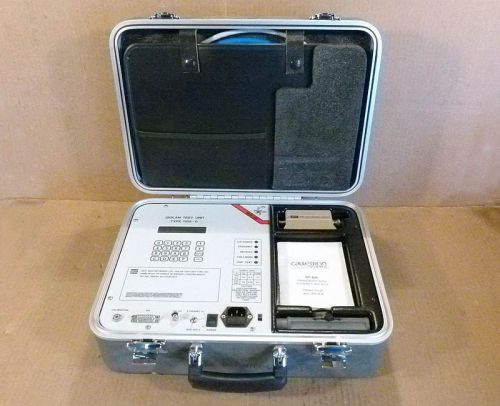
Original Manual for AEA Hand held CableMate Analyst TDR Cable Testing Unit
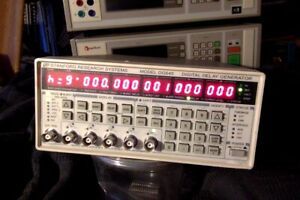
Stanford Research DG645 digital delay generator
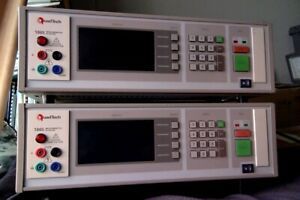
QuadTech 1865 Megohmmeter - not working
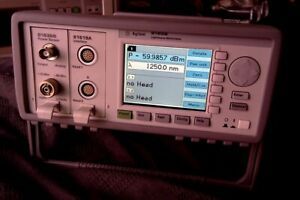
Agilent 8163B Lightwave Multimeter with 81636B and 81619A modules
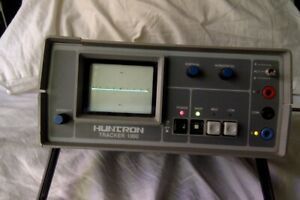
Huntron Tracker 1000 tracker (broken top cover)
Riser-Bond 2901B+ Digital Time Domain Reflectometer CASE MANUAL Selling as is!
Riser Bond 1205C Metallic TDR Cable Fault Locator 1205 RiserBond
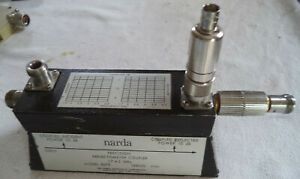
Used Narda Model 5073 Precision Reflectometer Coupler 1.7-4.2 Ghz & Xtal Detect
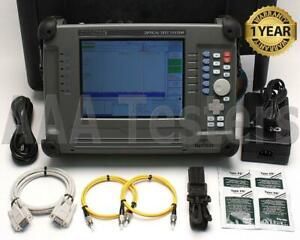
Fluke Networks Versiv OptiFiber Pro Quad OTDR Module 850/1300/1310/1550 OFP QUAD
Anritsu MT9083A2 Access Master SM MM Fiber OTDR w/ GO306A Scope Probe MT9083A
Anritsu MT1000A Network Master PRO w/OTDR, MU100020A /10G Ethernet, MU100010A
Anritsu MT9083A2 Access Master SM MM Fiber OTDR w/ Power Meter & VFL MT9083A
Fluke Networks OptiFiber Pro Quad Fiber OTDR OFP-QUAD
People who viewed this item also vieved
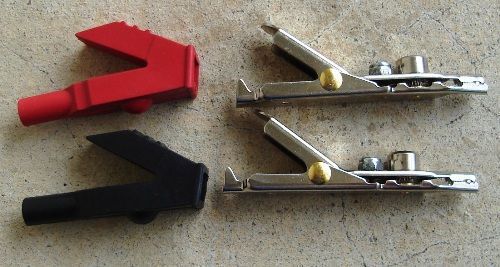
New Angled Bed of Nails Butt Set Clips Rubber Covers
New 5 Rubber Boots for Angled Bed of Nails Butt Set Clip
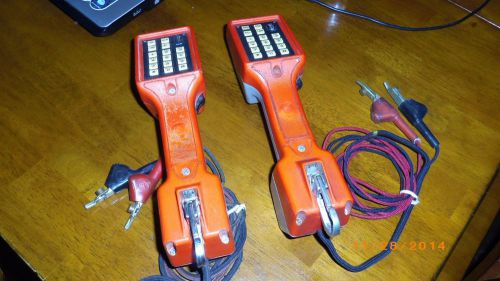
2 Harris Telephone Butt Test Sets TS22

Telephone test set TS19 test sets Fluke Networks
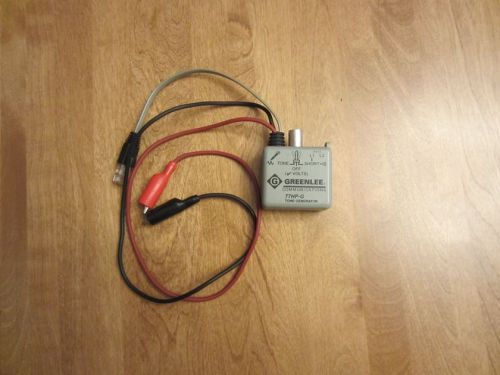
GreenLee Tone Generator 77HP-G FREE SHIPPING
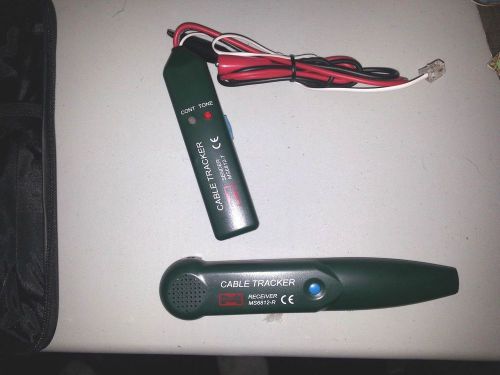
MASTECH Telephone Line Tracker Cable Tracer MS6812 with case
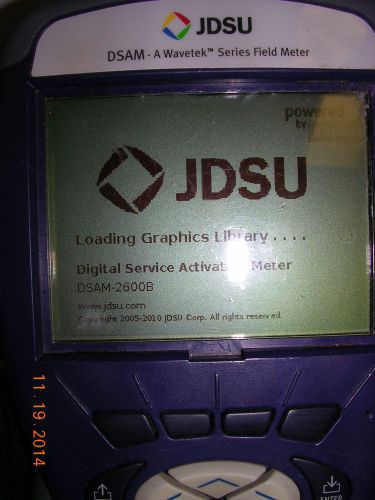
JDSU DSAM 2600B Meter, Used. Powered on by seller, DOCSIS 2.0
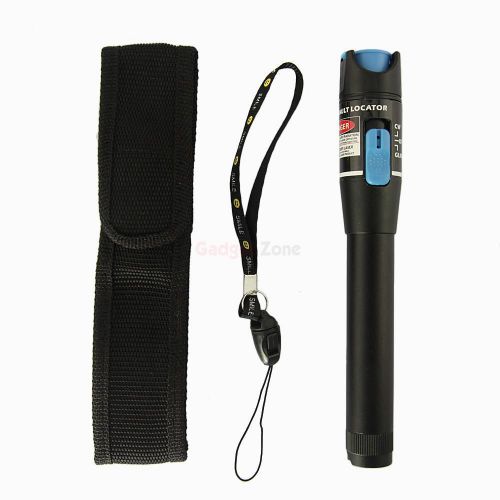
Fiber Optic Cable Tester 10mW Visual Fault Locator, Operates in CW or Pulsed US
High quality Copper Alligator clip 6mm openings Voltage Green silicone Cables

1PCS High quality Copper Dual 4mm banana plug jack Voltage Green silicone Cables
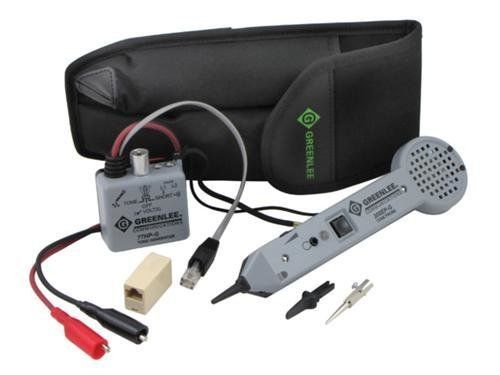
NEW Greenlee 701K-G Professional Tone and Probe Tracing Kit
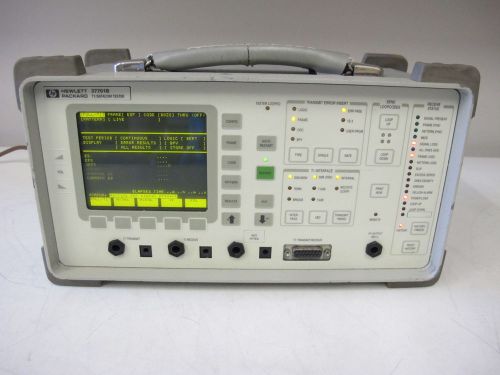
Agilent 37701B T1 Datacom Tester
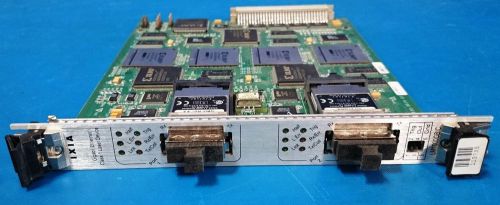
IXIA LM1000GBIC 2 PORT MULTI-LAYER GIGABIT LOAD MODULE W/2 FINISAR GBIC
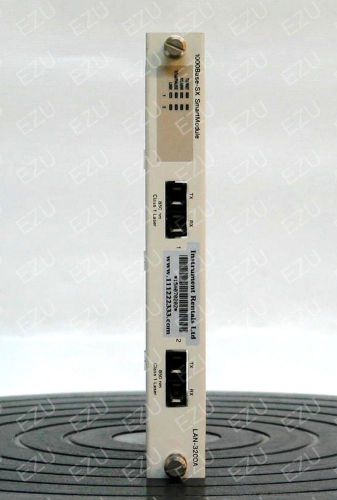
Spirent SmartBits LAN-3200A 1000 Mbps Ethernet, 2-Port, Single, 1310nm Module
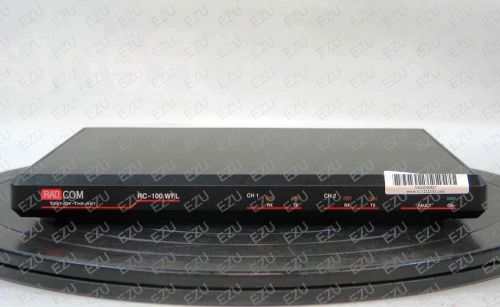
Radcom RC100WFL Protocol Analyzer, VOIP/ WAN/ LAN
Isolan Type 1105-0 Ethernet Diagnostic Test Unit

TAS MODEL 151 MS95221221 TELEPHONE NETWORK EMULATOR USED

INTERNATIONAL DATA SCIENCES TDM-MODEM TEST SET, MODEL 1310,

Aines 140B/MC Tone Test Set with alligator clips and phone line connector
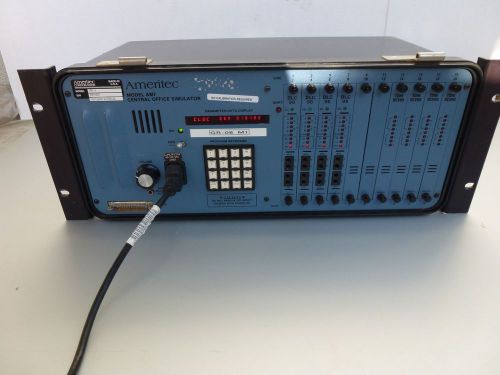
Ameritec AM7-1 Central Office Simulator
By clicking "Accept All Cookies", you agree to the storing of cookies on your device to enhance site navigation, analyze site usage, and assist in our marketing efforts.
Accept All Cookies