


US $129.00
Directions
Similar products from Other Guard & Supervision Equipment


Symbol USB Cable for Barcode Scanners CBA-U01-S07ZAR
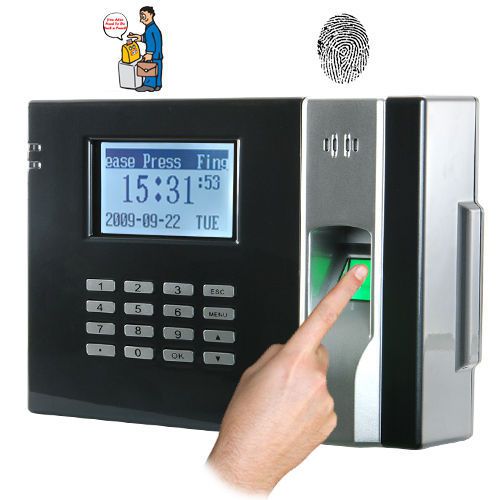
Fingerprint Time Attendance And Door System (Black) NIB
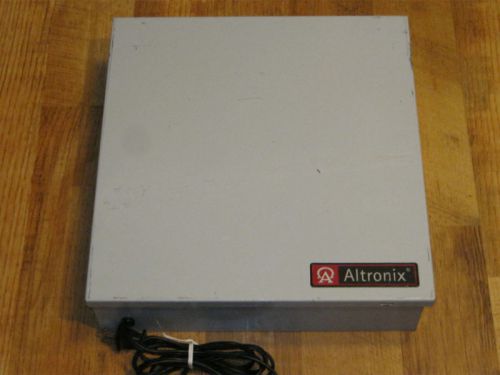
Altronix 24V CCTV Camera Power Supply BH2816600CB
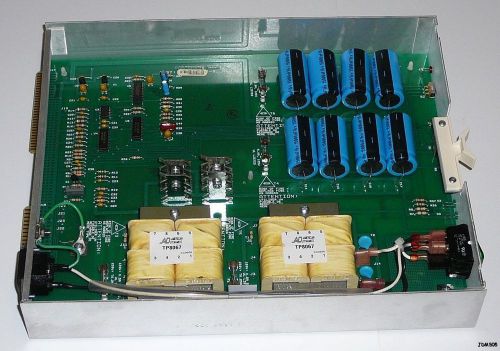
American Dynamics AD2010PS Power Supply Module
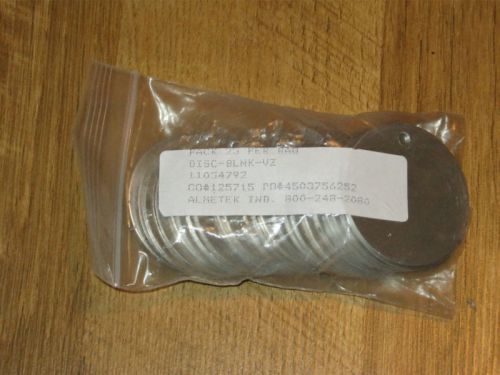
18" Wire Tamper-resistant Crimp Seals W/Almetek Blanks
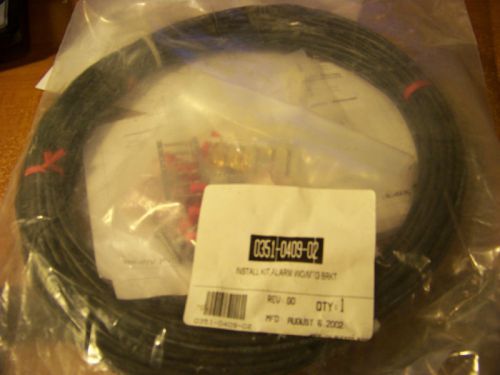
NEW SENSORMATIC 0351-0409-02 INSTALL KIT ALARM
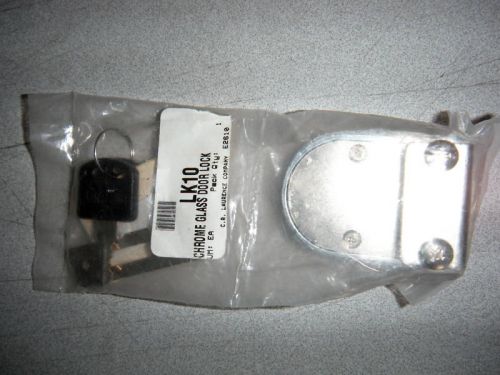
Laurence Chrome Plate Cabinet Lock forHinged Glass Door

New Commercial Master "longneck" Padlock & Key w/warran

New Heavy Duty Lock latch, plate, & screws w/warranty

Asure ID Express 7 ( ID Card Printer Software )
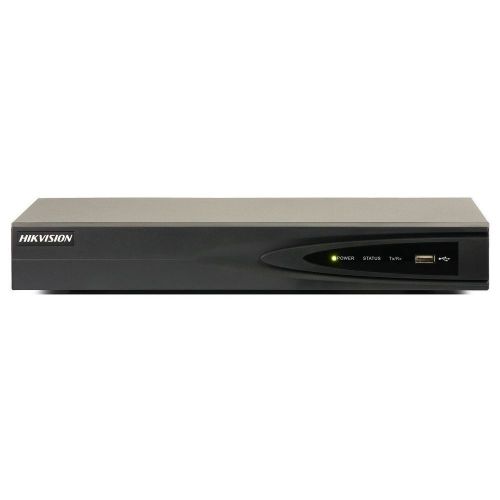
Hikvision IP CCTV Recorder NVR with PoE Switch DVR Hard Drive DS-7600 Series

SHOPLIFT TRAINING AND INSTRUCTION TAPE
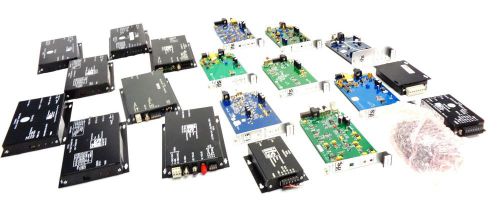
20x IFS Video Control Transmitters/Receivers | VR1000 | VR1500 | VT1910WDM
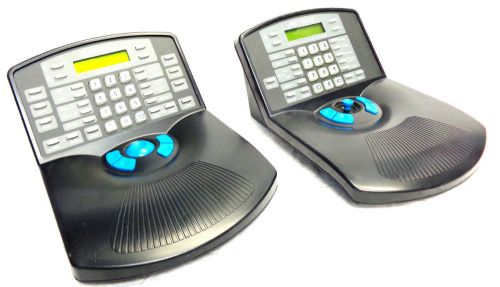
2x Sensormatic/American Dynamics Touch Tracker Controller | 0100-2324-06 | etc.
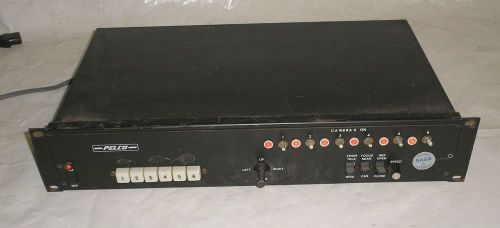
Pelco PT506-24DT CCTV Pan Tilt Controller

See All N12 Round Convex Mirror


Garrett Super Scanner (M-1165180)

RAPISCAN systems Metor 250 Walk Through Security Metal Detector
People who viewed this item also vieved
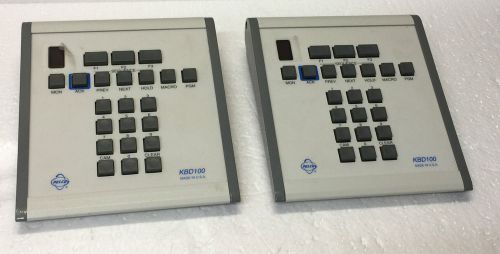
2 Pieces Pelco KBD100 Switcher Control 04239-024-6419 04239-024-6420
Q-SEE QM4803B 480 TVL CMOS CAMERA
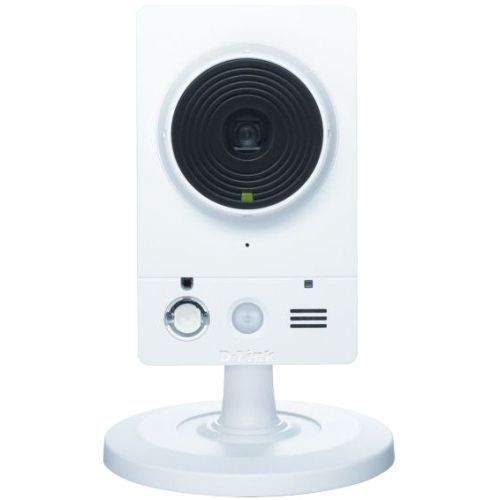
D-LINK DCS-2230 BUSINESS 2MP CUBE CAMERA WIRELESS N
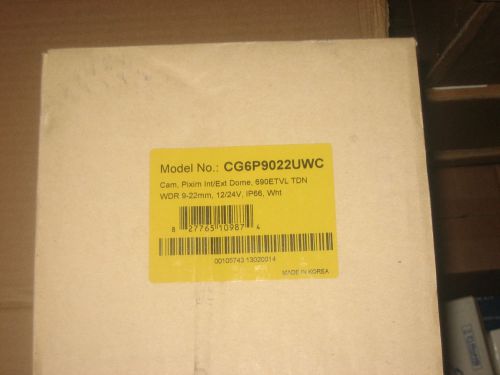
MNI Security Camera CG6P9022UWC Pixim int/ext dome 690ETVL WFR 9-22mm IP66
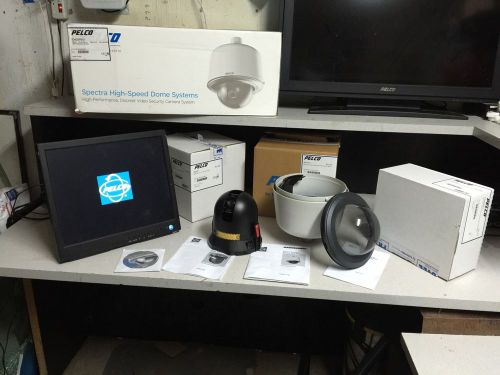
Pelco Surveillance System ...(LCD Monitor, Spectra III Dome PTZ, & Keyboard)

1 PC L1 EPTVGGC 4V STATION BIOMETRICS SECURITY 4G PIV-TWIC STATION

Mitsubishi 1280 Hour Time Lapse Security Video Recorder HS-128OU
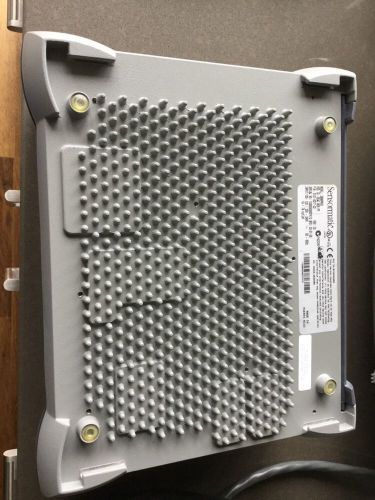
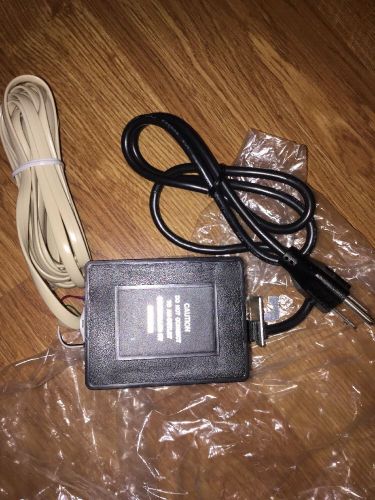
Sensormatic ZBSMPLPE Antenna pad & ZBSMPROE Power Supply System

EAS Anti Theft 500 Sensormatic/ Tyco Brand SuperTag® IIwith Pin, Grey, Used
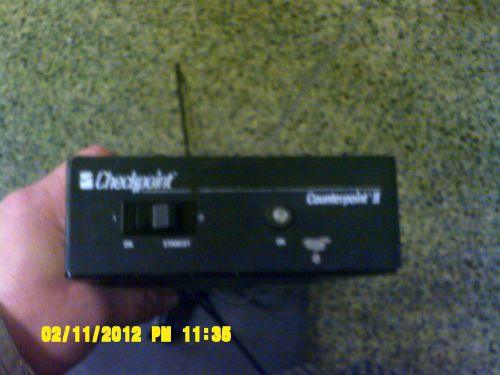
Checkpoint Counterpoint II with 8.2 MHz Pad Deactivator & PSU
Sensormatic AMD-3050 Hard Tag Detacher - Power Supply Only
WALL MOUNT for HANDHELD WAND Freestyle SENSORMATIC UNIT
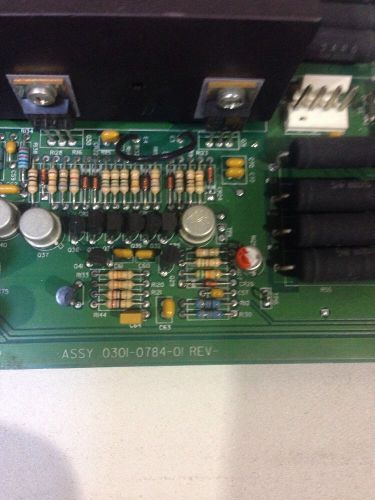
Sensormatic Assy 0301-0784-01 Rev-

250 ANTI-THEFT INKTAG CLOTHING INK TAGS
7845GSMR Honeywell Alarm Back up Radio
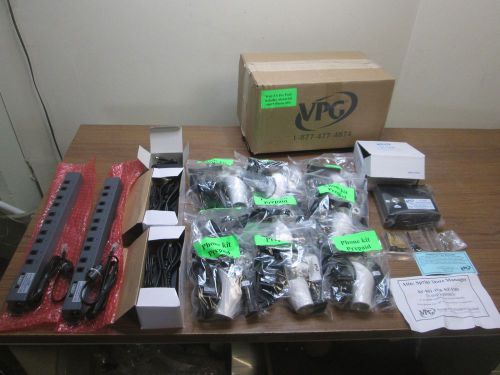
Vanguard Protex Global (VPG) Wall 3 S Pre Paid W/ Alarm Kit and 9 Phone Kits

Vanguard Protex Global (VPG) SAMSUNG WALL 2 Samsung W/ ALARM KIT and 8 Tablet
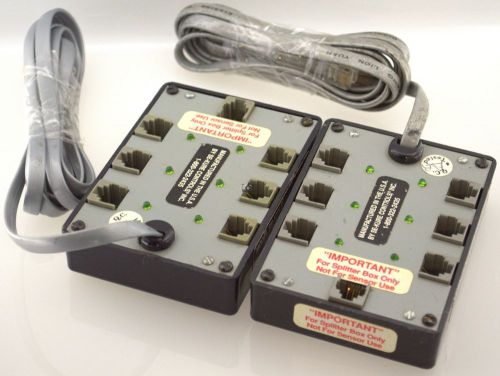
6pc Lot SE-KURE 6-port Splitter Box SK-107LE Loss Prevention

AS5113 alarm (including DP11153Q&Sensor) Mobile security display stand
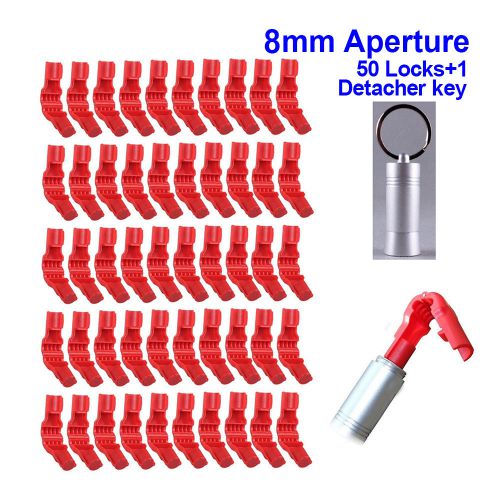
50PCS Aperture Red Plastic Display Hook Stop Anti Sweep Theft Lock 8mm + 1 Key
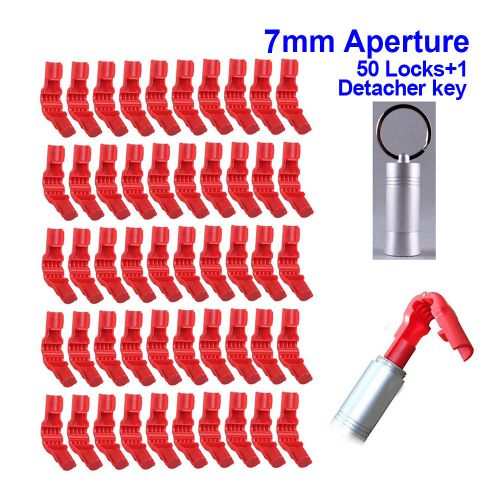
50PCS Aperture Red Plastic Display Hook Stop Anti Sweep Theft Lock 7mm + 1 Key
By clicking "Accept All Cookies", you agree to the storing of cookies on your device to enhance site navigation, analyze site usage, and assist in our marketing efforts.
Accept All Cookies