US $24.99
| “Excellent Working Condition” |
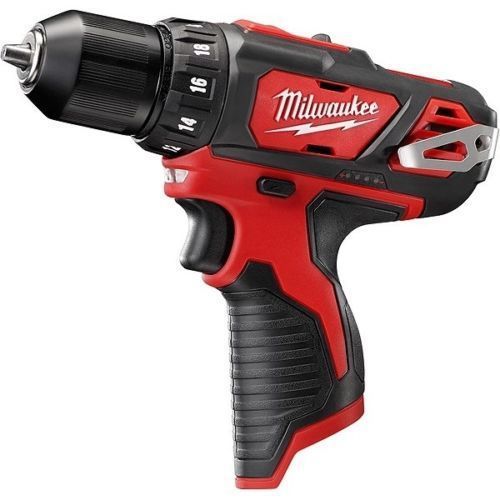
| Model | 6754-1 |
| Type | Electric Screw Gun |
| Modified Item | No |
| MPN | Does Not Apply |
| Country/Region of Manufacture | United States |
| Brand | Milwaukee |
| Custom Bundle | No |
| UPC | Does not apply |
Directions
Similar products from Screw Guns
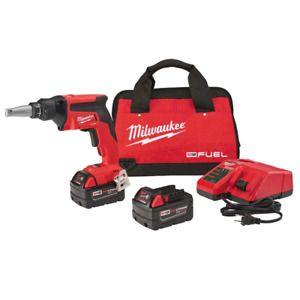
Drywall Screw Gun Kit 18V Cordless w/ (2) 5.0Ah Batteries, Charger and Tool Bag
Ingersoll-Rand Cylindrical Body Cleco Gun Aircraft Tool TESTED
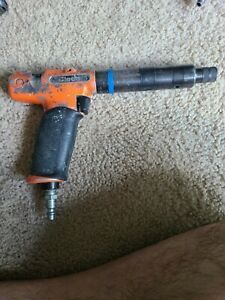
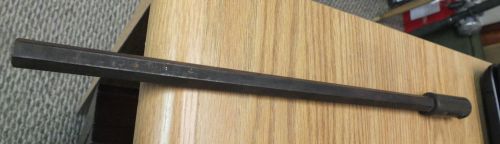
QuikDrive QDPRO300SG2 Versatile Decking Attachment 1

Senco Duraspin DS202 14V Screw Fastening System Battery Case Charger - COMPLETE
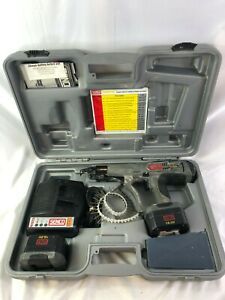
Senco Duraspin DS275-18V Screw Fastening System Battery Case Charger - COMPLETE

RIDGID R6791 3 in. Drywall and Deck Collated Screwdriver
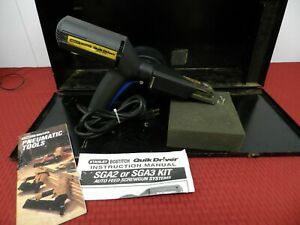
Stanley Bostitch Quik Driver Model: S2500
Cleco Mini Adjustable Clutch Reversible Screw Gun aviation aircraft
FOR PARTS RIDGID R6791 3 in. Drywall and Deck Collated Screwdriver

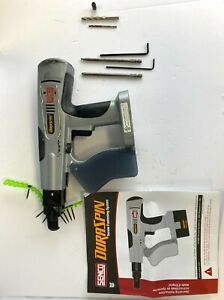
SENCO DURASPIN DS200 14.4 VOLT CORDLESS SCREWGUN DRILL NEEDS BATTERY. W/SCREWS
MILWAUKEE 6753-1 SCREW SHOOTER 120 VOLT
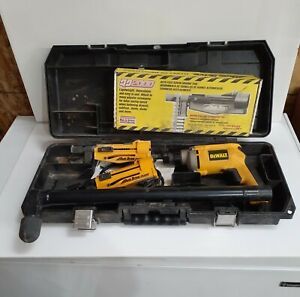
DEWALT Quick Drive PRO W/ Extension Autofeed Screwdriving System w/2 heads
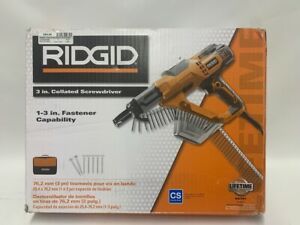
RIDGID TOOLS R6791 (UD2036098)
3" Drywall Deck Collated Screwdriver Screw Guns Single Finger Trigger Corded NEW

1 Box of 20-Bits Senco 10- 2pk #2 Square Drive Bits EA0298 NEW!

RIDGID DRYWALL SCREWGUN R6000-1 (SLB026589)
People who viewed this item also vieved

Irwin Auger Bit 3/4" x 17" Speedbor Ship Auger Bit

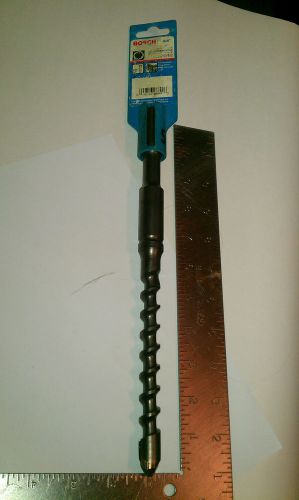
Bosch HC2122 3/4-Inch by 8-Inch Concrete Shank Carbide-Tipped Masonry Drill Bit
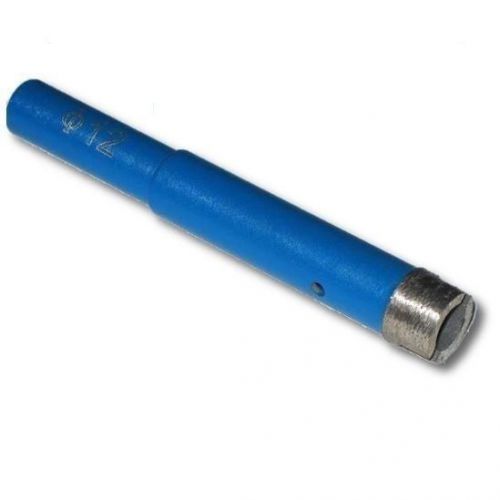
12mm (1/2") Diameter Heavy Duty Diamond Segments Core Drill Bit hole Saw
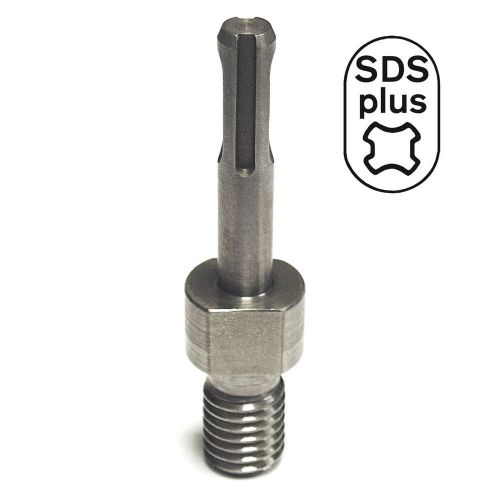
Core Bit Adapter - 5/8"-11 Threaded Male to SDS PLUS Male for Hammer Drill
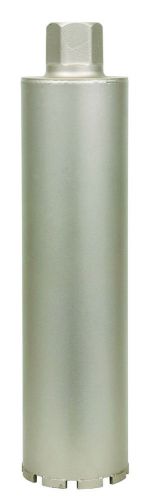
5" Pro Diamond Core Bit Drill Concrete Wet Cut Fast Masonry Electrical Wall Pipe

NEW Rockwell ShopSeries RC3031K 3/8-inch 4.5 Amp Power Drill
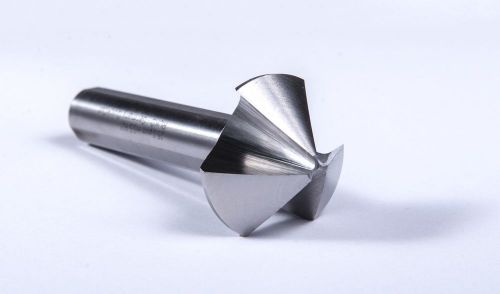
Taper and deburring countersinkers din335 type C 90 hss ruko 20.5mm
New Milwaukee m12 2407-20 12v Drill Cordless with battery and charger
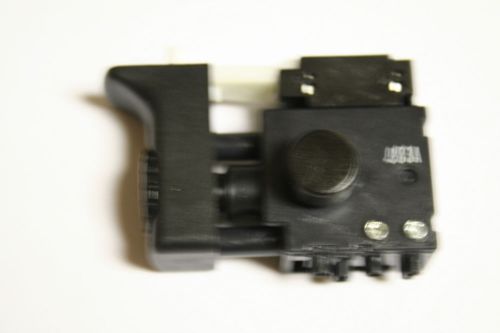
Hitachi Switch for Hitachi Hammer Drill & Drill Models/Part # 321-632
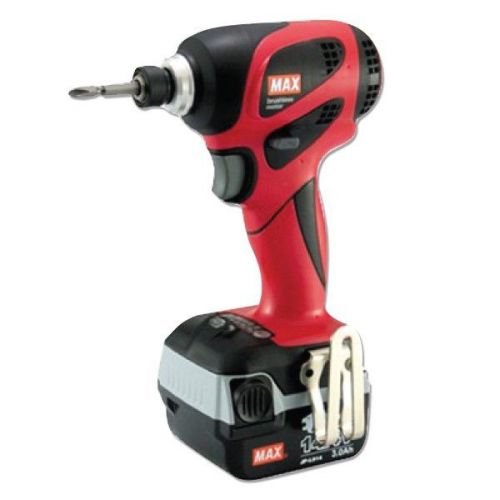
MAX CORDLESS BRUSHLESS IMPACT DRIVER MODEL PJID143
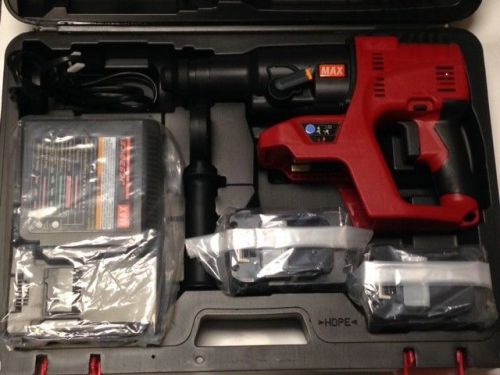
MAX CORDLESS BRUSHLESS ROTARY HAMMER DRILL MODEL PJR265
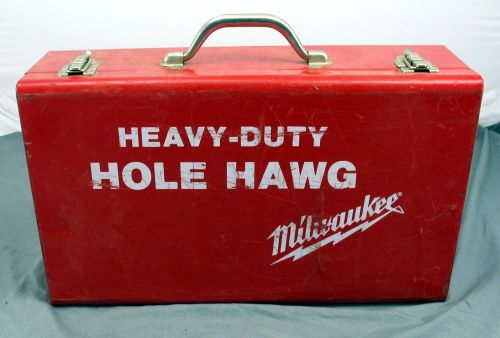
Milwaukee Hole Hawg Right Angle Heavy Duty Power Drill w/ Tool Box No Drill Bit
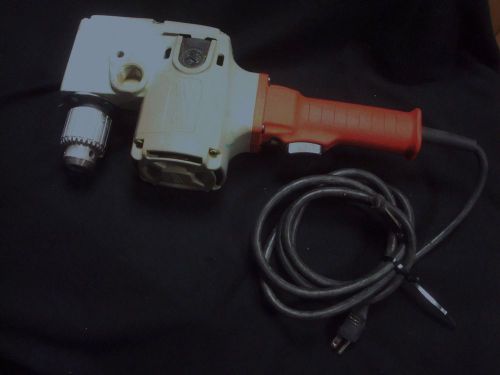
Milwaukee 1675-1 1/2", 7.5 Amp Heavy Duty Hole Hawg Right Angle Drill
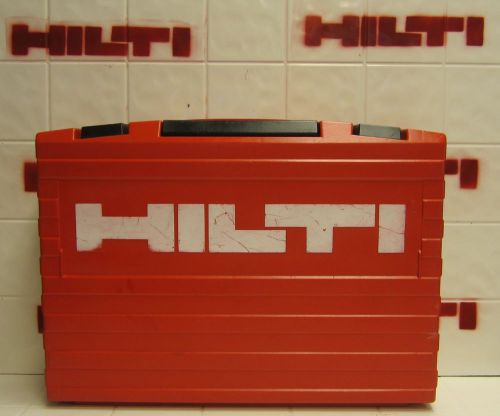
HILTI TE 15 (CASE ONLY), MINT CONDITION, STRONG, ORIGINAL, FAST SHIPPING
Bosch HC4520 5/8" x 6" x 11" Spline Rotary Hammer Drill Bits
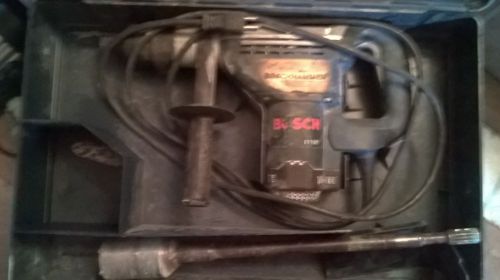
Bosch hammer drill 11264EVS with 5 bits
By clicking "Accept All Cookies", you agree to the storing of cookies on your device to enhance site navigation, analyze site usage, and assist in our marketing efforts.
Accept All Cookies