


US $124.20
| Condition: |
New: A brand-new, unused, unopened, undamaged item in its original packaging (where packaging is
applicable). Packaging should be the same as what is found in a retail store, unless the item is handmade or was packaged by the manufacturer in non-retail packaging, such as an unprinted box or plastic bag. See the seller's listing for full details.
...
|
Brand | Oxford |
| MPN | 8885-045008 8885045008 | ||
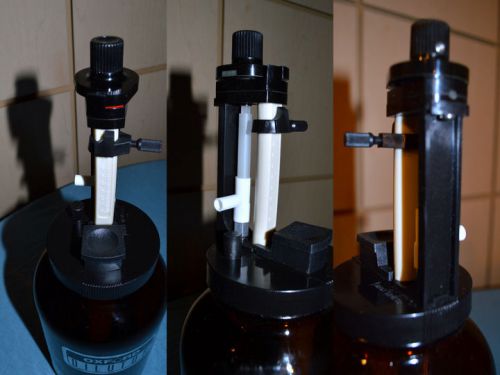
| Model | 450 Dilutor Diluter 1-10 ml User Set, 20ul Preset | ||
| Country/Region of Manufacture | United States |
Directions
Similar products from Medicine Droppers
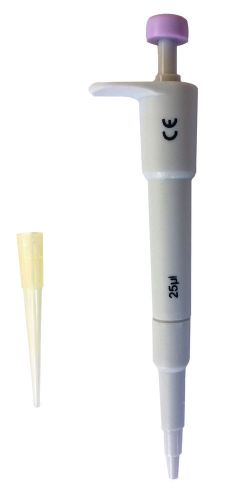
25 Microliter Li'lpet" Mini Pipette Pipettor"
20 Microliter Li'lpet" Mini Pipette Pipettor"
5 Microliter Li'lpet" Mini-Pipette Pipettor"
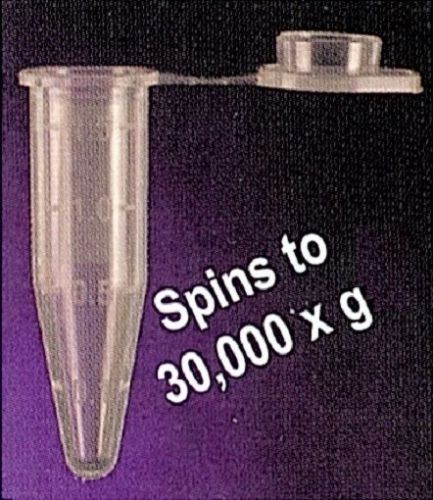
1.5mL Snap Cap Micro Centrifuge Tubes Polypropylene 1000pk
101-1000 Micro Liter Pipet Tips Racked & Sterile, Case of 10 Racks
101-1000 Micro Liter Pipet Tips Racked, Case of 10 Racks
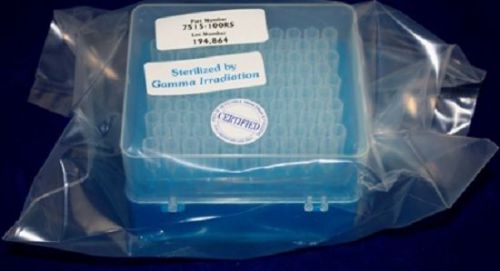
1-200 Micro Liter Pipet Tips, Racked, Natural Sterile Filtered-10 Racks of 96
1-200 Micro Liter Pipet Tips, Racked, Natural Sterile-10 Racks of 96
1-200 Micro Liter Pipet Tips, Racked, Natural-10 Racks of 96

Pk/1000 1-200 Microliter Universal Micropipette Tips, Natural Color
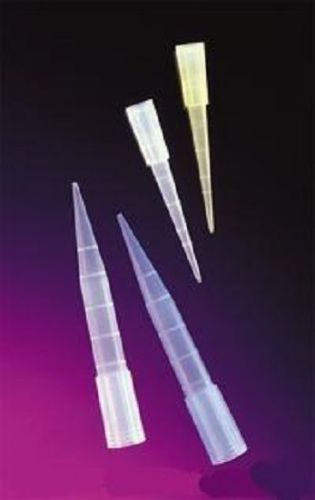
Pk/100 101-1000 Microliter Universal Micropipette Tip, Natural Color
500 Graduated 1 mL Pipettes Transfer Plastic Pipets
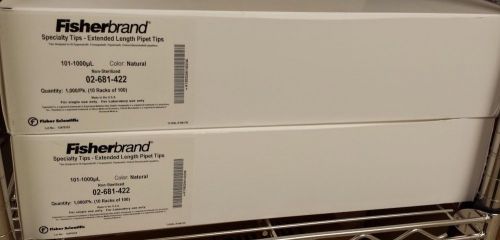
Pipette Tips, extended length, 101-1000uL, FisherBrand, 1000/box
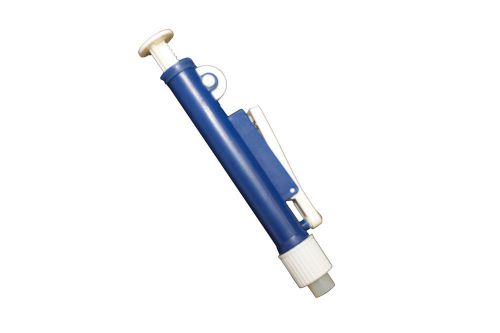
2ml Economy Quality Blue Pipette Pump
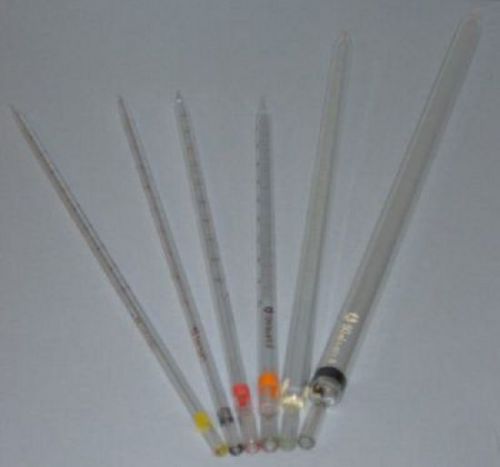
6 Sizs Glass Measuring Pipets Set Mohr Transfer Pipettes
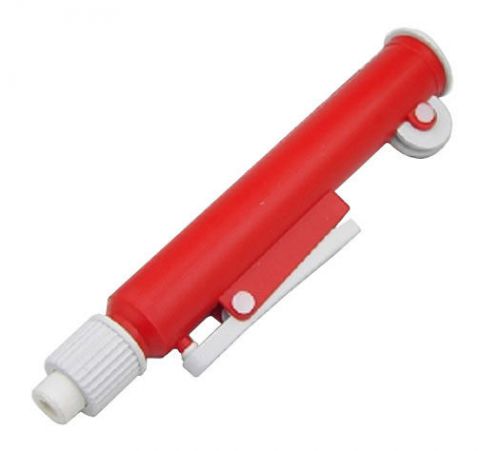
25ml Economy Quality Red Pipette Pump
Class B: Glass Measuring Transfer Pipet w/Mohr Tip: 25mL Each
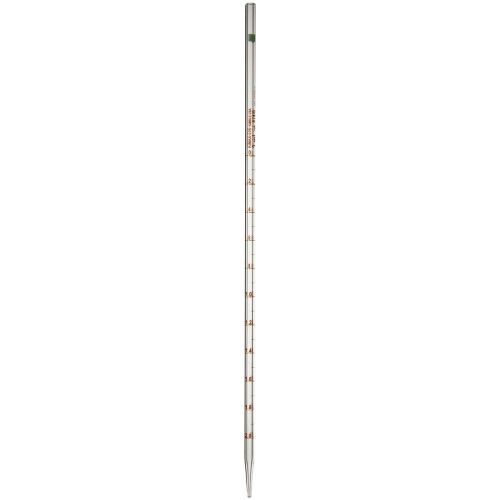
Class B: Glass Measuring Transfer Pipet w/Mohr Tip: 2.0ml

Class B: Glass Measuring Transfer Pipet w/Mohr Tip: 10.0ml
Class B: Glass Measuring Transfer Pipet w/Mohr Tip: 0.2ml
People who viewed this item also vieved
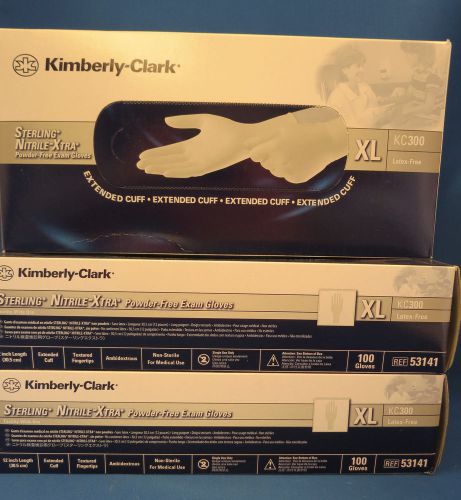
3 Boxes Kimberly-Clark Sterling Nitrile-Xtra Exam Gloves XL 53141 KC300
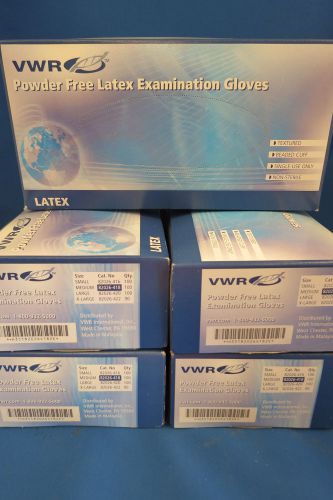
5 Boxes VWR Powder-Free Latex Exam Gloves Medium 82026-418
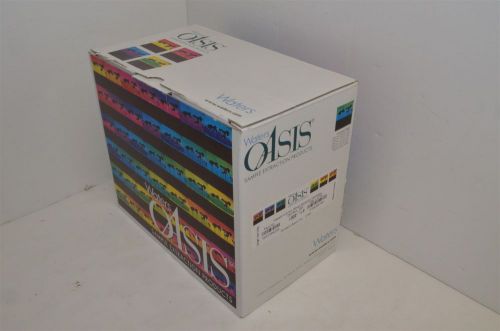
40pc Waters Oasis HLB 3cc 60mg extraction cartridges WAT094226
12pc EmbiTec 0.8% 1% 2% Agarose 1x TAE GE-5121 GE-5181 GE-3850 GE-3852
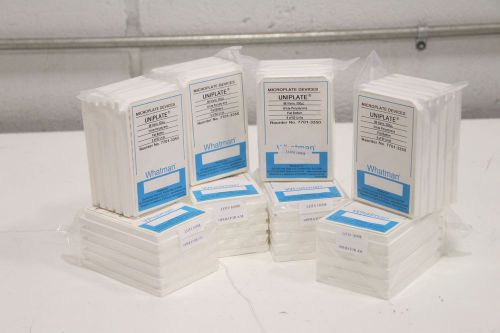
Lot Whatman UniPlate MicroPlate 96-Well Flat Bottom Volume 300 7701-3350 White
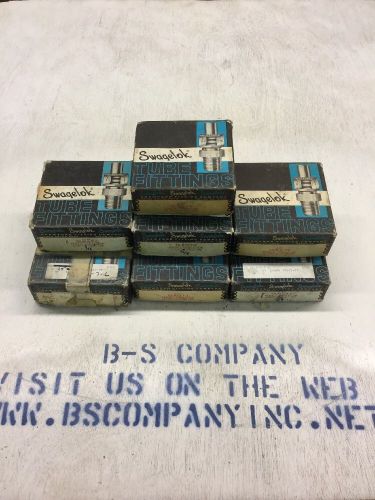
NIB - (Box Of 25) Swagelok Female Connector SS-810-7-6, 1/2" Tube X 3/8" FNPT
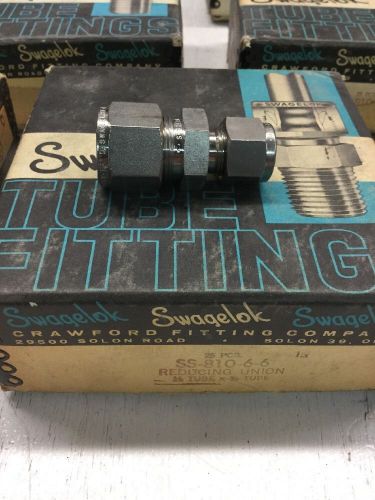
NIB - (Box Of 25) Swagelok Reducing Union SS-810-6-6, 1-2" Tube X 3/8" Tube
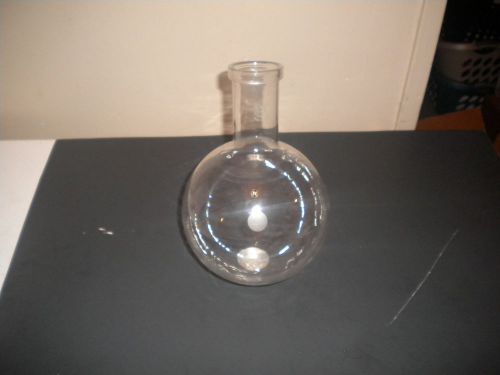
Pyrex 2000 ml Long Neck Boiling Flask
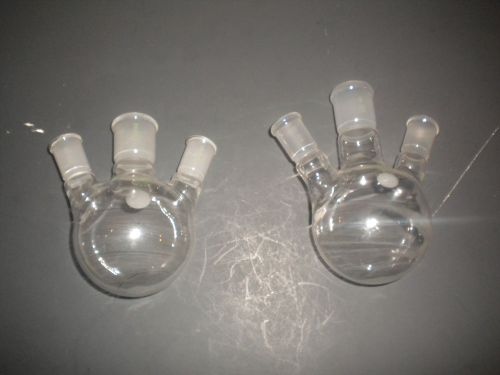
2 - Pyrex 500ml 3 Neck Boiling Flasks 34/45 center and 24/40 outside
Amicon Centriprep Concentrator No 4304
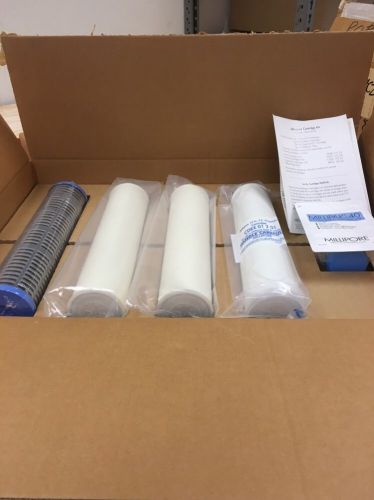
MILLIPORE Ultrapure Cartridge Kit Type CF0F 012 05 Milli-Q Organic Free Kit
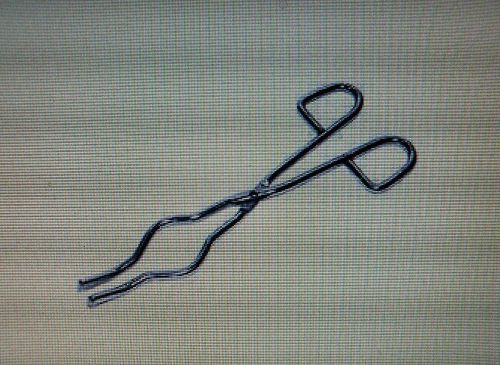
BRAND NEW Stainless Steel Crucible Forceps / Tongs - 8" - 200mm
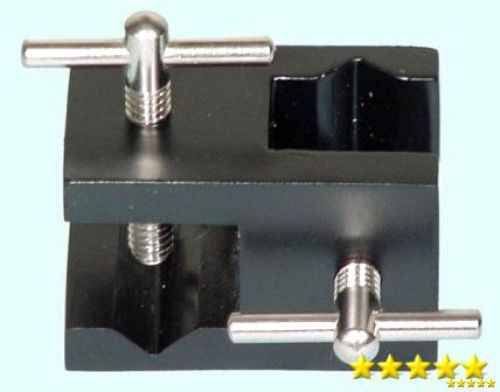
SEOH CLAMP HOLDER UNIVERSAL up to 3/4 rod, New

Case of 48 Costar 3595 96 Well Cell Culture Cluster
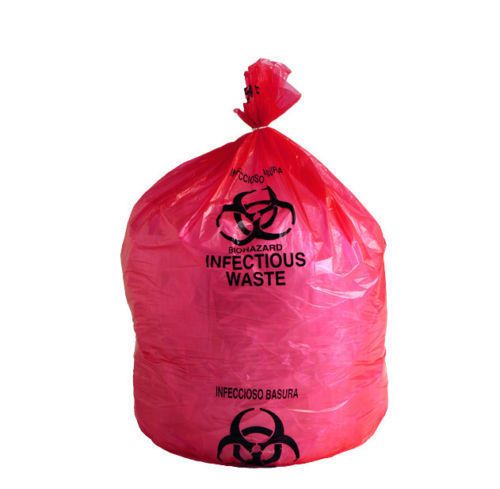
INFECTIOUS BIOHAZARD" Printed, Red Poly Medical Waste Bags, 24" x 32", 12-16 Gal

INFECTIOUS BIOHAZARD" Printed, Red Poly Medical Waste Bags, 37" x 50", 20-30 Gal
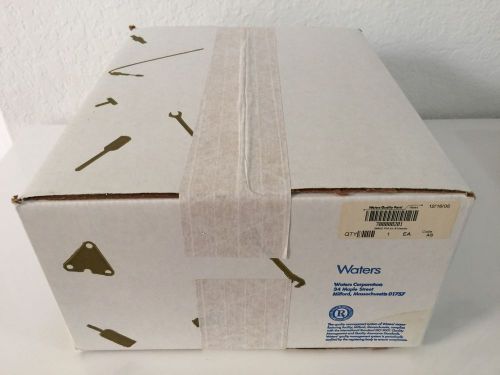
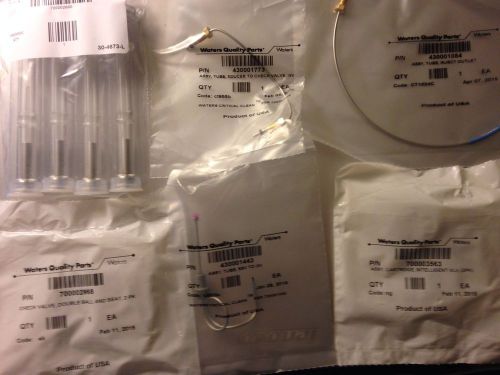
Waters 2690D PM Kit P/N: 700000201
*NEW* Assortment of spare parts for Waters Acquity Classic UPLC with I2V (5)

Pure Sodium Metal Na sealed In Mineral Oil 1 POUND pick up only no shipping
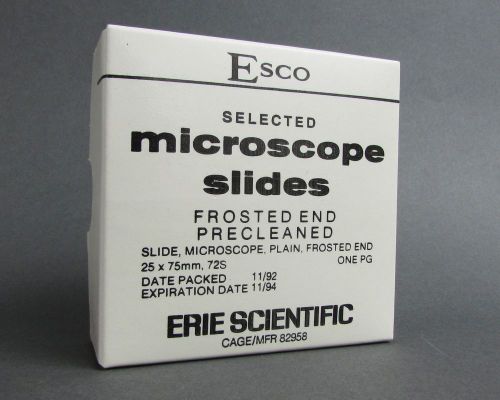
Esco Selected 25 x 75 x 1mm, 72S Pre-Cleaned & Frosted Microscope Slides *NEW*
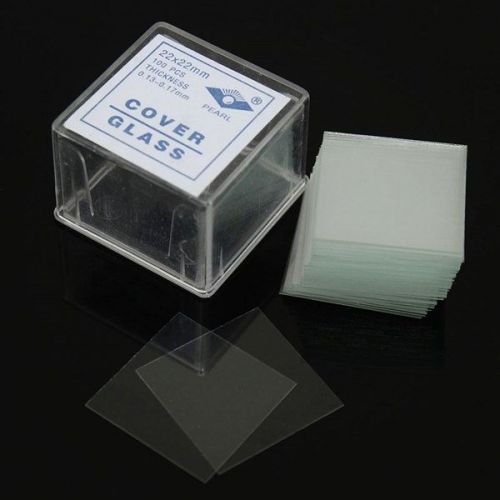
100pcs 22*22mm Microscope Coverslips Cover Glass Lab Supply
By clicking "Accept All Cookies", you agree to the storing of cookies on your device to enhance site navigation, analyze site usage, and assist in our marketing efforts.
Accept All Cookies