US $670
Directions
Similar products from Plug Energy Meters and Power Meters
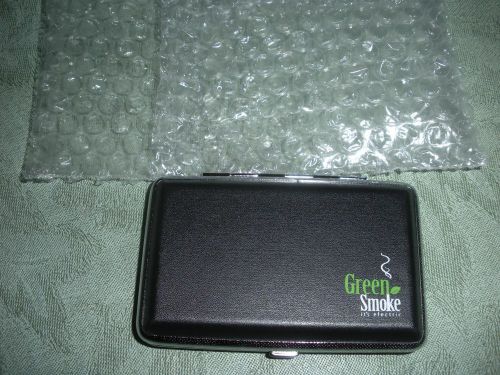
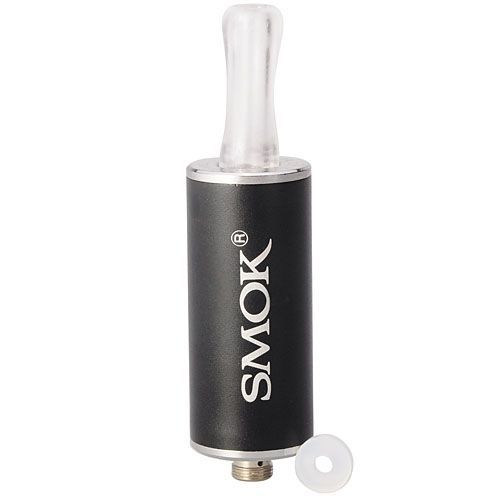
BLACK CASE for GREEN SMOKE GREENSMOKE ELECTRONIC CASE for Vaping
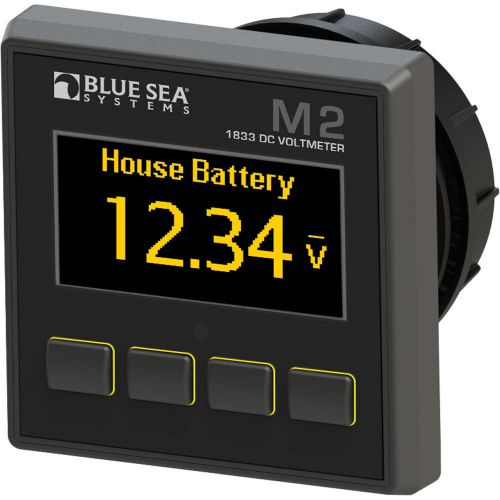
Blue Sea M2 DC Voltmeter Blu-1833
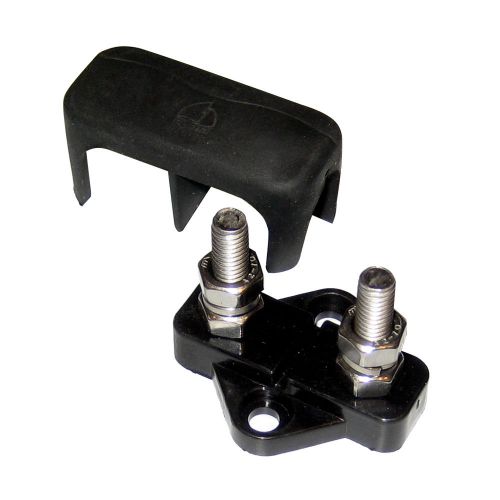
BEP Pro Installer Dual Insulated Distribution Stud - 1/4" Bep-IS-6MM-2/DSP
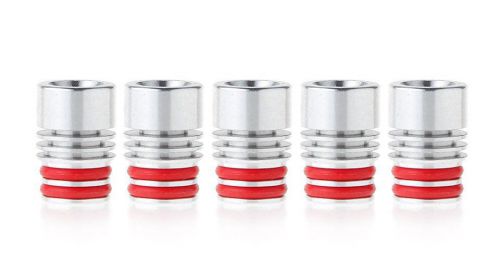
Aluminum 510 Drip Tip (5-Pack)
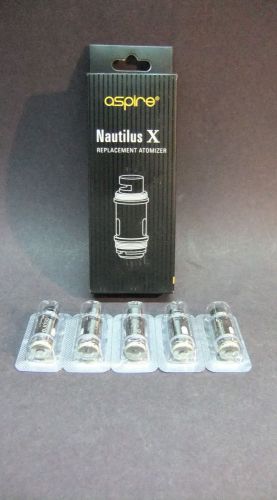
Authentic Aspire Nautilus X Head Coils 1.5 ohm (14-22W) 5 Pack with Serial
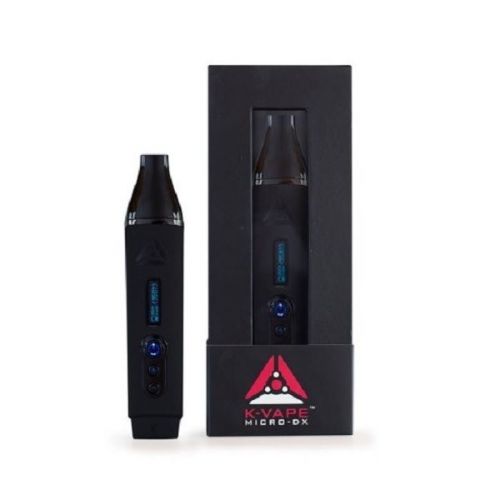
New KandyPens K-Vape Micro-Dx KVape MicroDX Vaporizer Free Shipping
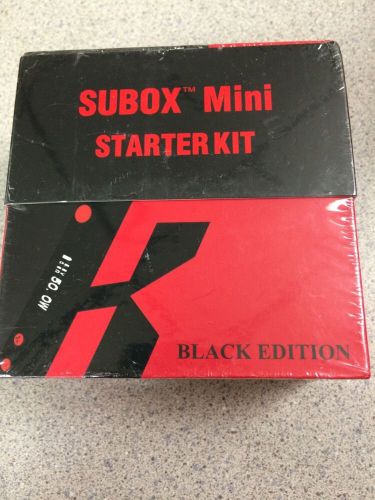
SUBOX MINI BLACK EDITION STARTER KIT
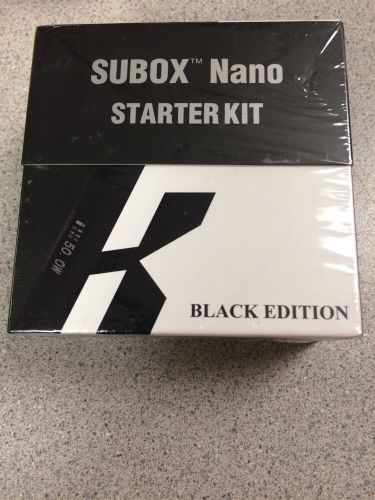
SUBOX NANO BLACK EDITION STARTER KIT
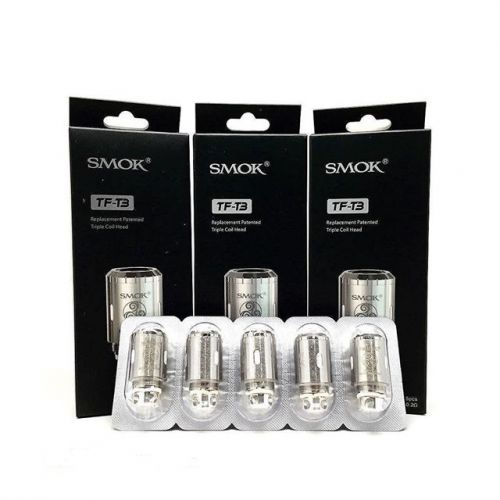
SMOK TFV4 Authentic Replacement Coils TF-Q4 | TF-T3 | TF- CLP2 SAME DAY SHIPPING
100% Authentic Wismec Presa TC100W Silver And Inde Duo RDA With 26650 Battery
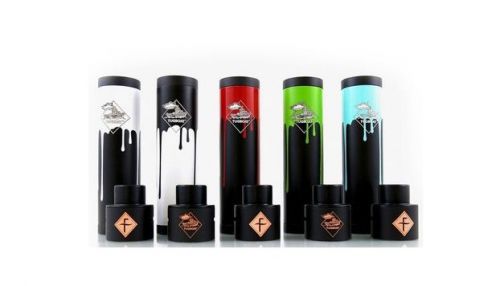
Authentic Tugboat Flawless V2.5 Mechanical Mod FREE EXPEDITED SHIPPING
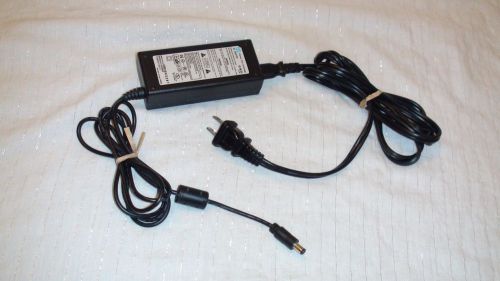
CWT Channel Well technology Power Supply 24.0W 100-240V 12.0V AC Adapter
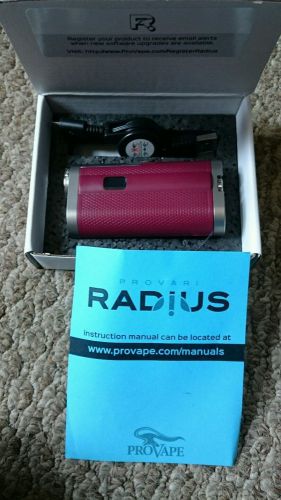
New Provari Radius box mod Cabernet Red
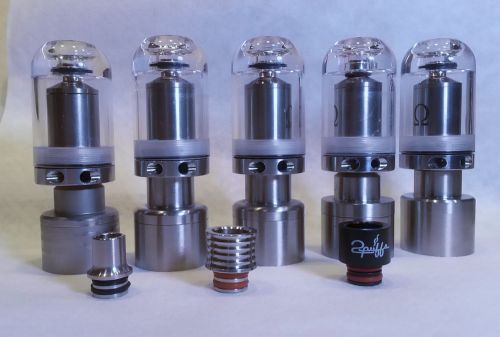
Kayfun Lite Highly Modified, W/Bell Cap, V3 Gatemouth
Genuine Smoktech Smok 510 Pyrex Glass DCT 5ML 1.5 Ohm Atomizer Vaporizer
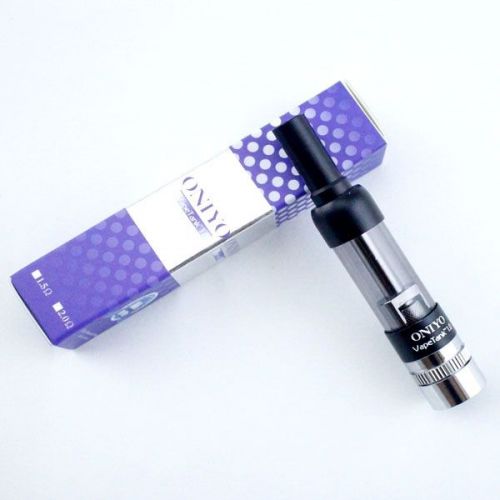
Oniyo Rebuildable 1.5ml Pyrex Atomizer Vapetank ~ Adjustable Airflow - Black
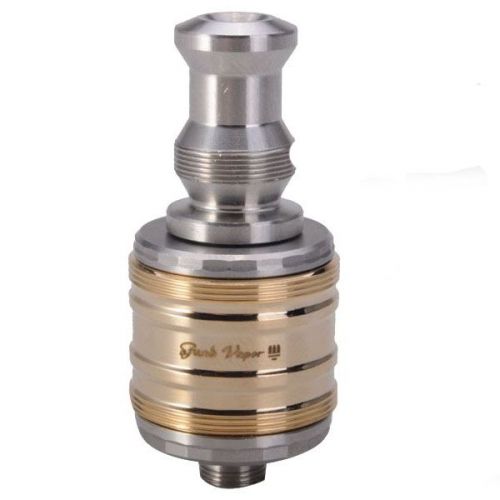
TRIDENT Rebuildable Adjustable Airflow Dripping Atomizer - Gold
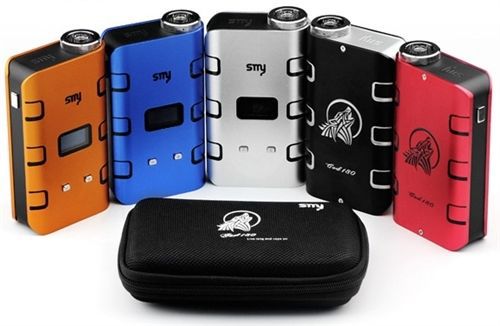
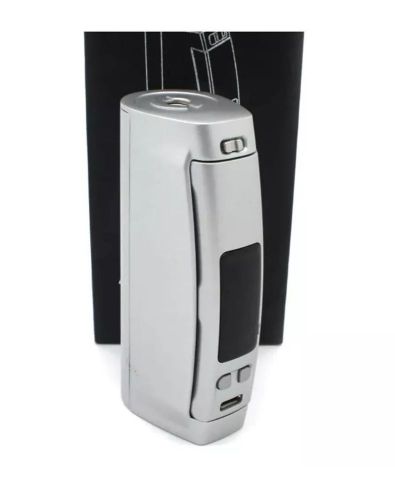
SMY God 180W Box 180-Watt Variable Wattage VW VV God Mod SILVER
People who viewed this item also vieved
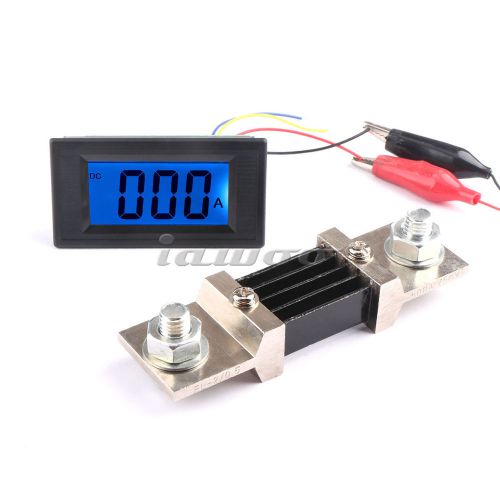
Digital Electrical Ammeter Gauge DC 0-500A Current Panel Meter LCD Monitor
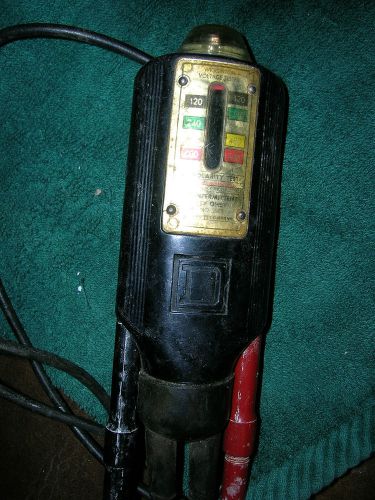
TWO USED WIGGINTON Voltage Tester Model CAT #3008 AC-DC TESTER
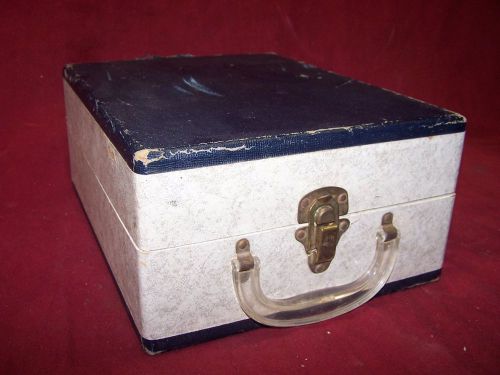
Vintage Tube Type Wabcor Pixie Childs 45 RPM Record Player

Flow Meter Brooks Instruments 1110-08D2G1B NSN 6680-00-451-3752 NEW Emerson
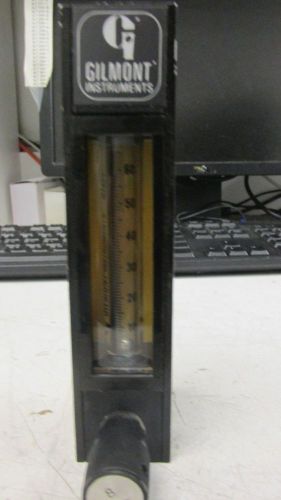
Gilmont insturments flow meter 65mm Used BR
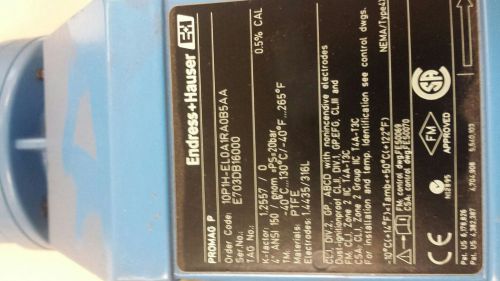
Endress + Hauser Magnetic Flowmeter Promag F, size 4"-150,
Micronta Range Doubler Multitester 22-204A orig box and instructions
Yellow Jacket 69008 Digital Psychrometer
Klein Tools MM200 Multimeter Excellent Condition
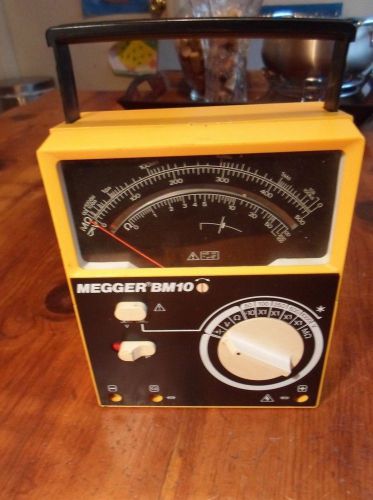
Biddle Instruments/ Megger BM10 Insulation Tester -- Untested , No Accessories
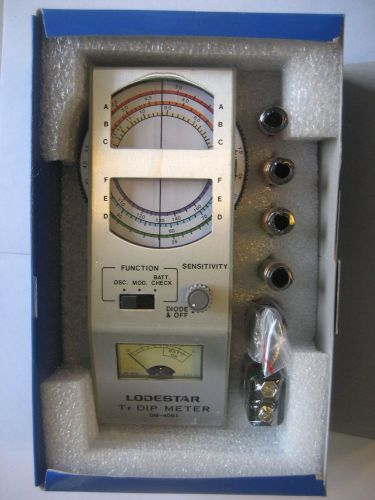
New TR Grid Dip Meter Oscillator Dipper Lodestar DM-4061A
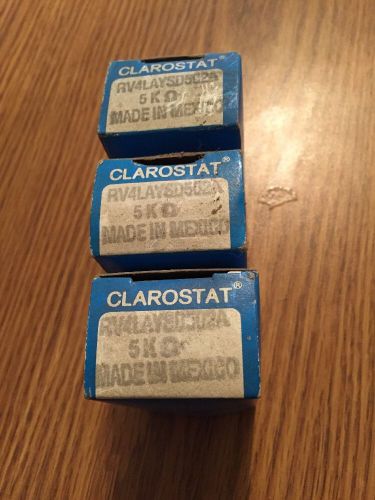
HONEYWELL S&C / CLAROSTAT RV4LAYSD502A POTENTIOMETER, COND PLASTIC,...(3 pieces)
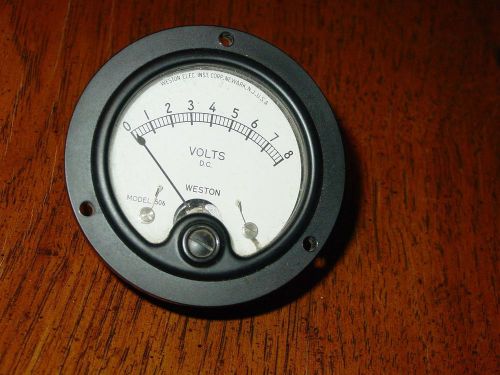
VTG Weston Panel Meter Gauge Model 506 Bureau Of Ships Volts Steampunk
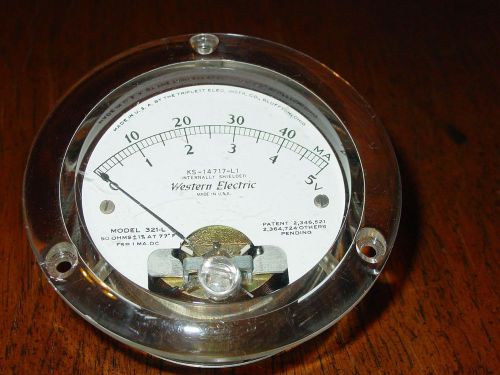
VTG Triplett Western Electric Panel Meter Gauge 321-L Bureau Of Ship Steampunk
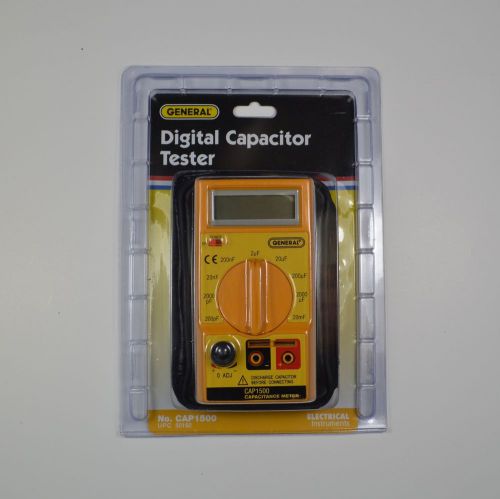
General Tools CAP1500 Digital Capacitor Tester with Alligator Leads & Case - NEW
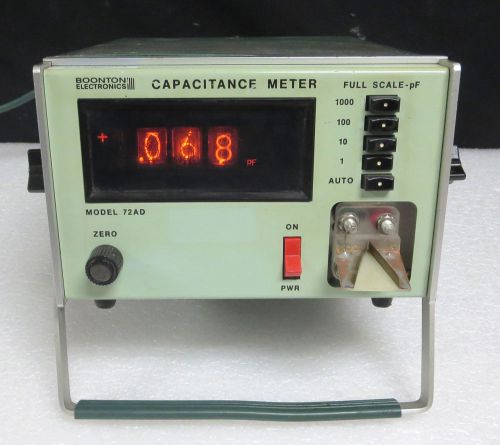
Boonton 72AD Digital Capacitance Tester / Meter 4 ranges from 0.05 to 2000 pF
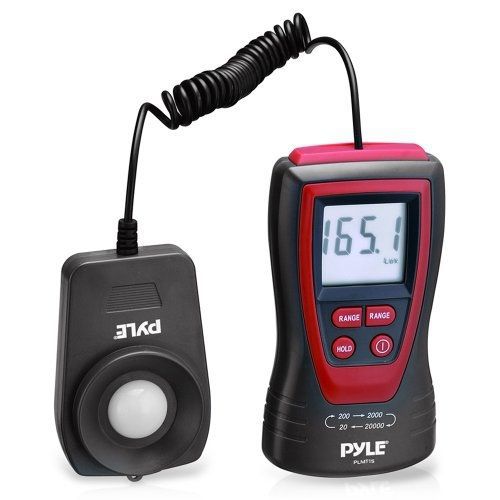
Pyle PLMT15 Handheld Lux Light Meter Photometer with 2X Per Second Sampling, LCD
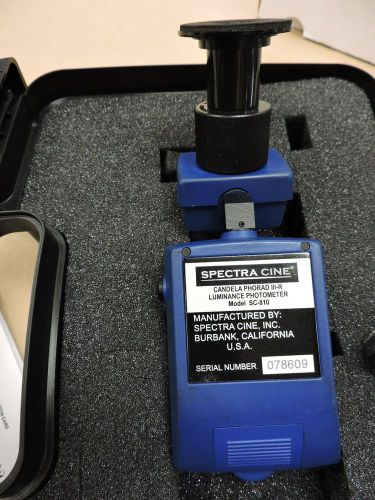
Spectra Cine Candela SC-810 PhoRad IIIR Luminance Photometer
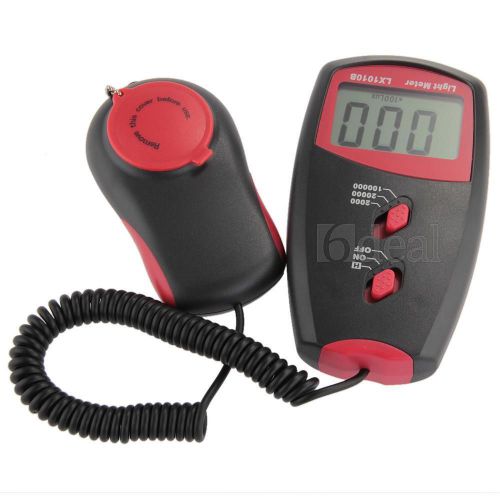
Digital Light Meter LX1010B 100000 Lux Tester Luminometer Luxmeter Photometer
By clicking "Accept All Cookies", you agree to the storing of cookies on your device to enhance site navigation, analyze site usage, and assist in our marketing efforts.
Accept All Cookies