
AU $159.99
| Condition: |
New: A brand-new, unused, unopened, undamaged item in its original packaging (where packaging is
applicable). Packaging should be the same as what is found in a retail store, unless the item is handmade or was packaged by the manufacturer in non-retail packaging, such as an unprinted box or plastic bag. See the seller's listing for full details.
...
|
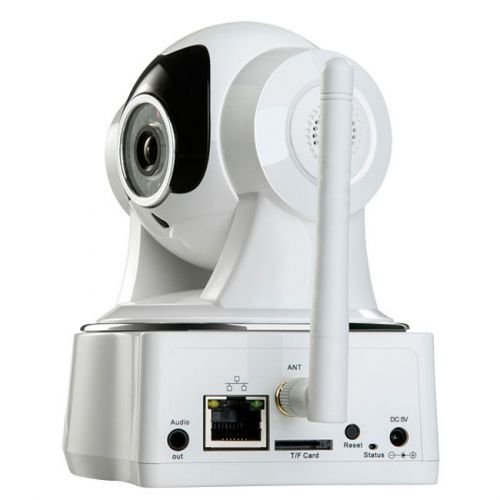
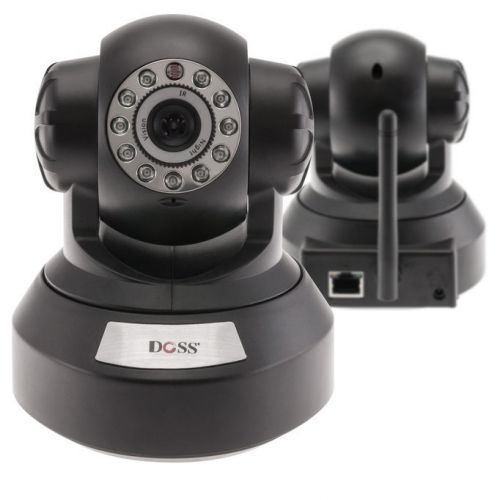
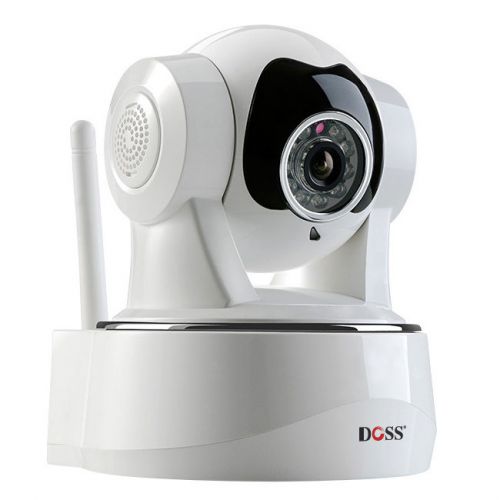
Connection Type | Wireless |
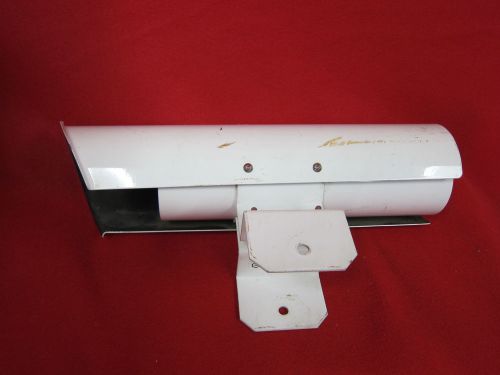
| MPN | white baby monitor HD camera CCTV IP Smartphone PC | ||
| Brand | Doss |
Directions
Similar products from Security Cameras
![Honeywell STND-08R00-000-4 Stand:gray 8cm [3"] Height Rigid Rod (stnd08r000004)](/_content/items/images/55/2423255/001.jpg)
Honeywell STND-08R00-000-4 Stand:gray 8cm [3"] Height Rigid Rod (stnd08r000004)
Honeywell Stnd-22f00-001-4 Gray/9in Height/flexible Rod Accs (stnd22f000014)
Leviton 47605-DP Ac Power Module (47605dp)

Coleman Cable 94722-05-01 2c 12g Speaker Cable 500' Box White (947220501)
AVE VSI-PRO Max Video Text Inserter Cash Register- MICROS

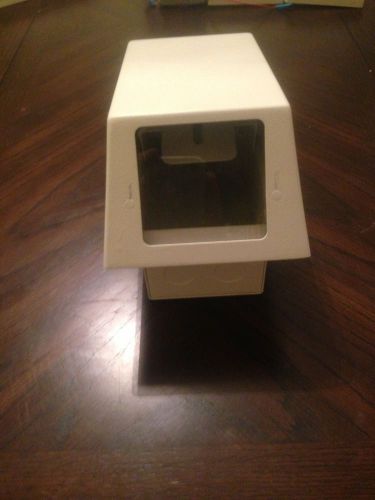
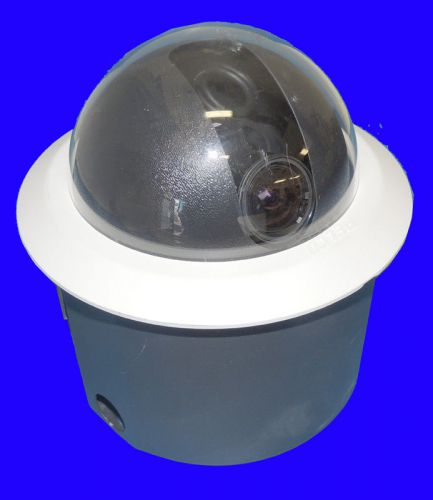
Burle Security Products TC 1006 Environmental Camera Enclosure w/ Camera
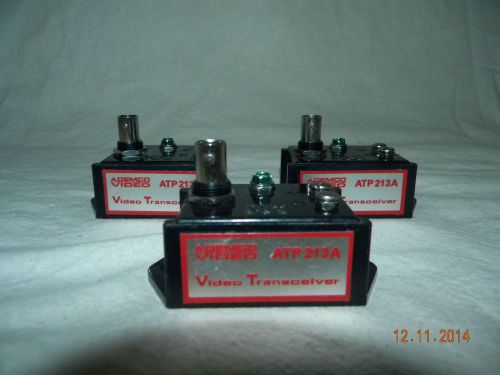
Lot of 3 Ademco Video Transceiver ATP-213A
WIFI IP Wireless Network Security/Baby monitor Camera/Night Vision for iPhone PC
WIFI IP HD Wireless Network Security/Baby Camera/Night Vision for iPhone Android
Sony XC-75 CCD Camera with Cosmicar 25mm 1:1.4 Lens
New! Suttle Media Enclosure SE-SAE-36DO Networking Panel with Cover!
RS422 Honeywell 16 port multiplexer- camera and PTZ control
Lot Of 16, Jack Knob Jknb1750, Part # 1750, Silver Plated, 2 Ear Wall Bracket
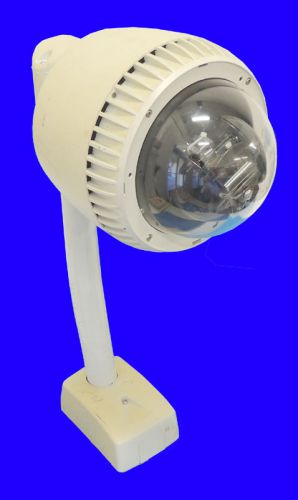
American Dynamics PTZ Ultra Camera ADSDUHOC Speed Dome Housing RHOLW Wall Mount
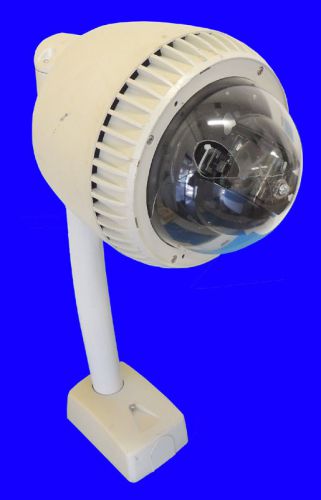
American Dynamics ADSDUHOC Speed Dome Housing RHOLW Wall Mount PTZ Ultra Camera
Pelco DF5-1 Dome CCTV Security Camera & Lens Pendant Hi-Res 1/3 Color CCC1380H-6
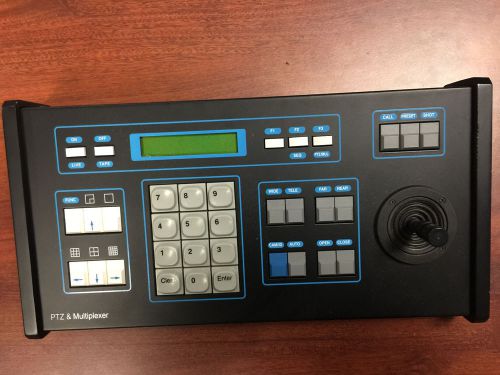
ARM SDKBD2 PTZ & MULTIPLEXER Keyboard Controller Console
Autoscope Cameras Model 706100 W/ 16" White Covers & Mounting Bracket
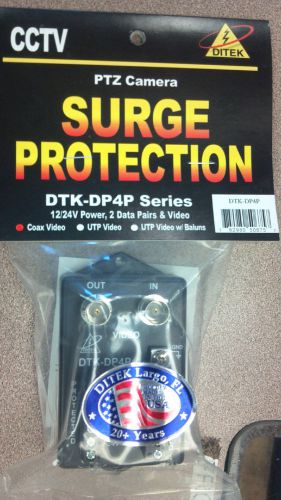
DITEK DTK-DP4P PTZ Camera Protection, SURGE PROTECTION 12/24V COAX VIDEO NEW
People who viewed this item also vieved
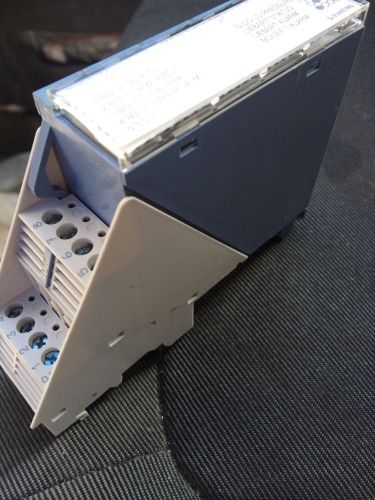
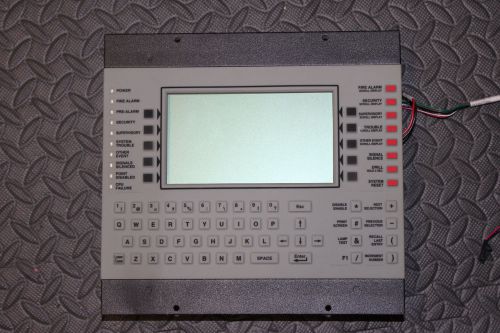
SIEMENS SYSTEM 600 TERMINATION MODULE PTM6 4D20
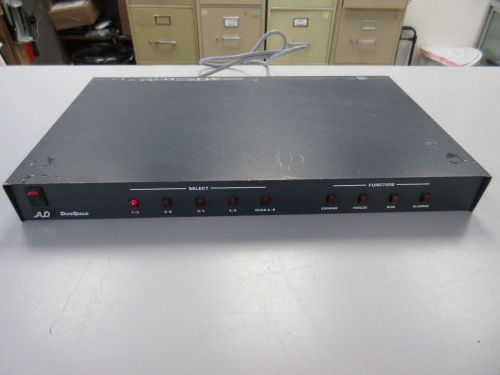
Video Multiplexer Dual Quad by American Dynamics AD1475
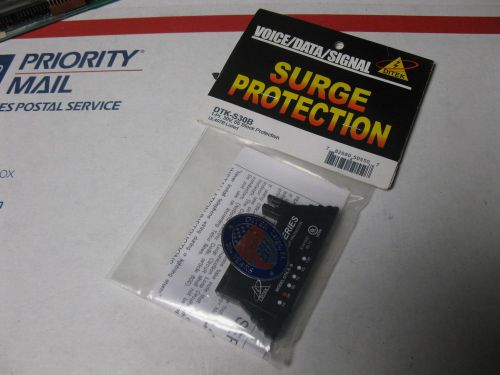
DITEK DTK-S30B DK-S30B 30V 66BLOCK SNAP ON SURGE PROTECTION
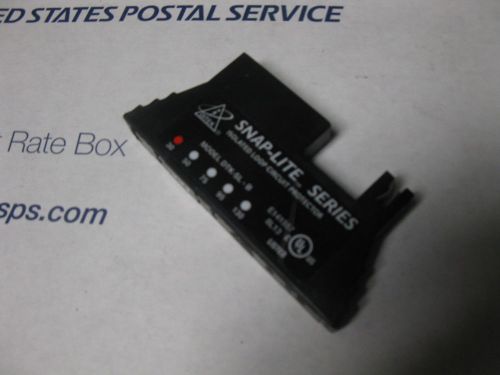
Ditek Snap Lite DTK-SL30B Voice Data Surge Protection

STI 9621, Motion Detector Damage Stopper, White

HUBBELL ATU500CRP H-MOSS Ceiling Occupancy Sensor. 500 Sq. Ft. Adaptive.White
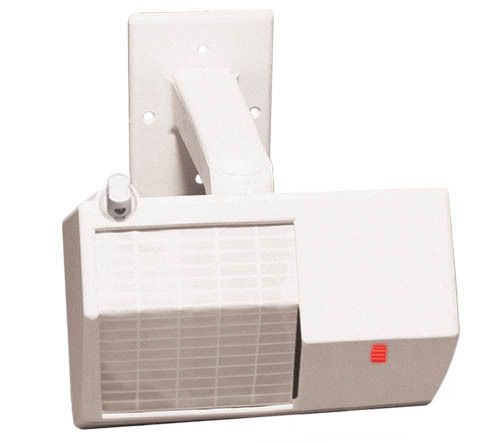
BOSCH SECURITY SYSTEMS DS720I DETECTION DS720I PIR & MICROWAVE 80' New open box
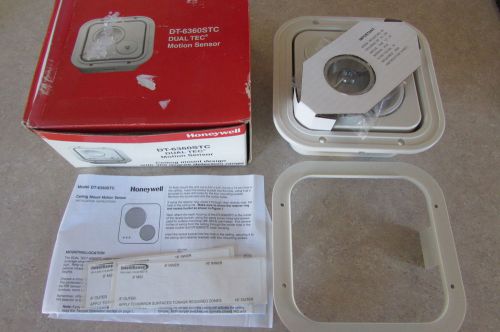
Honeywell Dual Tec DT-6360STC Commercial Ceiling Motion Detector Free Ship
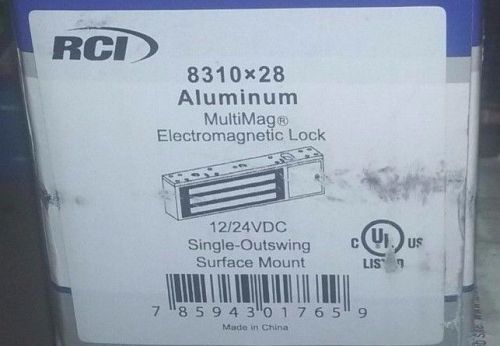
RCI RUTHERFORD 8310x28 ELECTROMAGNETIC LOCK 12/24VDC SINGLE-OUTSWING
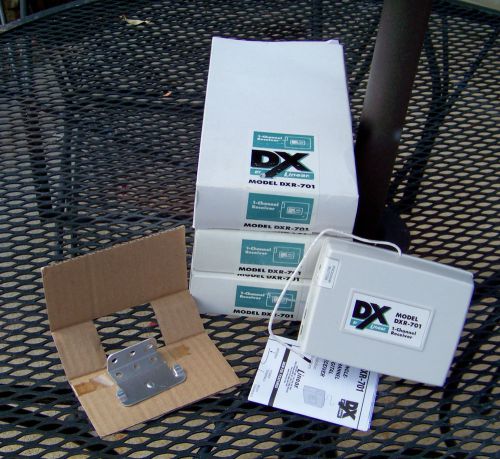
QTY 3) LINEAR 1-CHANNEL DIGITAL ISOLATED RELAY OUTPUT RECEIVER DXR-701 $$
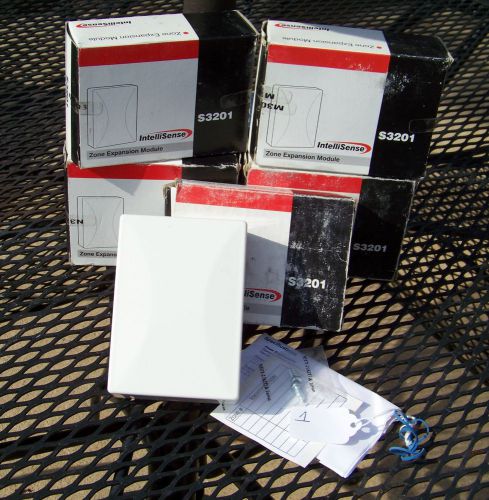
QTY 5) INTELLISENSE S3201 ZONE EXPANSION MODULE, LOT 1
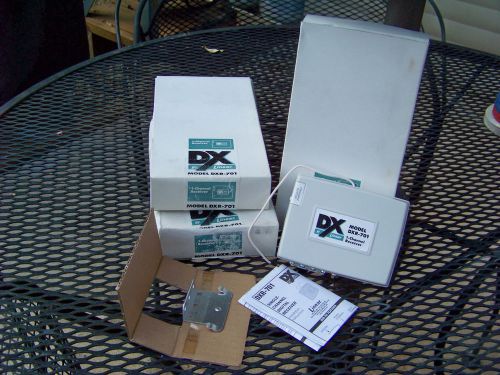
QTY 3) LINEAR 1-CHANNEL DIGITAL ISOLATED RELAY OUTPUT RECEIVER DXR-701

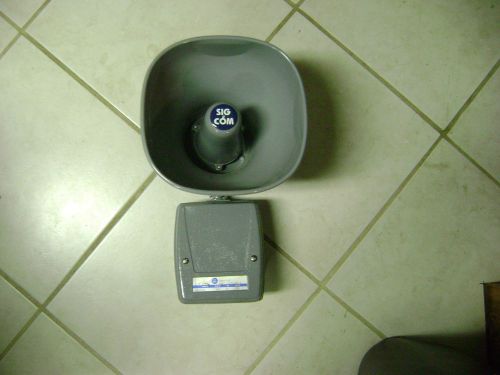
SIG COM AU-502 FIRE ALARM SIGNAL HORN INDOOR OUT DOOR
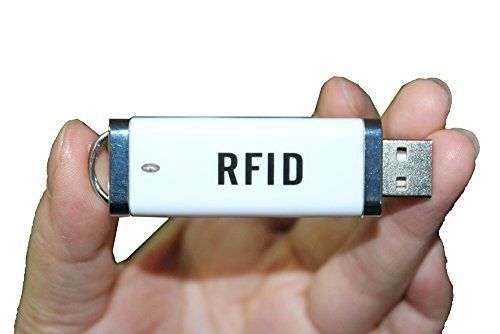
Chafon 13.56mhz Mini USB HF RFID Mifare Card Reader for Access Control Support
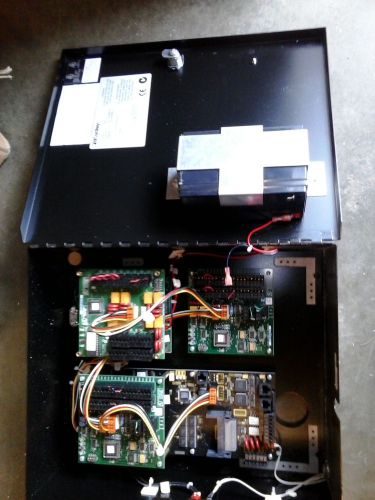
Cardkey CK705-S/Johnson Controls alarm/security system w/control board CK720

HES 7000 Series Stainless Steel Highly Durable Electric Strike
By clicking "Accept All Cookies", you agree to the storing of cookies on your device to enhance site navigation, analyze site usage, and assist in our marketing efforts.
Accept All Cookies