US $50.00
| Condition: |
New: A brand-new, unused, unopened, undamaged item in its original packaging (where packaging is
applicable). Packaging should be the same as what is found in a retail store, unless the item is handmade or was packaged by the manufacturer in non-retail packaging, such as an unprinted box or plastic bag. See the seller's listing for full details.
...
|
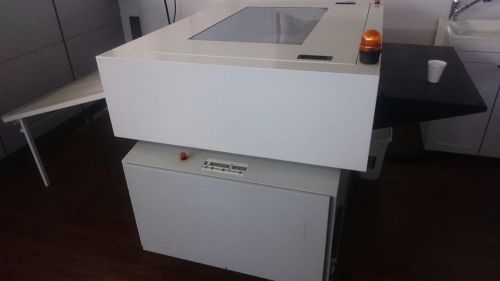
Brand | I-Zone |
| Model | PerTrans Plus |
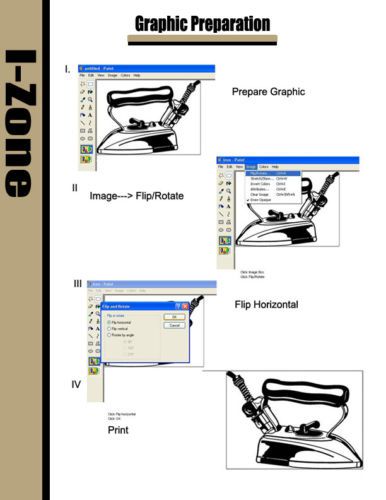
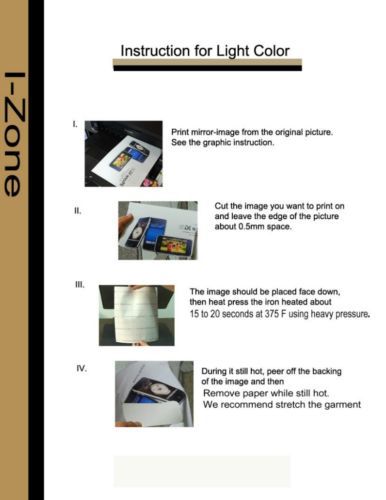
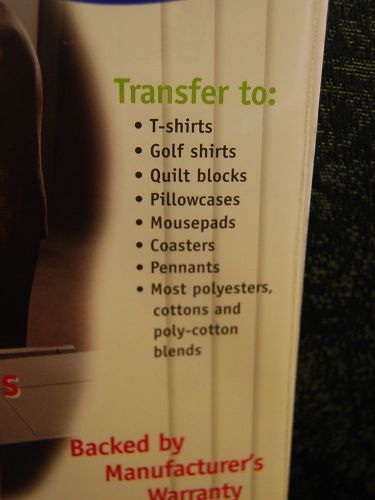
Directions
Similar products from Transfer Paper for Ironing
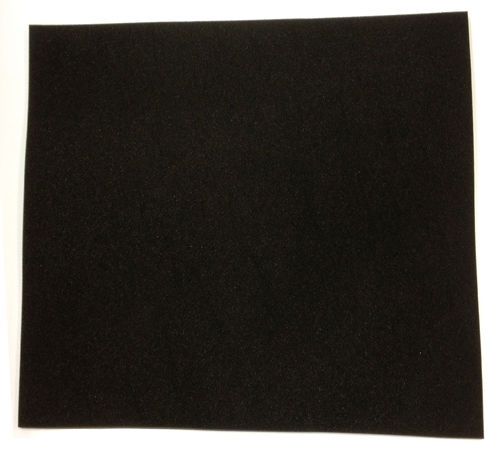
New 15x15" foam pad heat resistant for t-shirt heat press sublimation transfer
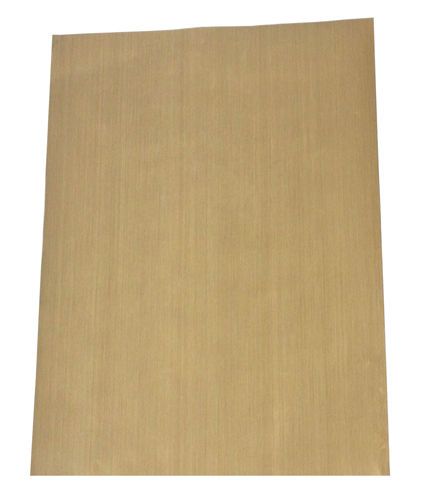
New 16x28" Teflon sheet for t-shirt heat press transfer screen printing
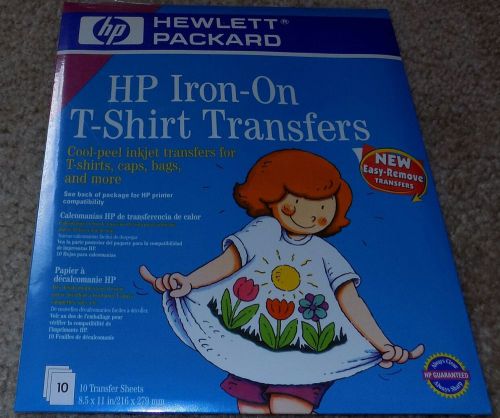
NEW! NIB HP HEWLETT PACKARD IRON-ON T-SHIRT INKJET TRANSFER PACK OF 10 SHEETS
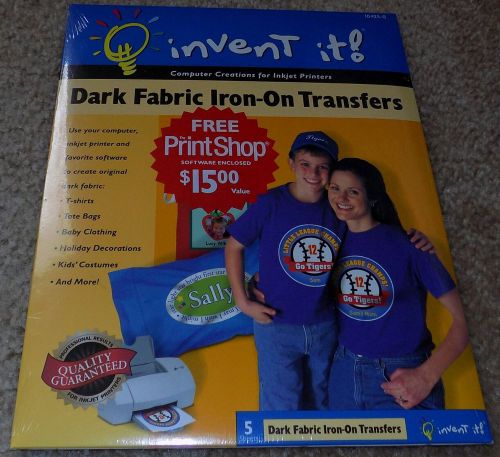
NEW! INVENT IT! DARK FABRIC IRON-ON TRANSFER SHEETS PACK OF 5 SEALED MADE IN USA

white cap Iron On Heat T-Shirt Inkjet Heat Transfer paper 8.5 x 11 6 Pack
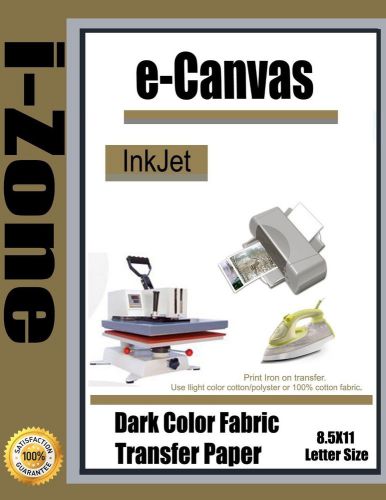
Inkjet heat transfer iron on paper for Dark color fabric:8.5" by 11"-50 sheets
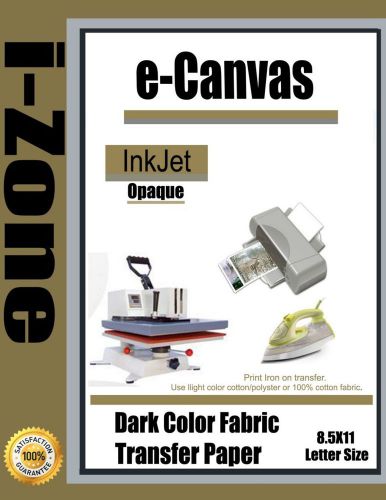
Inkjet heat transfer iron on paper for Dark color fabric:8.5" by 11"-60 sheets
XEROX COLOR INK JET IRON-ON TRANSFER PAPER 9 Sheets
Ink Works Iron-On Cool Peel Transfer Paper For Ink Jet Printers, 10 Pack New

NEW Inkjet Printable Temporary Tattoo Paper 50 Sheets
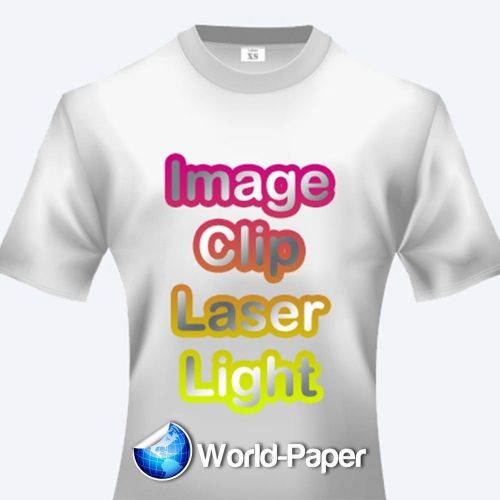
IMAGE CLIP Laser Light Self-Weeding Heat Transfer Paper - 8.5 x 11 - 25 Sheets
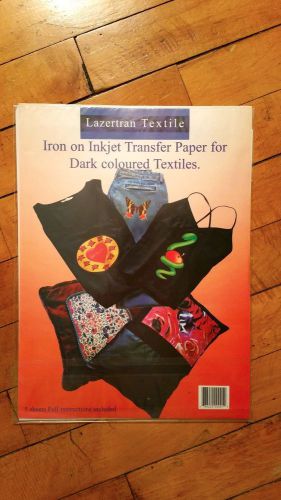
Inkjet Iron On Transfer Paper for Dark Colored Textiles and Shirts - 3.5 Sheets
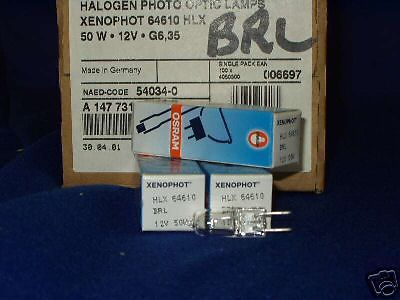
BRL 64610HLX OSRAM HALOGEN LIGHT BULBS
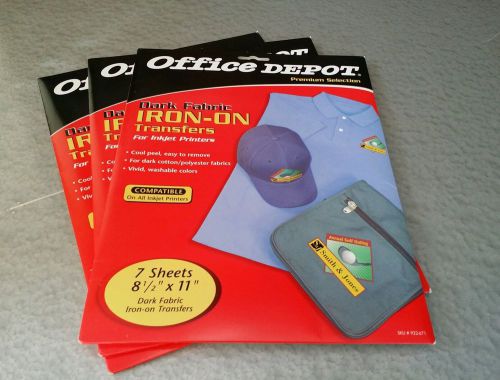
Office Depot 21 sheets Dark Fabric Inkjet Iron-On Transfers - 8.5 x 11.0 NEW
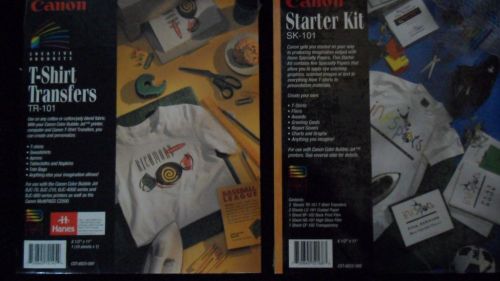
Canon Creative Products TR-101 T-Shirt Transfer AND STARTER KIT SK-101
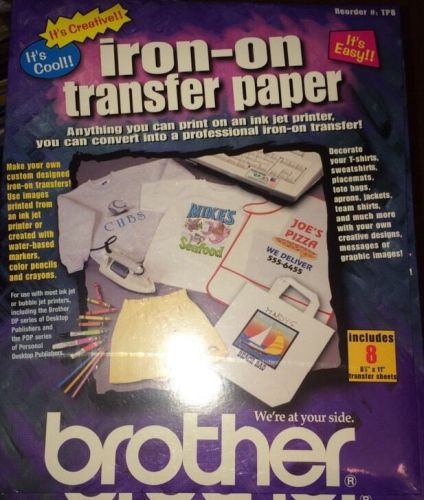
New Brother Inkjet Iron On Transfer Paper Sealed
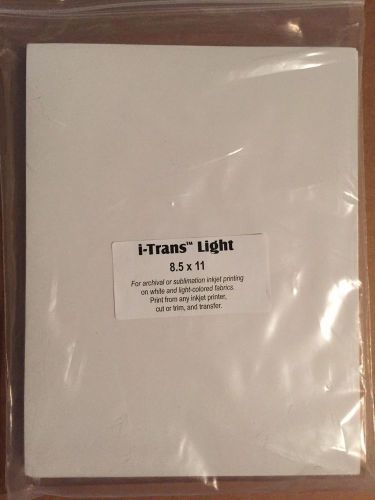
8.5"x11" SUBLIMATION INK TRANSFER PAPER HEAT PRESS special i-Trans™ Light
NEW SUBLIMATION TRANSFER PAPER 100 COUNT 11"X 17" TRUE PIX CLASSIC
Color Laser Copier Transfer Paper Iron & Heat Press 6 Sheets transfermagic.com
People who viewed this item also vieved
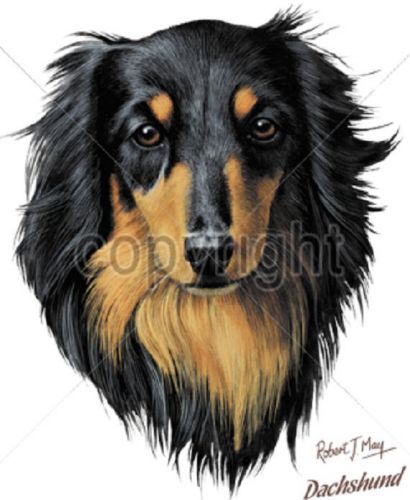
Dachshund Long Hair Dog HEAT PRESS TRANSFER for T Shirt Sweatshirt Tote Bag 835

Bulldog Chain HEAT PRESS TRANSFER for T Shirt Sweatshirt Tote Quilt Fabric 821j

Rattle Snake Anchor HEAT PRESS TRANSFER for T Shirt Sweatshirt Quilt Fabric 263e
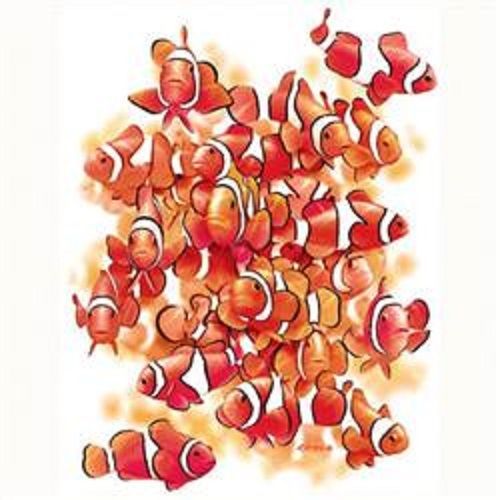
Clown Fish HEAT PRESS TRANSFER T-Shirt Sweatshirt Quilt Fabric Tote Bag 261g

Dolphin Dance HEAT PRESS TRANSFER for T Shirt Sweatshirt Tote Quilt Fabric 252a
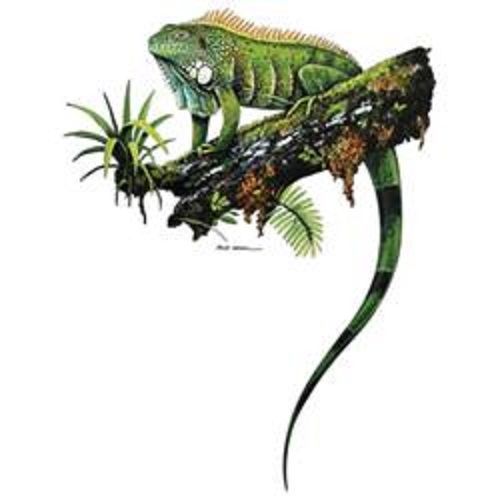
Iguana Lizard HEAT PRESS TRANSFER for T Shirt Sweatshirt Tote Quilt Fabric 519f

Songbirds of America HEAT PRESS TRANSFER for T Shirt Tote Sweatshirt Fabric 203a
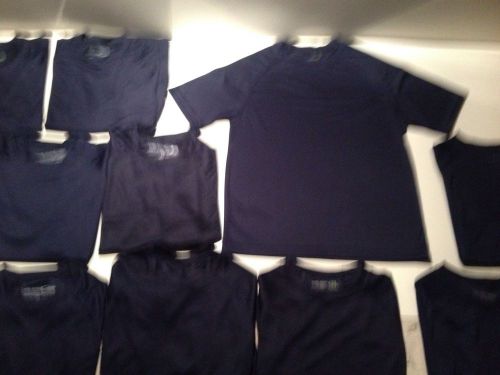
10 Jordon Dri-Fit T-Shirts Blank Sign Making TSHIRT Cricut Lot Boys Age 8/10
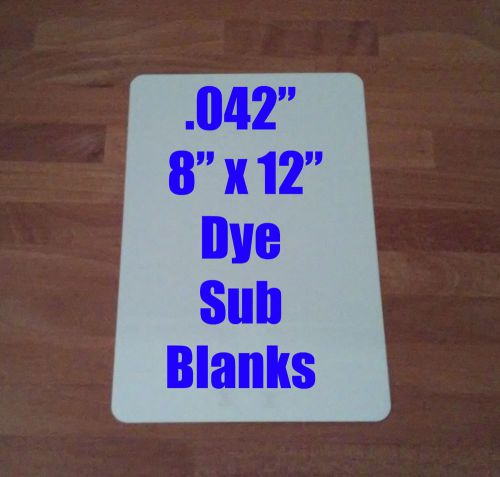
.042" x 8" x 12" Gloss Aluminum Dye Sublimation Blank with 1/2" Corners-10PCs
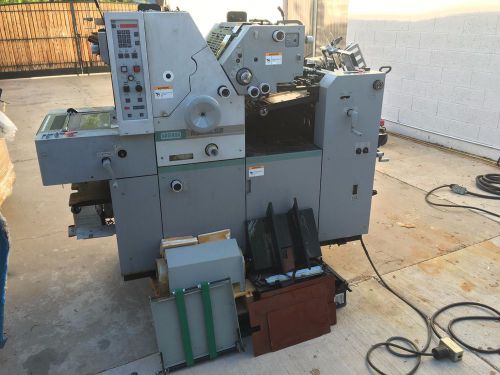
Hamada RS34LSII printing press
4" x 18" Sublimation Aluminum Street Sign Blanks .042" Thick- $2.75 ea
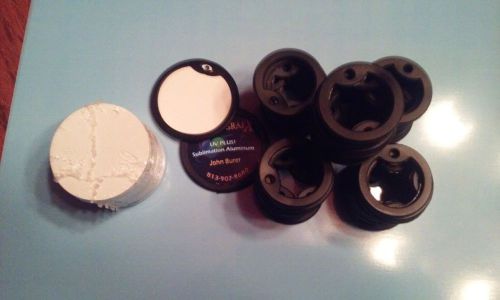
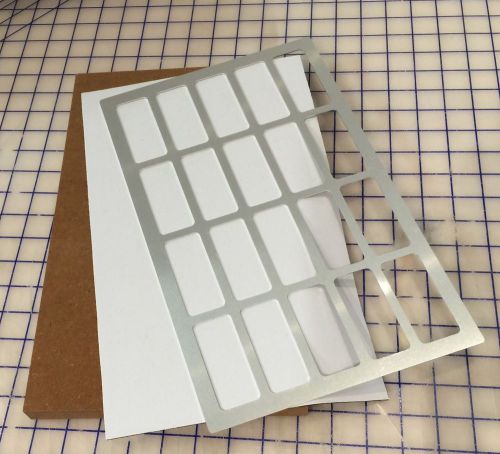
2" Round Aluminum Dye Sublimation Key Chain Blank-Lot of 50 with Silencer
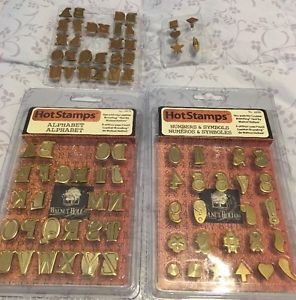
Hot Stamp Metal Upper Letters Numbers Symbols Shapes Craft Heat Walnut Hollow
Rosin Heat Press- 4"x 4" Dual Controllers Heating Plate Kit Universal Fit
Heat Presses Transfer T Shirt Sublimation Machine Digital Clamshell 15x15
JUNIOR 60 -- DRY MOUNTING PRESS -- WORKS

24" x 31"(60 x 80cm) Large Format T-shirt tiles Sublimation Heat Press Machine
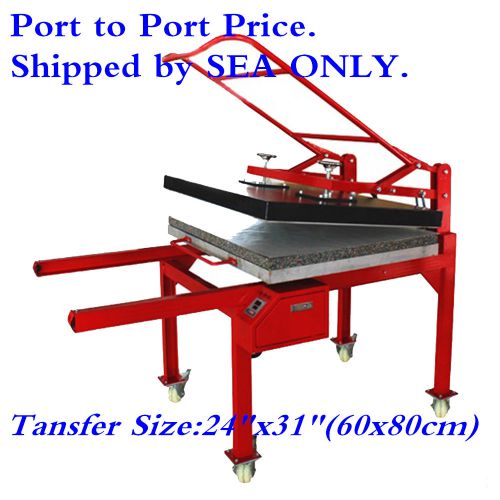
24" x 31" (60 x 80cm) Large Format T-shirt Sublimation Heat Press Machine-by SEA
By clicking "Accept All Cookies", you agree to the storing of cookies on your device to enhance site navigation, analyze site usage, and assist in our marketing efforts.
Accept All Cookies